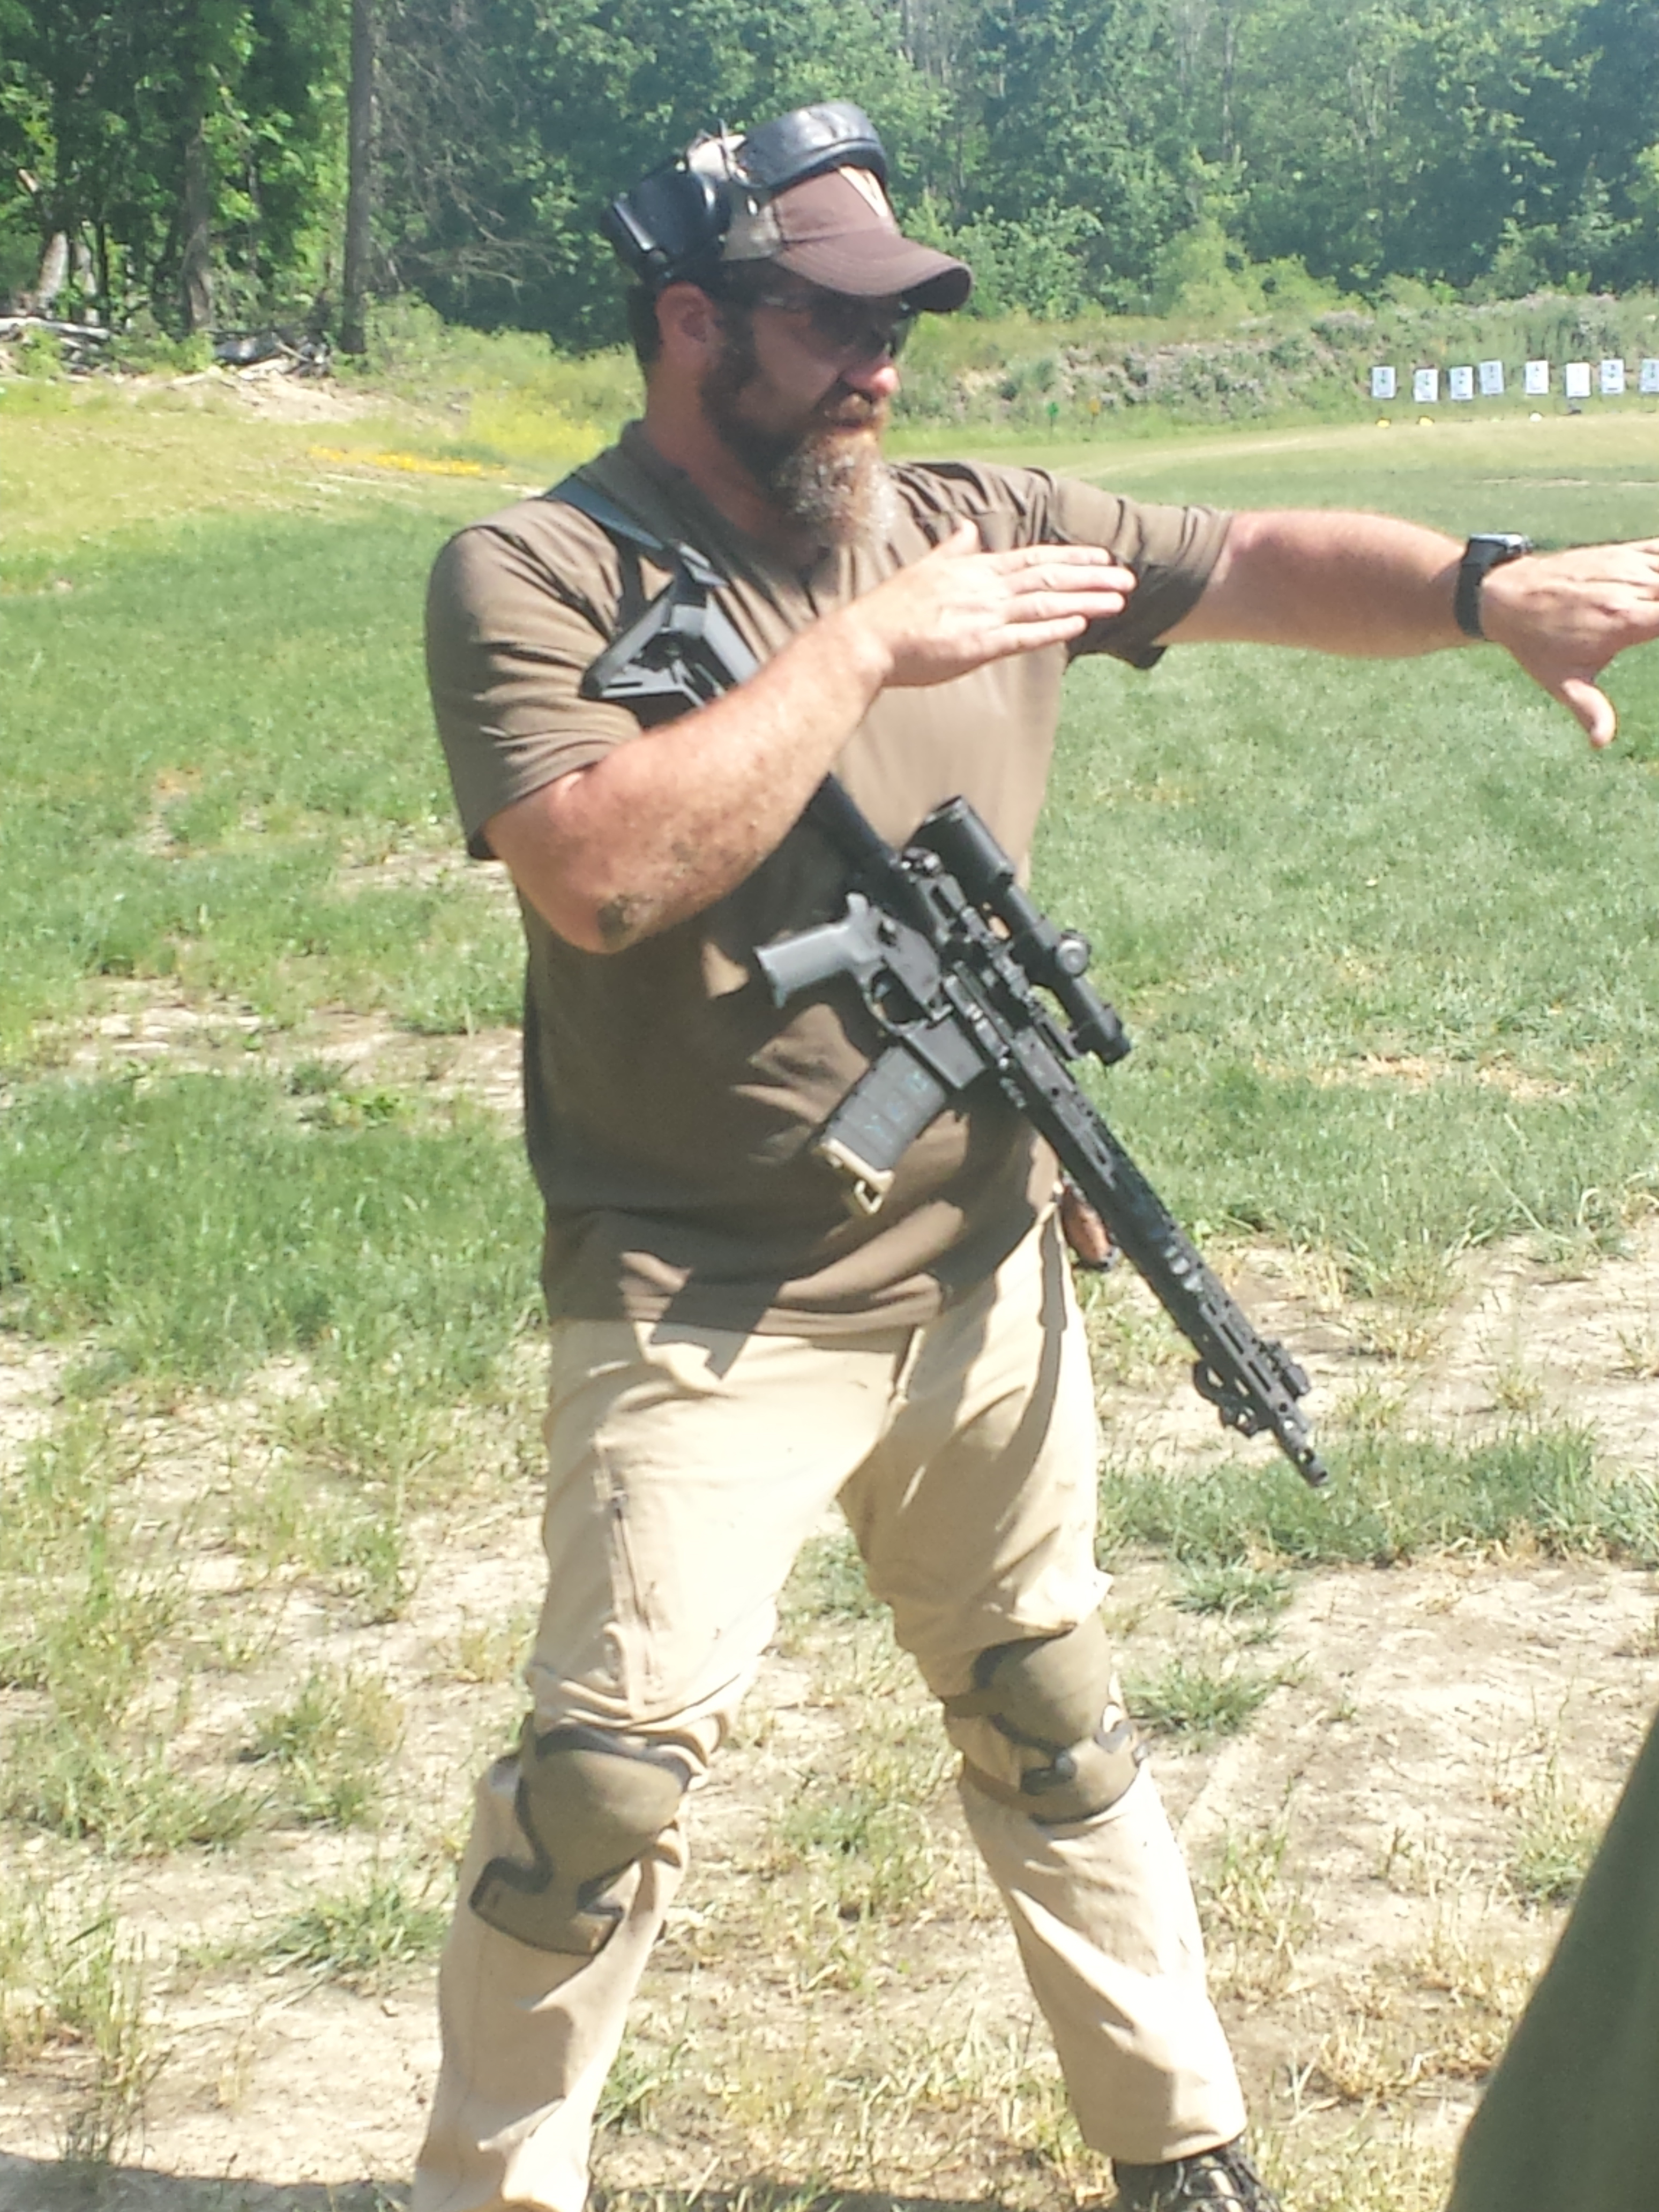
Sentinel Concepts Practical Urban Carbine 6-11/6-12 Part Three


Sentinel Concepts Practical Urban Carbine Part 3
The vast majority of defensive and LE shootings occur in the evening and hours of darkness. The ability to take on the challenges of acquiring and engaging threats becomes exponentially more difficult for many once extra manipulations are required for light work. Steve Fisher of Sentinel Concepts feels strongly that the ability to have low light training is an important element, and he structures it into as many of his class curriculums as he is able. It is with that importance that the class started the night shoot portion of the Sentinel Concepts Practical Urban Carbine course held at the Alliance Police range, and part three of this series of an AAR of the inaugural course continues. Previous AAR’s in the series can be found at https://primaryandsecondary.com/articles/ .
Students started by verifying and fine tuning zeros again at 50, 100, and 200 yards. The last of the daylight was finally fading quickly by the time the 200 yard line rounds were fired. Barricades were set up at 150 yards. Shooters were tasked with getting single hits on steel spray painted various colors. They were paired with a spotter, and shooters had to engage targets from the barricades from five different positions, alternating between standing and kneeling. The drill was repeated with getting controlled pair hits on steel.
Introduction of using the light and working the on/off switch is an additional complication thrown into the thought process. Knowing when to use momentary and when to click it onto constant on, and also when to turn lights off, is a skill that is easily forgotten when your brain is already busy with working through new and sometimes unfamiliar or uncomfortable tasks. While working hard to find stability from an uncomfortable position, I suddenly went empty and needed a speed reload. We default to our previous levels of training, and I immediately tucked my buttstock under my armpit and raised the barrel towards the sky in a position to accept the new magazine that is so very common during the daylight. I forgot to turn the light off, so I not only lost the ability to continue to know where my threat was if I needed it, but I lost the ability to keep the reload on my terms and opened the door for a threat to move in to try to take my advantage from me. All of these lessons suddenly realized with Fisher yelling down the firing line “Holy Batman signal Chad!!”
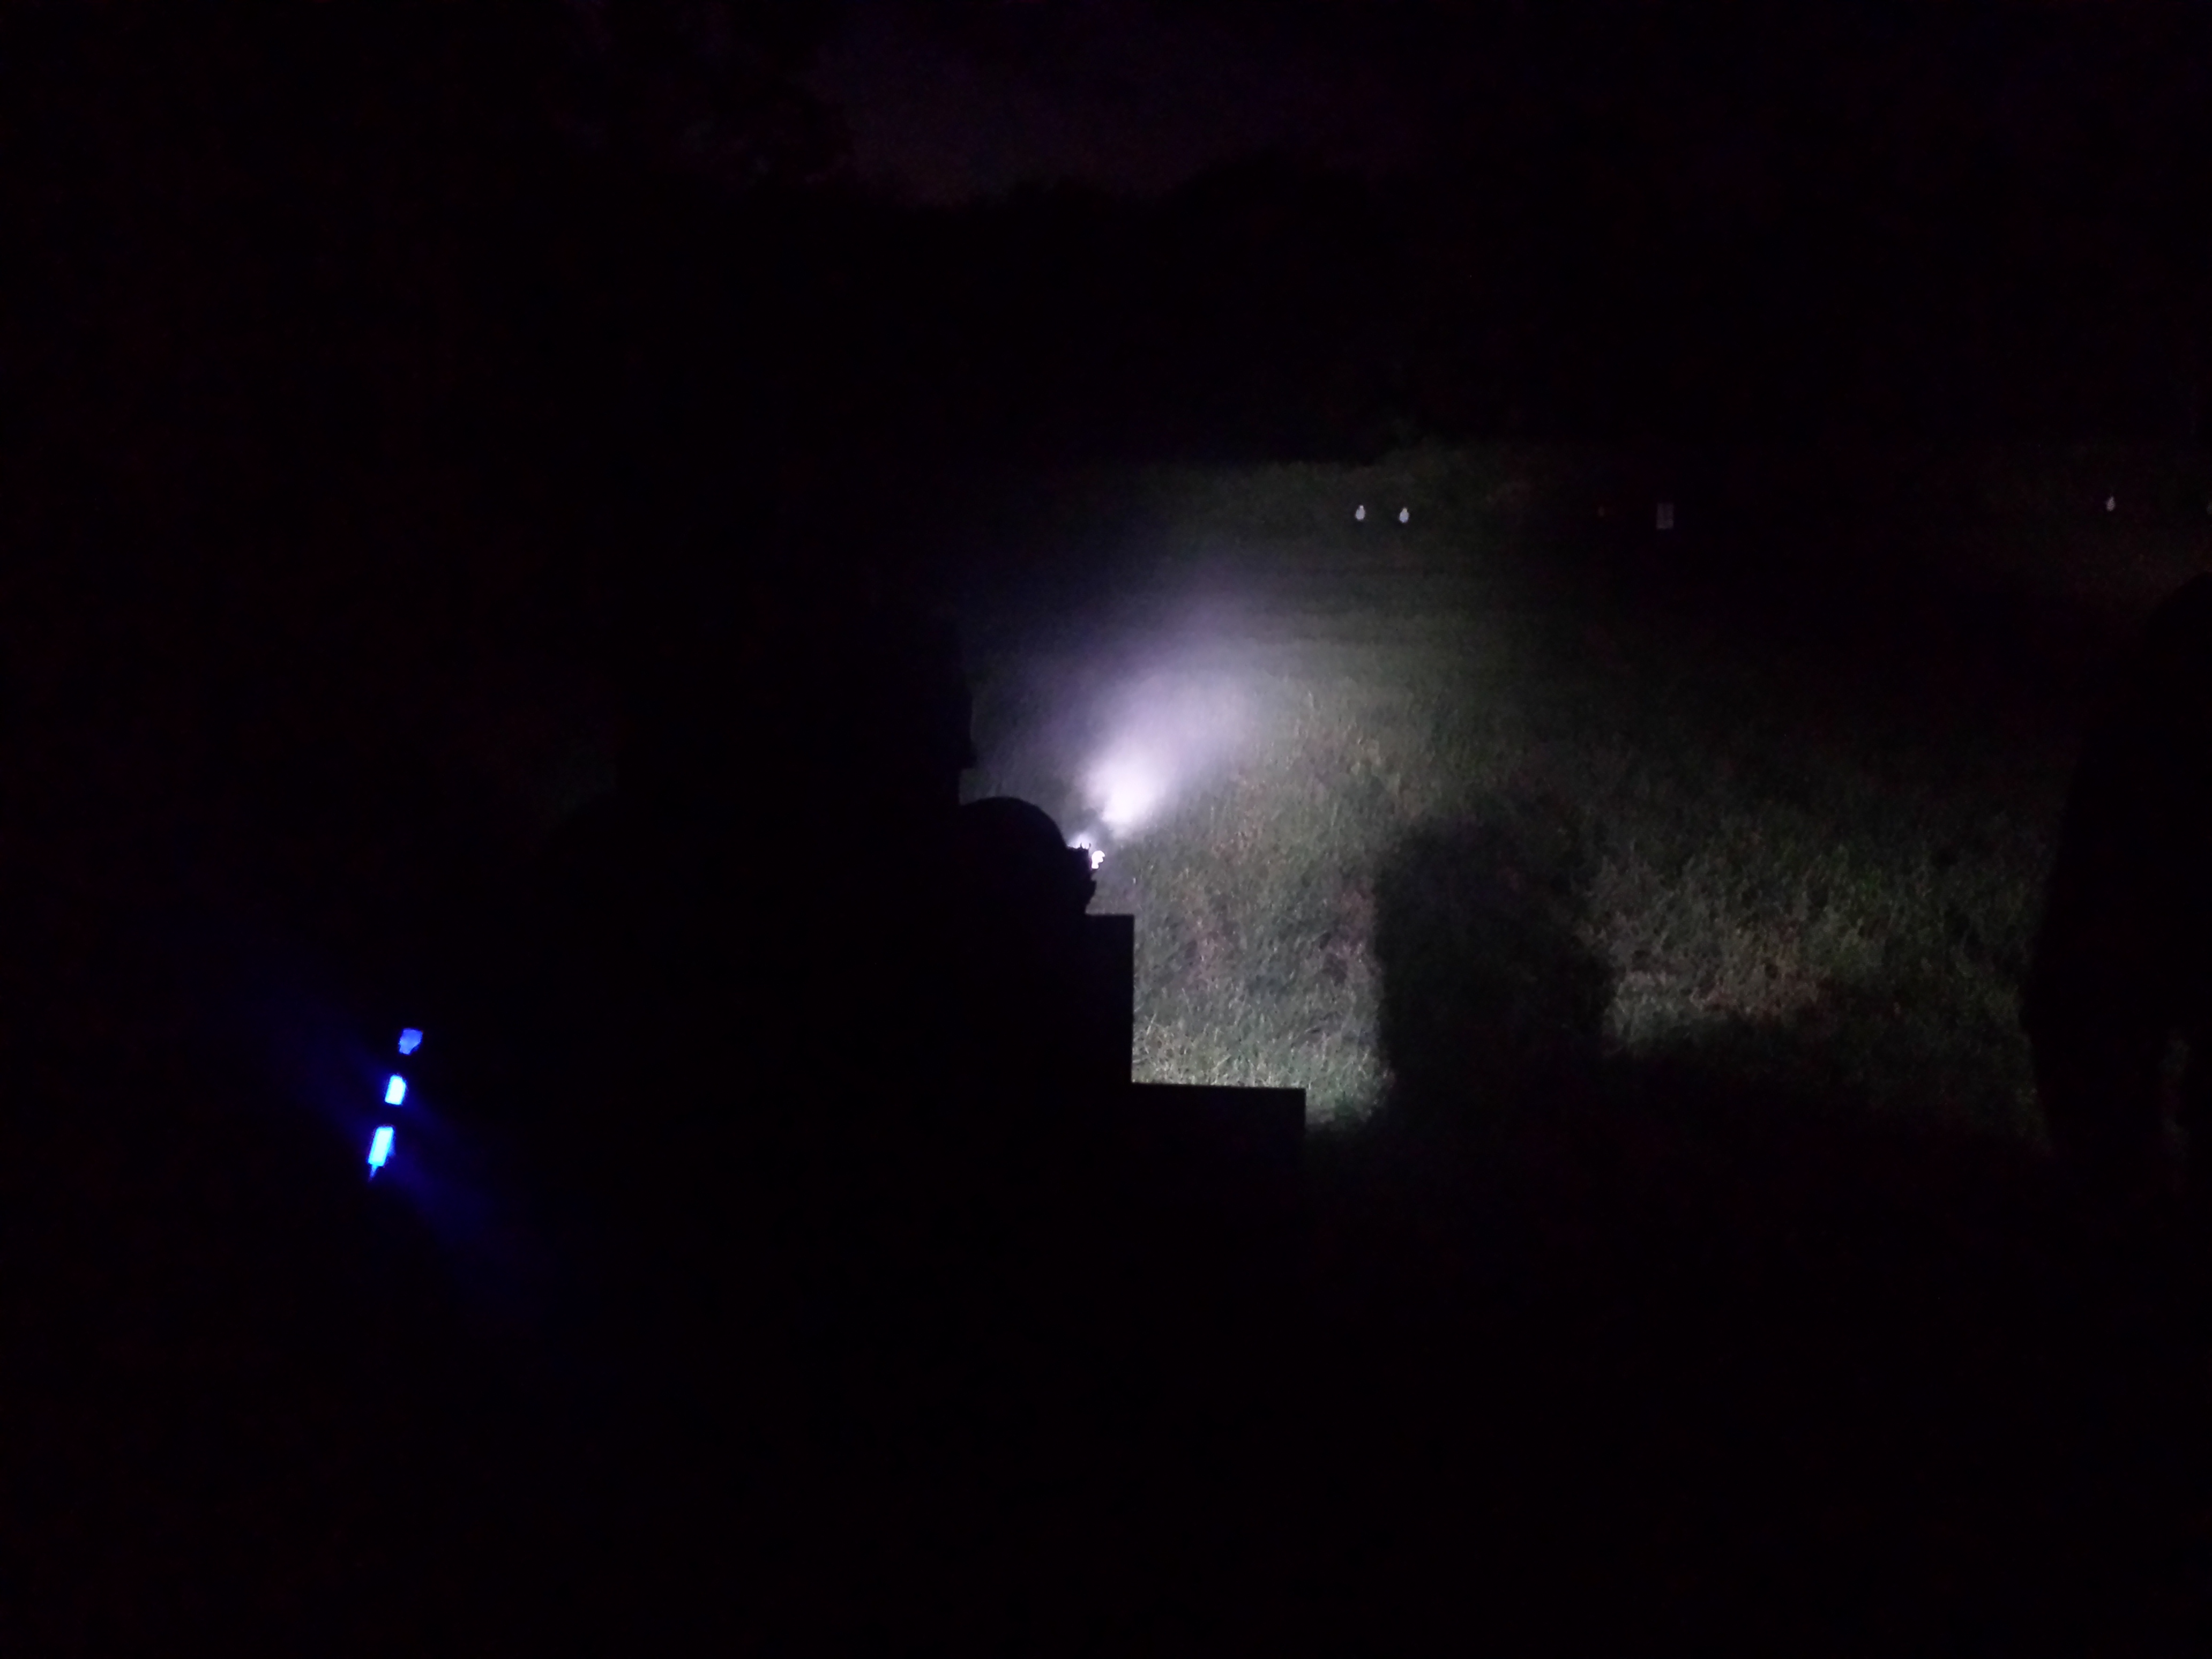
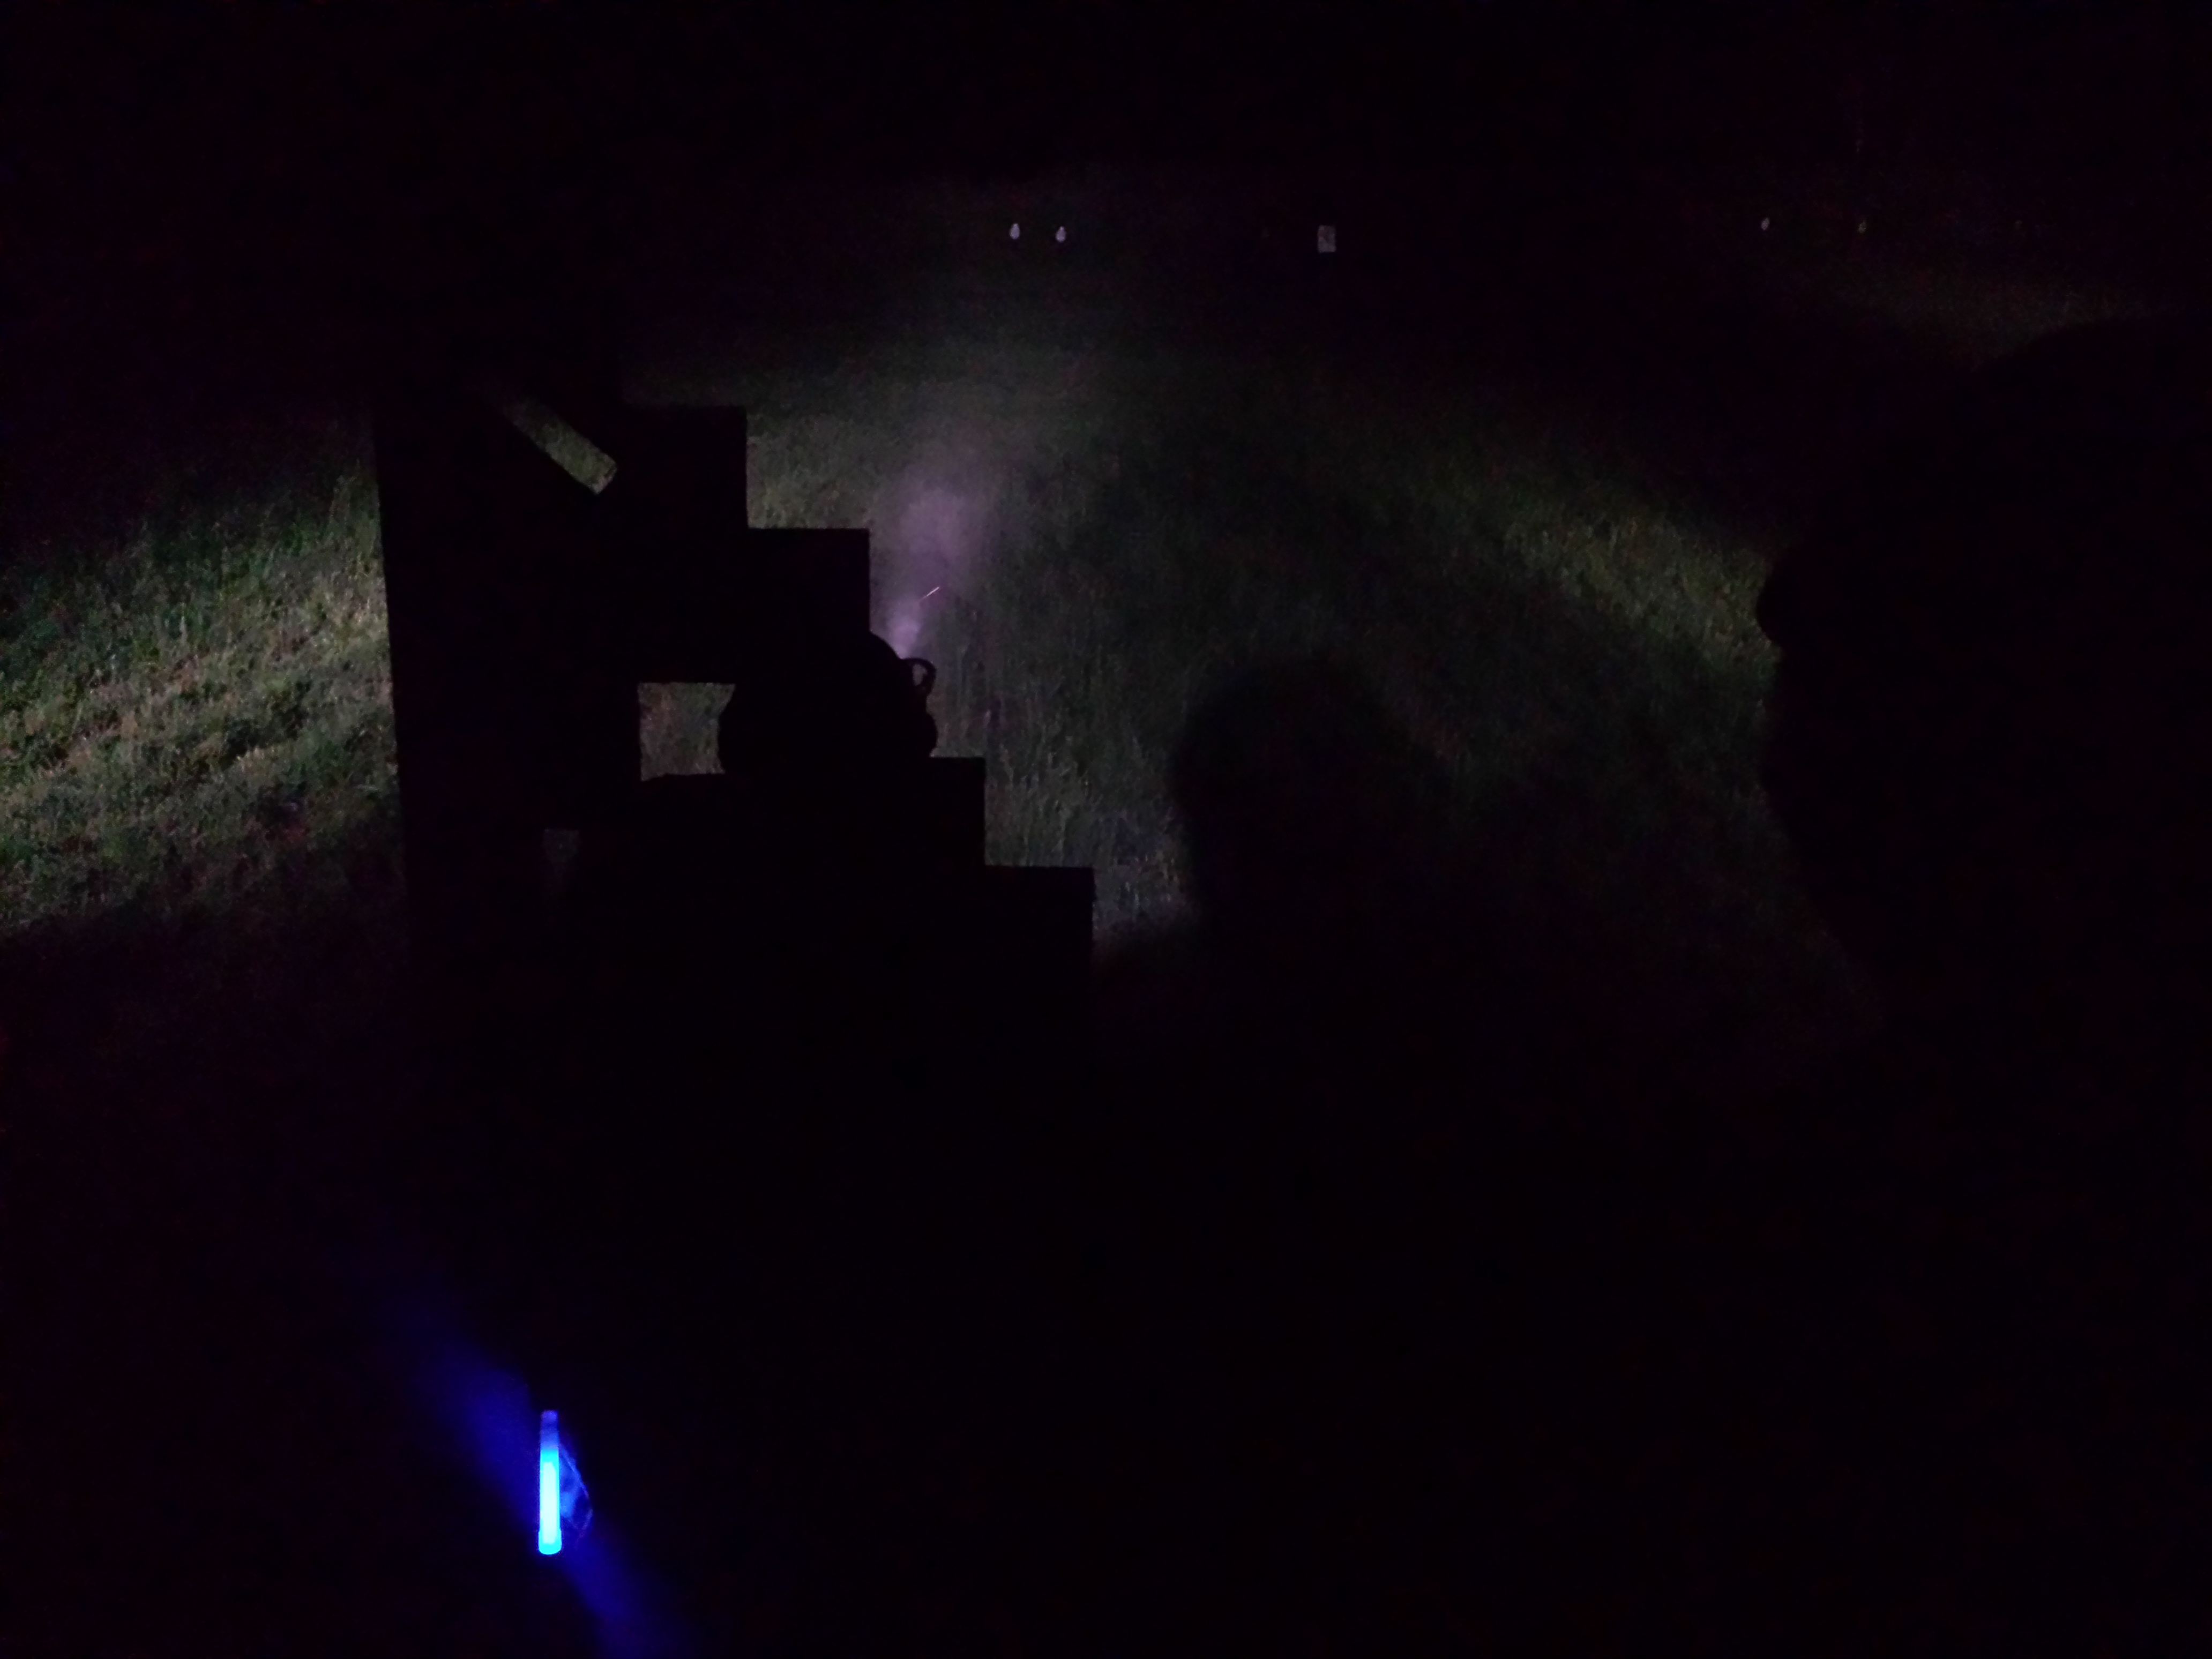
The students in class used a variety of lights. The most common were 500-lumen Surefire Fury’s. There were a couple 1000 Lumen Fury’s, and one gun the Good Idea Fairy visited had a Streamlight TLR1HL with the diffuser for some other light slipped over the end. Most lights look very good and powerful when shined against an interior wall or at an object in the backyard. For many defense purposes, most lights will be sufficient out to 25 yards, maybe out to 50, and possibly past that. Once we were at 100, 150, and 200 yards, everyone quickly was able to see what types of lights were left wanting.
A light’s number of lumens is one aspect to look at in choosing a light, but not the only one to consider. Some lights are designed for handguns, some for rifles, and some to be handheld. Those differences factor in to light design, and often are not taken into account by people when they mount a light to their rifle. It becomes an important factor once distance also is in the equation. One of the students I traveled with used a 280 lumen light. The light was able to illuminate the steel, but one would be hard pressed to identify a target, much less if it was actually a threat. Lights such as the Surefire Scouts also have less lumens, but they at least focus the beam to throw it out further and make better use of what lumens are there.
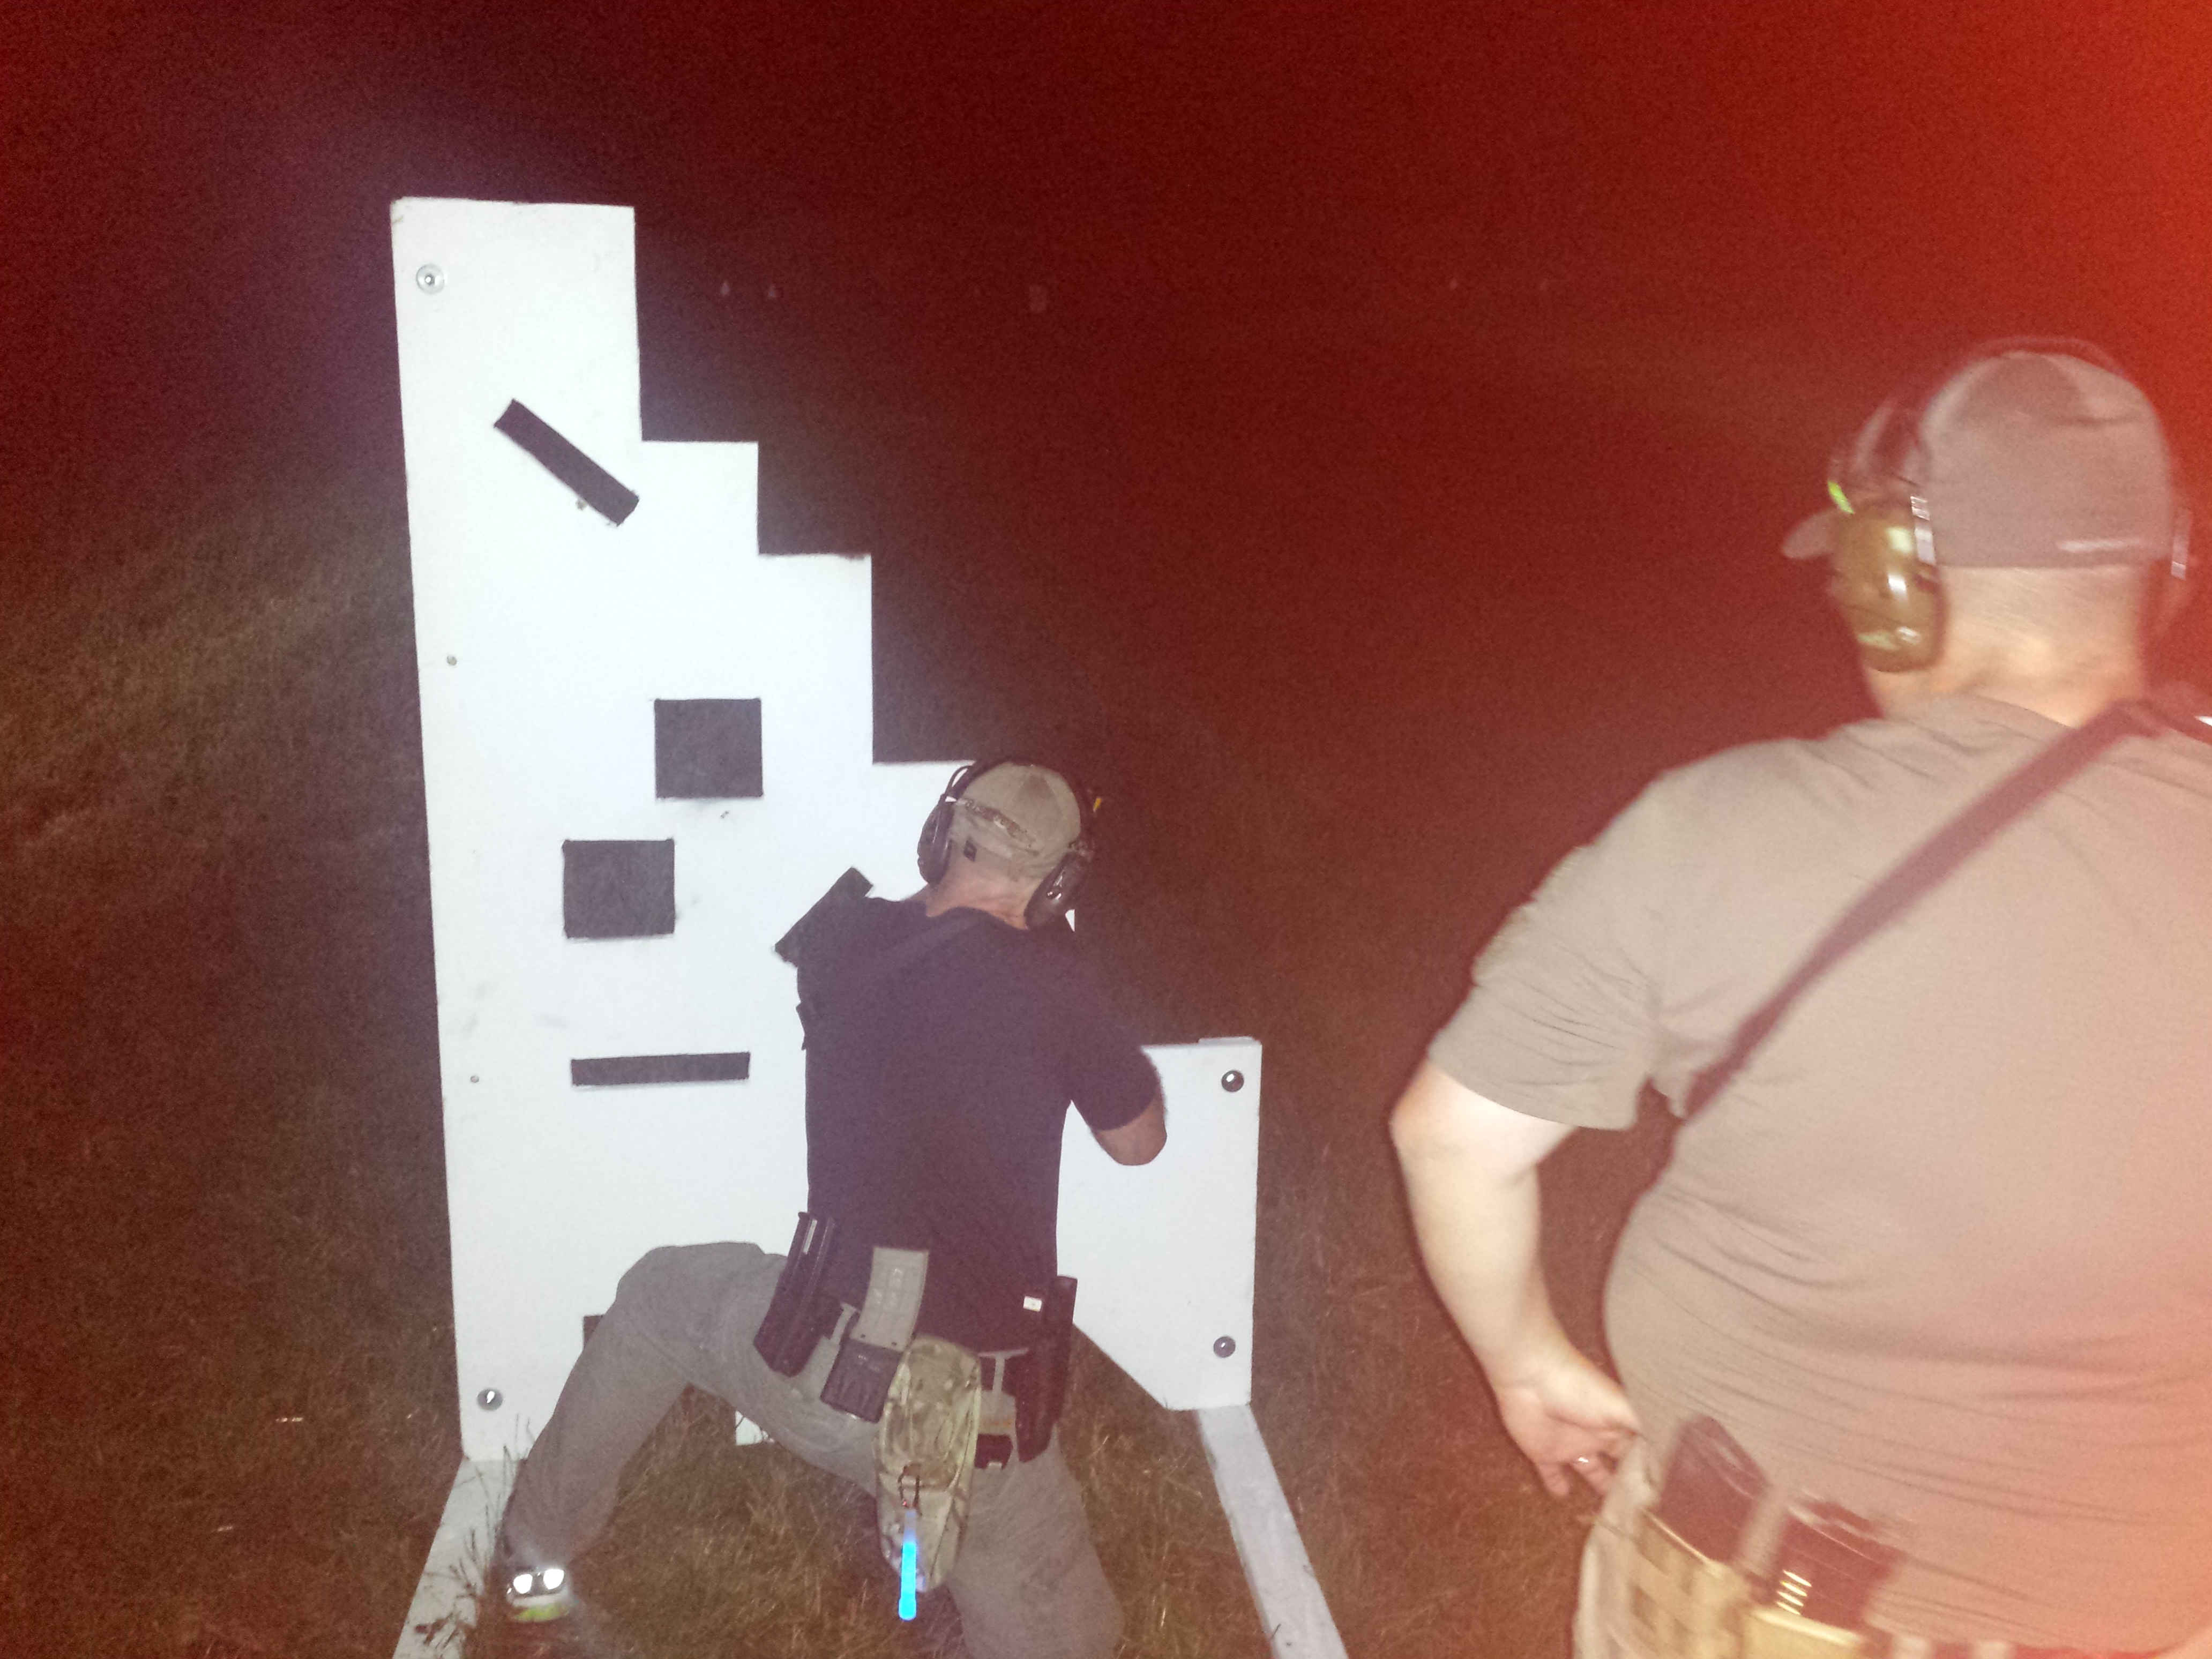
The 500 lumen lights worked better at 100 and 150 yards. Steve had his Sentinel Concepts target design posted in between steel targets. It consists of a large white background with a simple black outline of an obvious male wearing a shirt, a photo face, and a Glock outline seen from the muzzle. It was later mentioned after the course that they bore a good resemblance to me, and they had fun shooting my image, but I digress. People could often identify that they could see the male target from 150 yards at all lumen levels, some better than others. However, none was strong enough at that distance to allow the shooter to identify the target as an actual threat. Steve had those with optics adjust them up to their highest magnification. The target became an actual threat once the magnification combined with the higher lumen lights allowed the shooter to physically see the Glock in the target’s hand. Steve pushed this learning point as a demonstration of where use of a low powered variable optic is again an advantage, allowing people not to shoot better, but to see better to shoot.
Students moved back to the 200 yard line where they quickly had the learning point demonstrated that micro terrain affects not only where a light is mounted on the gun, but what shooting position a shooter can use. Steve’s teaching philosophy is very big on letting students see results for themselves. He can talk and preach all day, but until someone actually sees or experiences it for themselves, they won’t learn from it. In this case, the micro terrain prevented students from using the most stable shooting position usually used at 200 yards, prone. The task was to get hits on steel. The 500 and 1000 lumen lights were still sufficient to illuminate the targets, but it was obvious that 1000 lumen lights with appropriate throw were dominating the range. If you need or plan to be capable at distance, you need to have a light that is as capable at that distance.
I run a LA-5 as an additional sighting system to my Aimpoint M4 CCO red dot on my BCM/EAG patrol rifle, and I had the only laser at the class. I recently said at an LE meeting, where it was being debated if a laser was even worth the time, that if I have any choice that I do not want to ever have a work gun that does not have a quality laser capability. I take every moment in a training environment to get time using it. This was my first class where I got to put some distance on with it. I use a parallel zero, but at typical LE or self defense engagement distances, or even atypical ones like what we were working at, either a parallel or a converging is going to be useable.
I mostly use the visible laser versus the IR, and it took me a long time to work out the switching so that I could have natural, repeatable hand positioning that allowed me to work either the weapon light, the laser, or both at the same time with the same grip I use day or night. Mike Martin made the comment that how I had mine dialed in was really working for me. He watched as I engaged the steel targets that Steve called out, and he could see as my laser dot buzzed around and over the steel for a brief moment until it suddenly settled on the steel accompanied by the sound of the shot and the steel ringing. The setup that currently works for me is a tailcap click switch at 9’oclock for the light, and a pressure switch on the 9 o’clock rail that rides under my palm. There are disadvantages that I currently accept, but it works. Others use a pressure switch for the light and a thumb over the top of the rail to activate the laser. Train often in the way that works for you.
The first day ended by midnight, a 12-hour training day. Everyone gave a quick summary of the day, and Steve acknowledged but reinforced that the slowness of the pace of the day was intentional, not only due to the heat but to build confidence. Some had been unhappy with the slow pace. He reinforced that the class was meant not as a shooting class like those with hundreds of rounds fired at seven yards, but as a problem solving class. My total ammunition expenditure for the day was less than three magazines, but I also was getting the hits requested by Steve. I may have shot less or more than others because the time on the line was performance based, and not dependent upon a specific round count. With that said, I did not feel the day was a waste. I learned as much during the day as I did any other course. Some skills were done dry first, and I was still getting needed repetitions. I have pages of notes and skills to take home and develop further during my own personal practice, which is the intent of the class. Perhaps a few more reps can come from the time savings during zeroing mentioned in part one, but I would not otherwise change the content.
With that, part three is complete. Part four, the final part of this series, will be about T2 and the final wrap-up and lessons learned.
Comments
So empty here ... leave a comment!