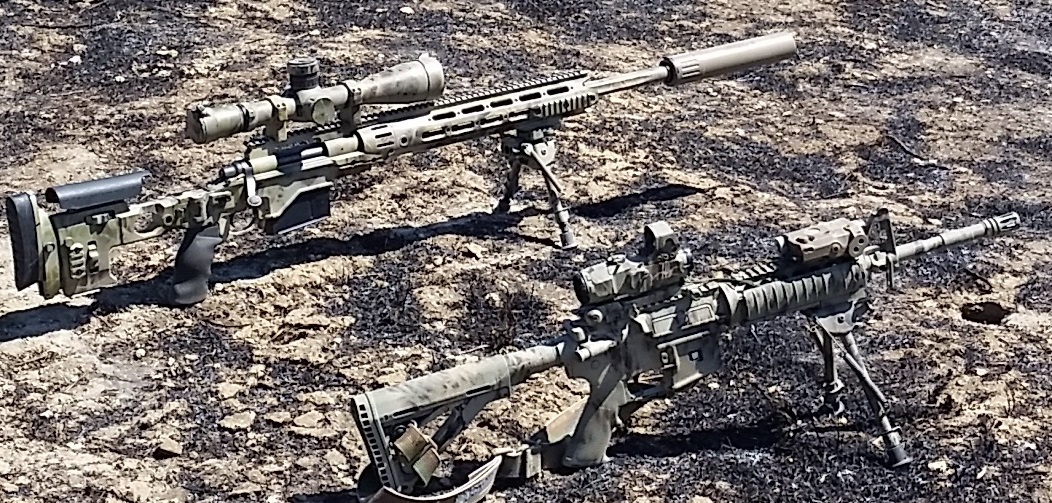
 Not fooling anybody
Target Indicators and Improper Camouflage
Of the five types of target indicators, our focus here is what is termed as “improper camouflage” which in turn has three aspects we are looking at – shine, outline, and contrast with background. These are the things we are going to attempt to reduce or eliminate with our paint job here. Of those three, contrast with background is the most commonly broken rule due to our weapons almost always coming in black. The color black is not generally found in nature, and even things we tend to think of as “black” are usually lighter than any of the black finishes commonly found on weapons. Thankfully, it’s also the aspect that is easiest to make large improvements in. Straight lines and perfect circles also do not occur naturally, and the goal is to try to “blur” that easily perceived distinction as much as possible.Choosing a Rifle Camouflage Scheme
When selecting a paint scheme, you’ll want to take into consideration the anticipated environment that you’ll be operating in, but there are a few generalities that can be applied in almost any environment:- – It’s usually easier to darken something in the field than lighten it
- – Dirt is almost everywhere, so tans and browns aren’t just for the desert
- – No matter where you go, black sucks
Materials and Supplies
For this article I used Krylon brand camouflage paint because it is (in my opinion) of significantly better quality than the more common Rustoleum. If Aervoe is available, that is an equal if not better option than Krylon, but it tends to be harder to find. I also prefer 3M brand masking tape, it tends to hold an edge better than the Duck brand tape. I use newspaper for the action. Scissors and a razor blade or knife make things much easier. Finally, some raffia for our pattern.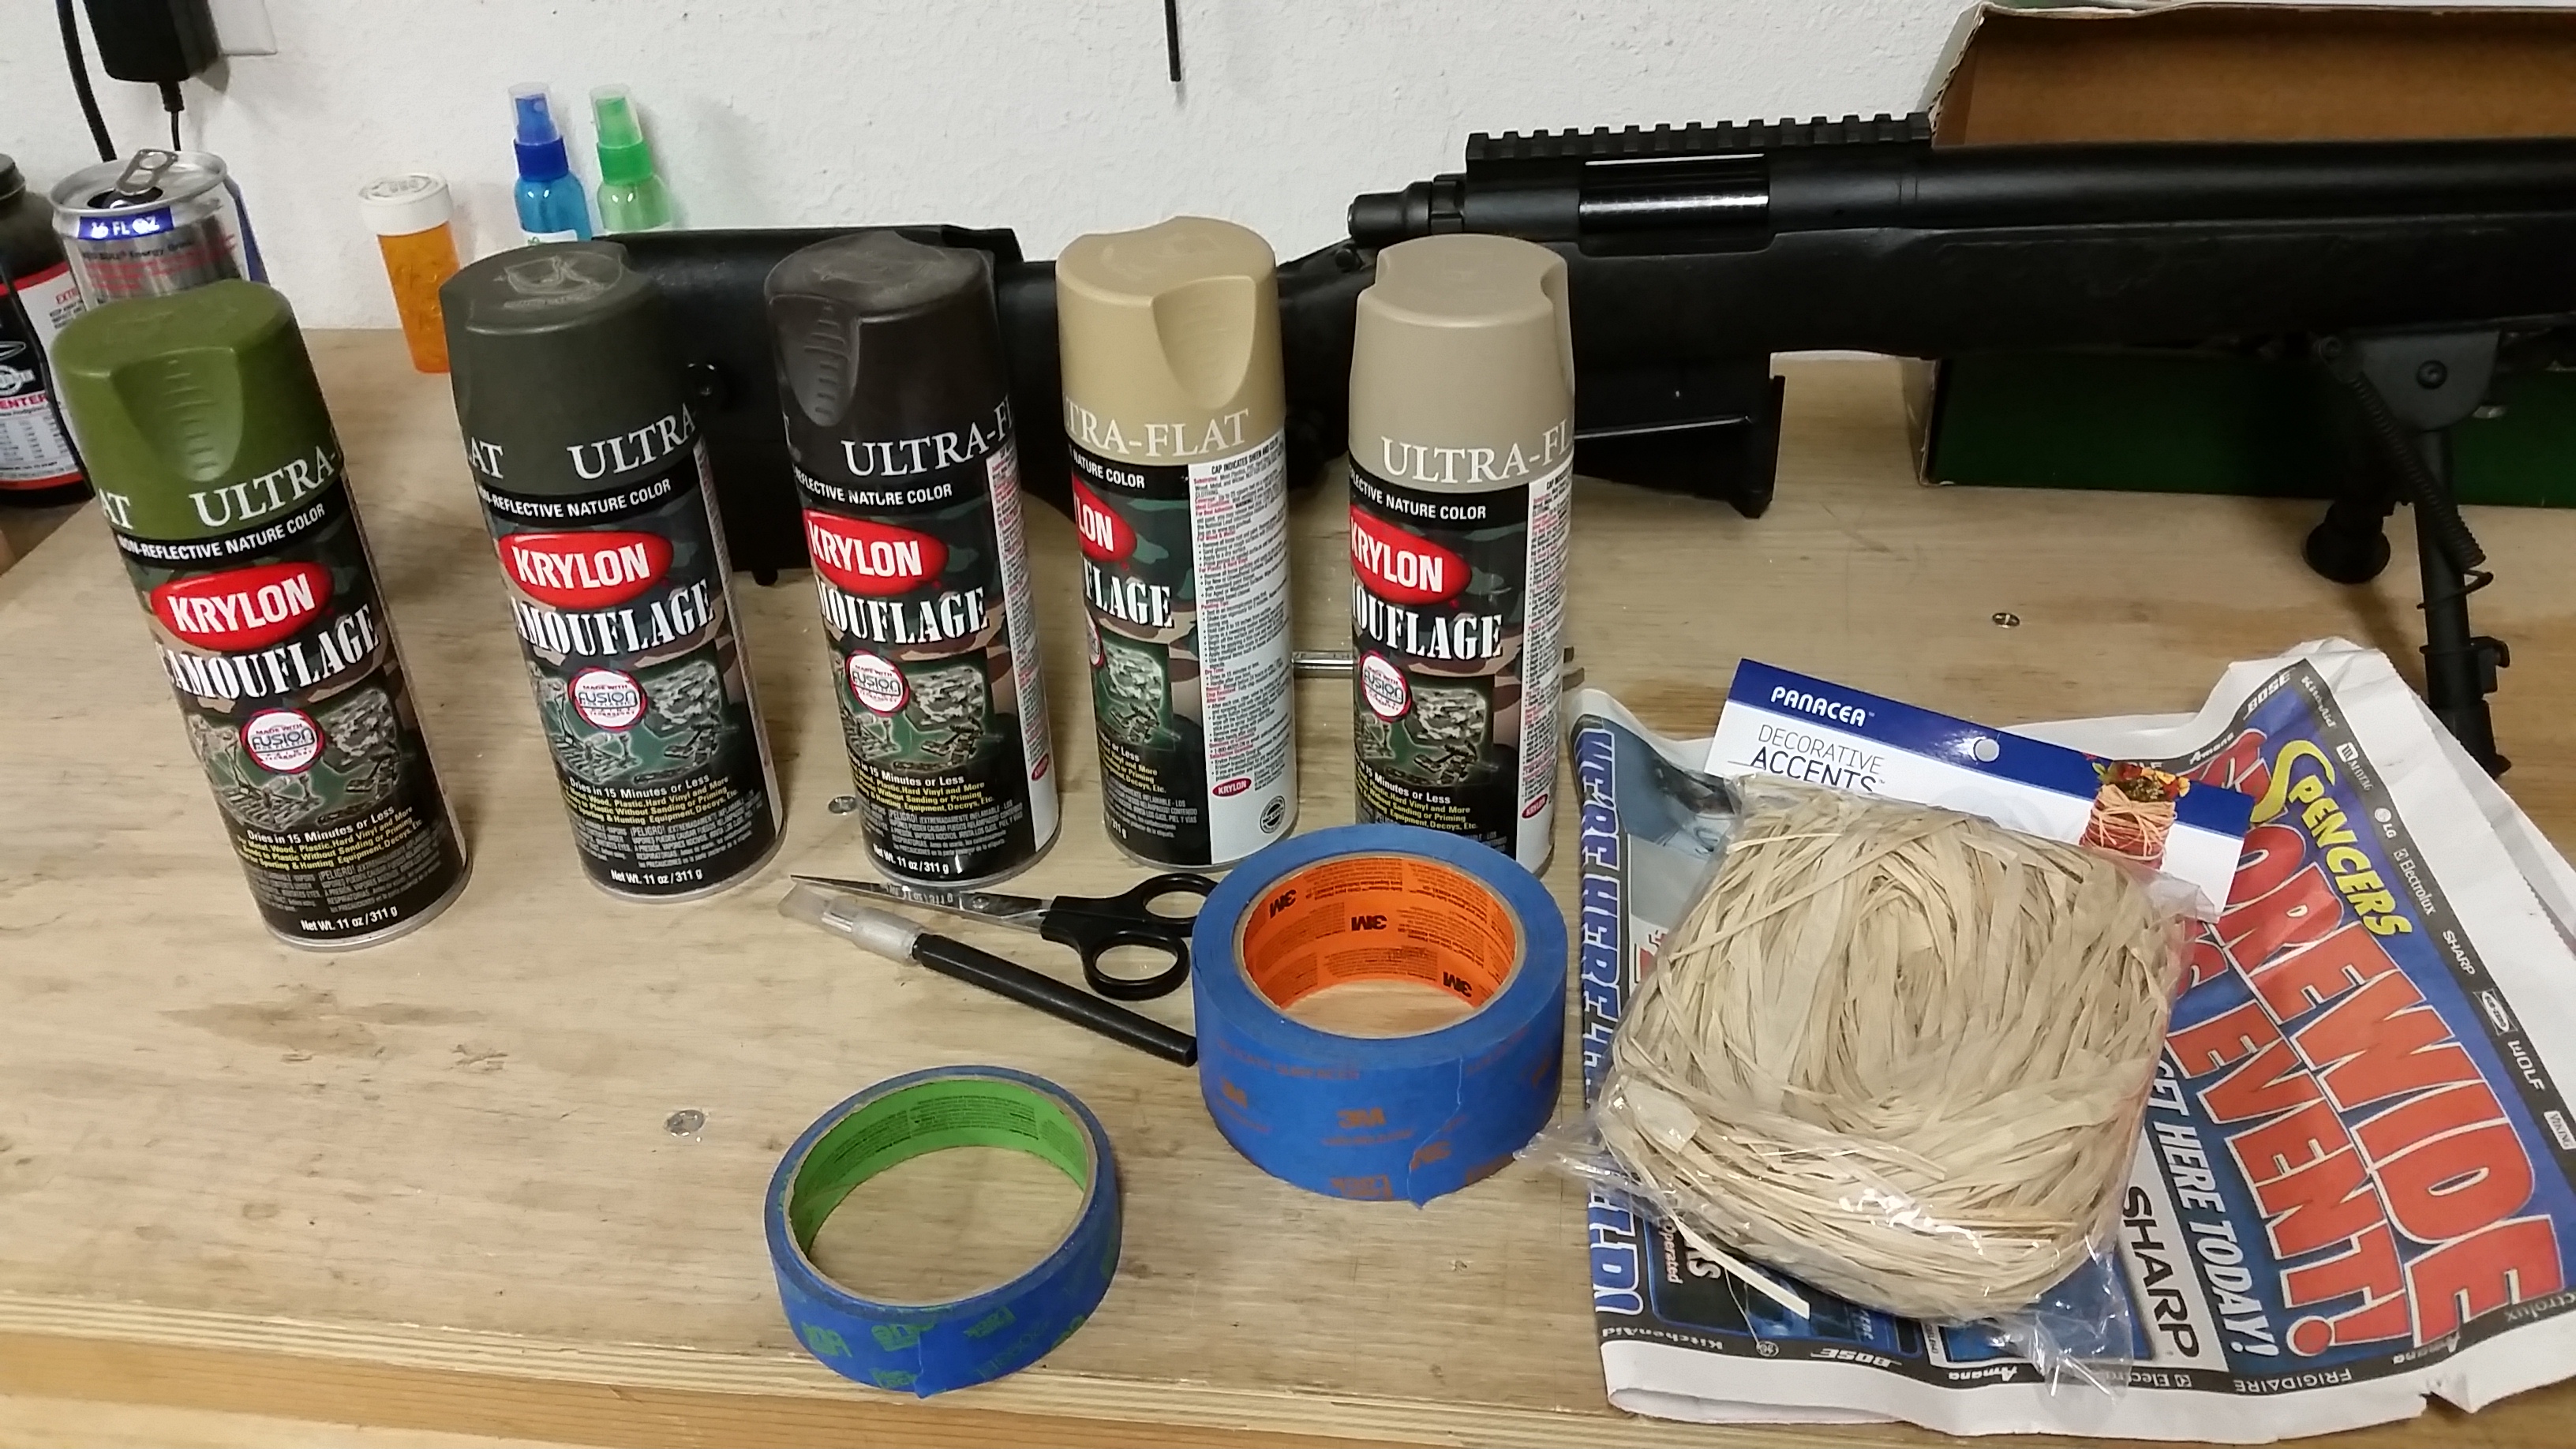 Paint, masking tape, scissors, exacto knife, newspaper, raffia
Preparing and Masking the Rifle
Once you have cleared the weapon, field strip the weapon and remove any oil or lubrication from the areas that are getting painted. Do it right the first time, because while no we aren’t going for looks, having the paint run and not properly stick just sucks and ends up being more work on you anyway. Commercial products like Simple Green can work, but use what you have available and don’t get too wrapped around the axle about cleaning every millimeter of your weapon’s innards – we won’t be painting that part anyway.What to Mask Before Painting
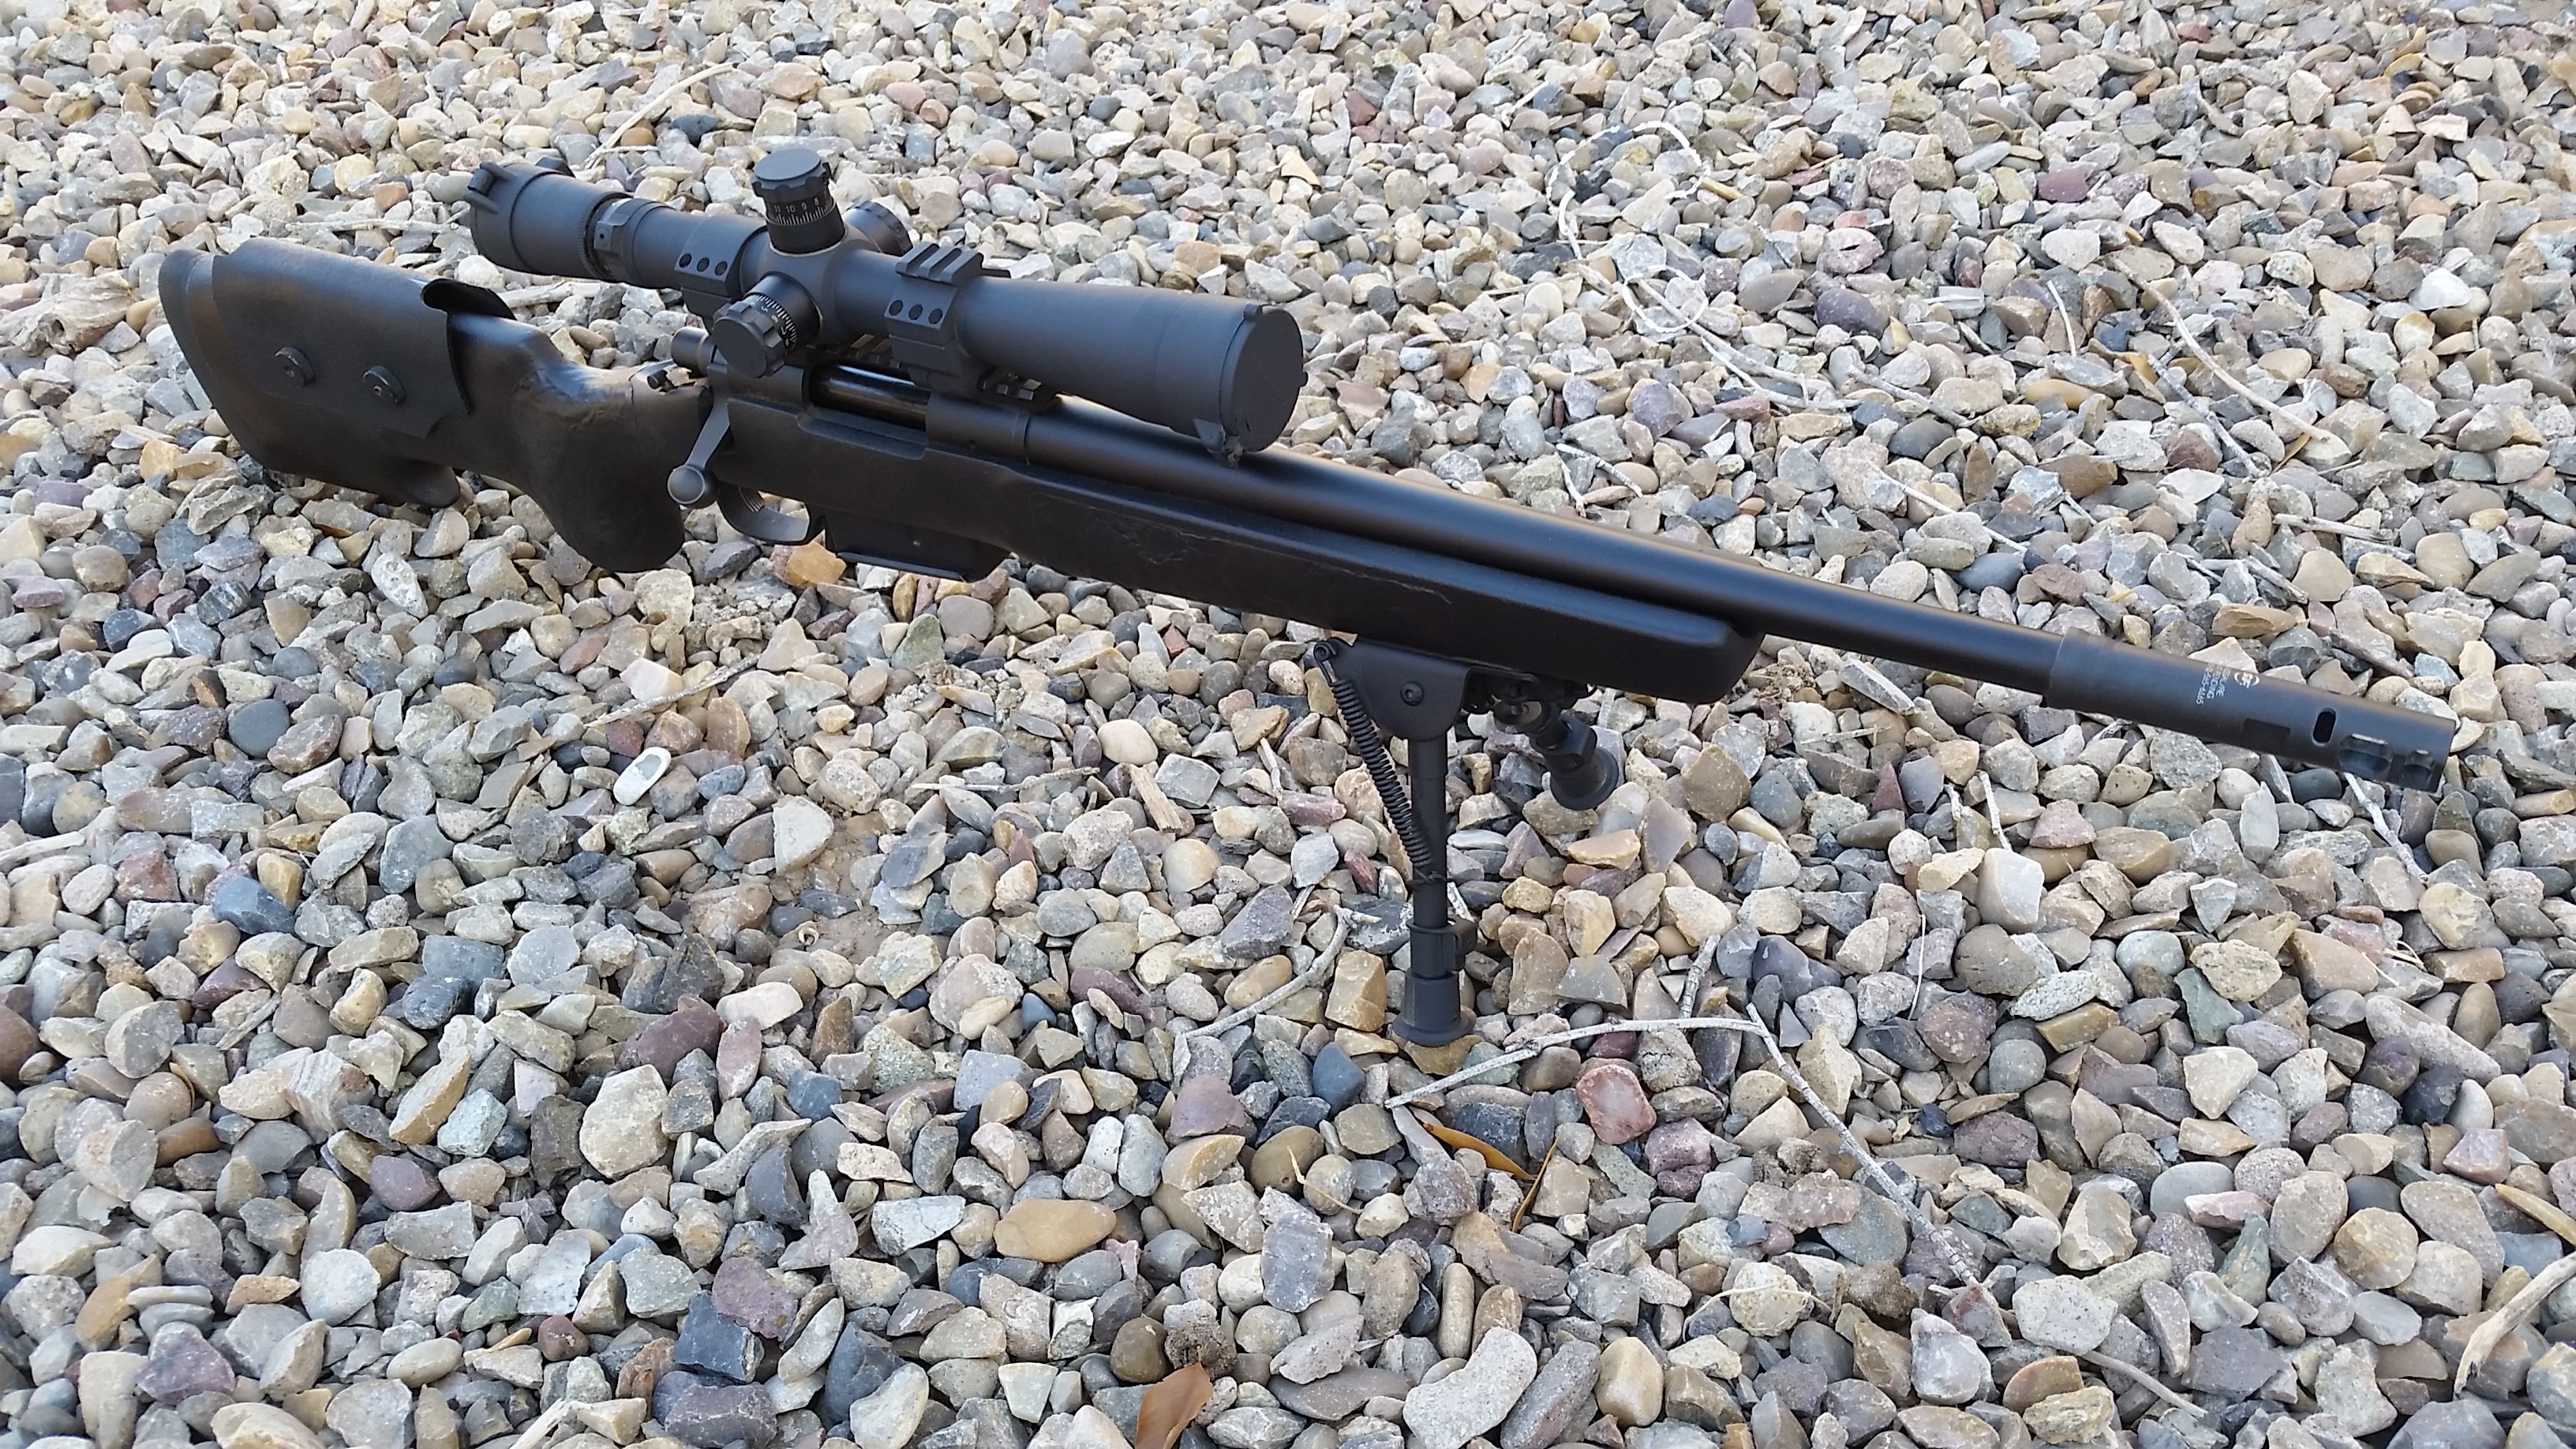
Again, I have a few general rules that I follow, but based on your weapon system use your good judgement. In this case, we are painting a Remington 700, which is about as simple as it gets. Mask it off if –- It needs to be seen through
- It needs to move/it can affect operation
- It has numbers or indicators that need to be read
- It is rubberized and won’t take paint well anyway
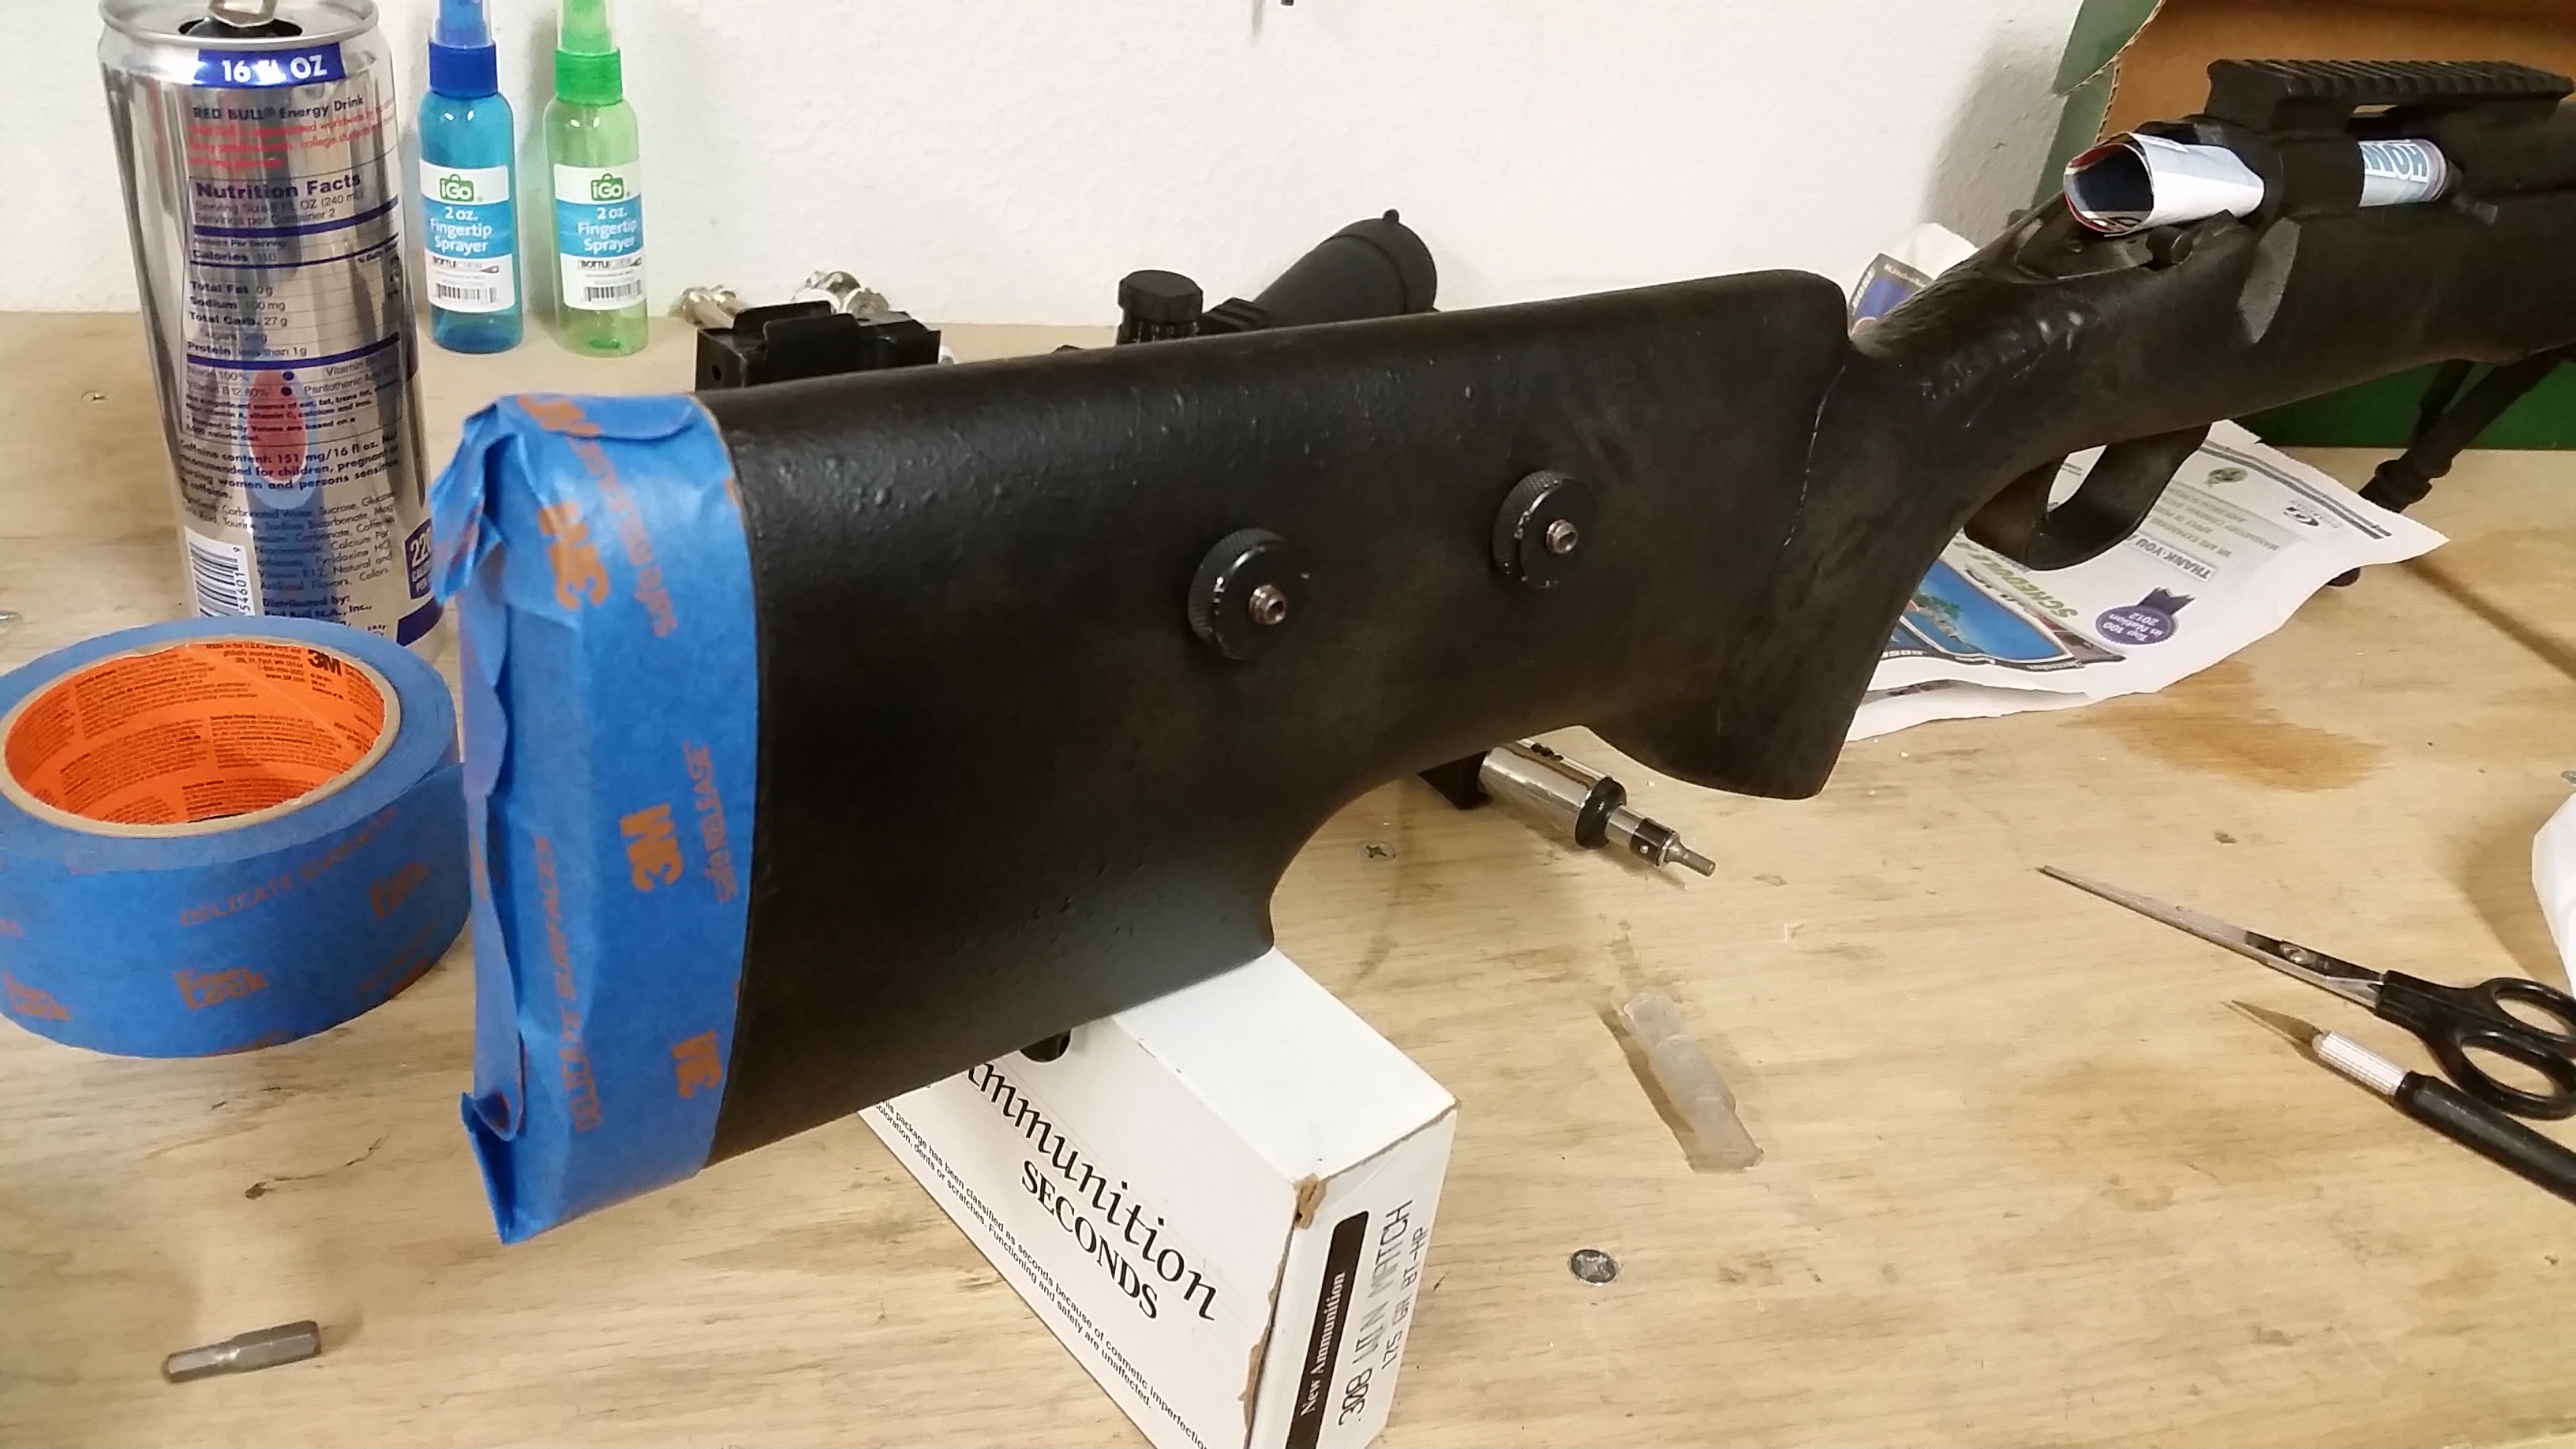 She obviously does squats
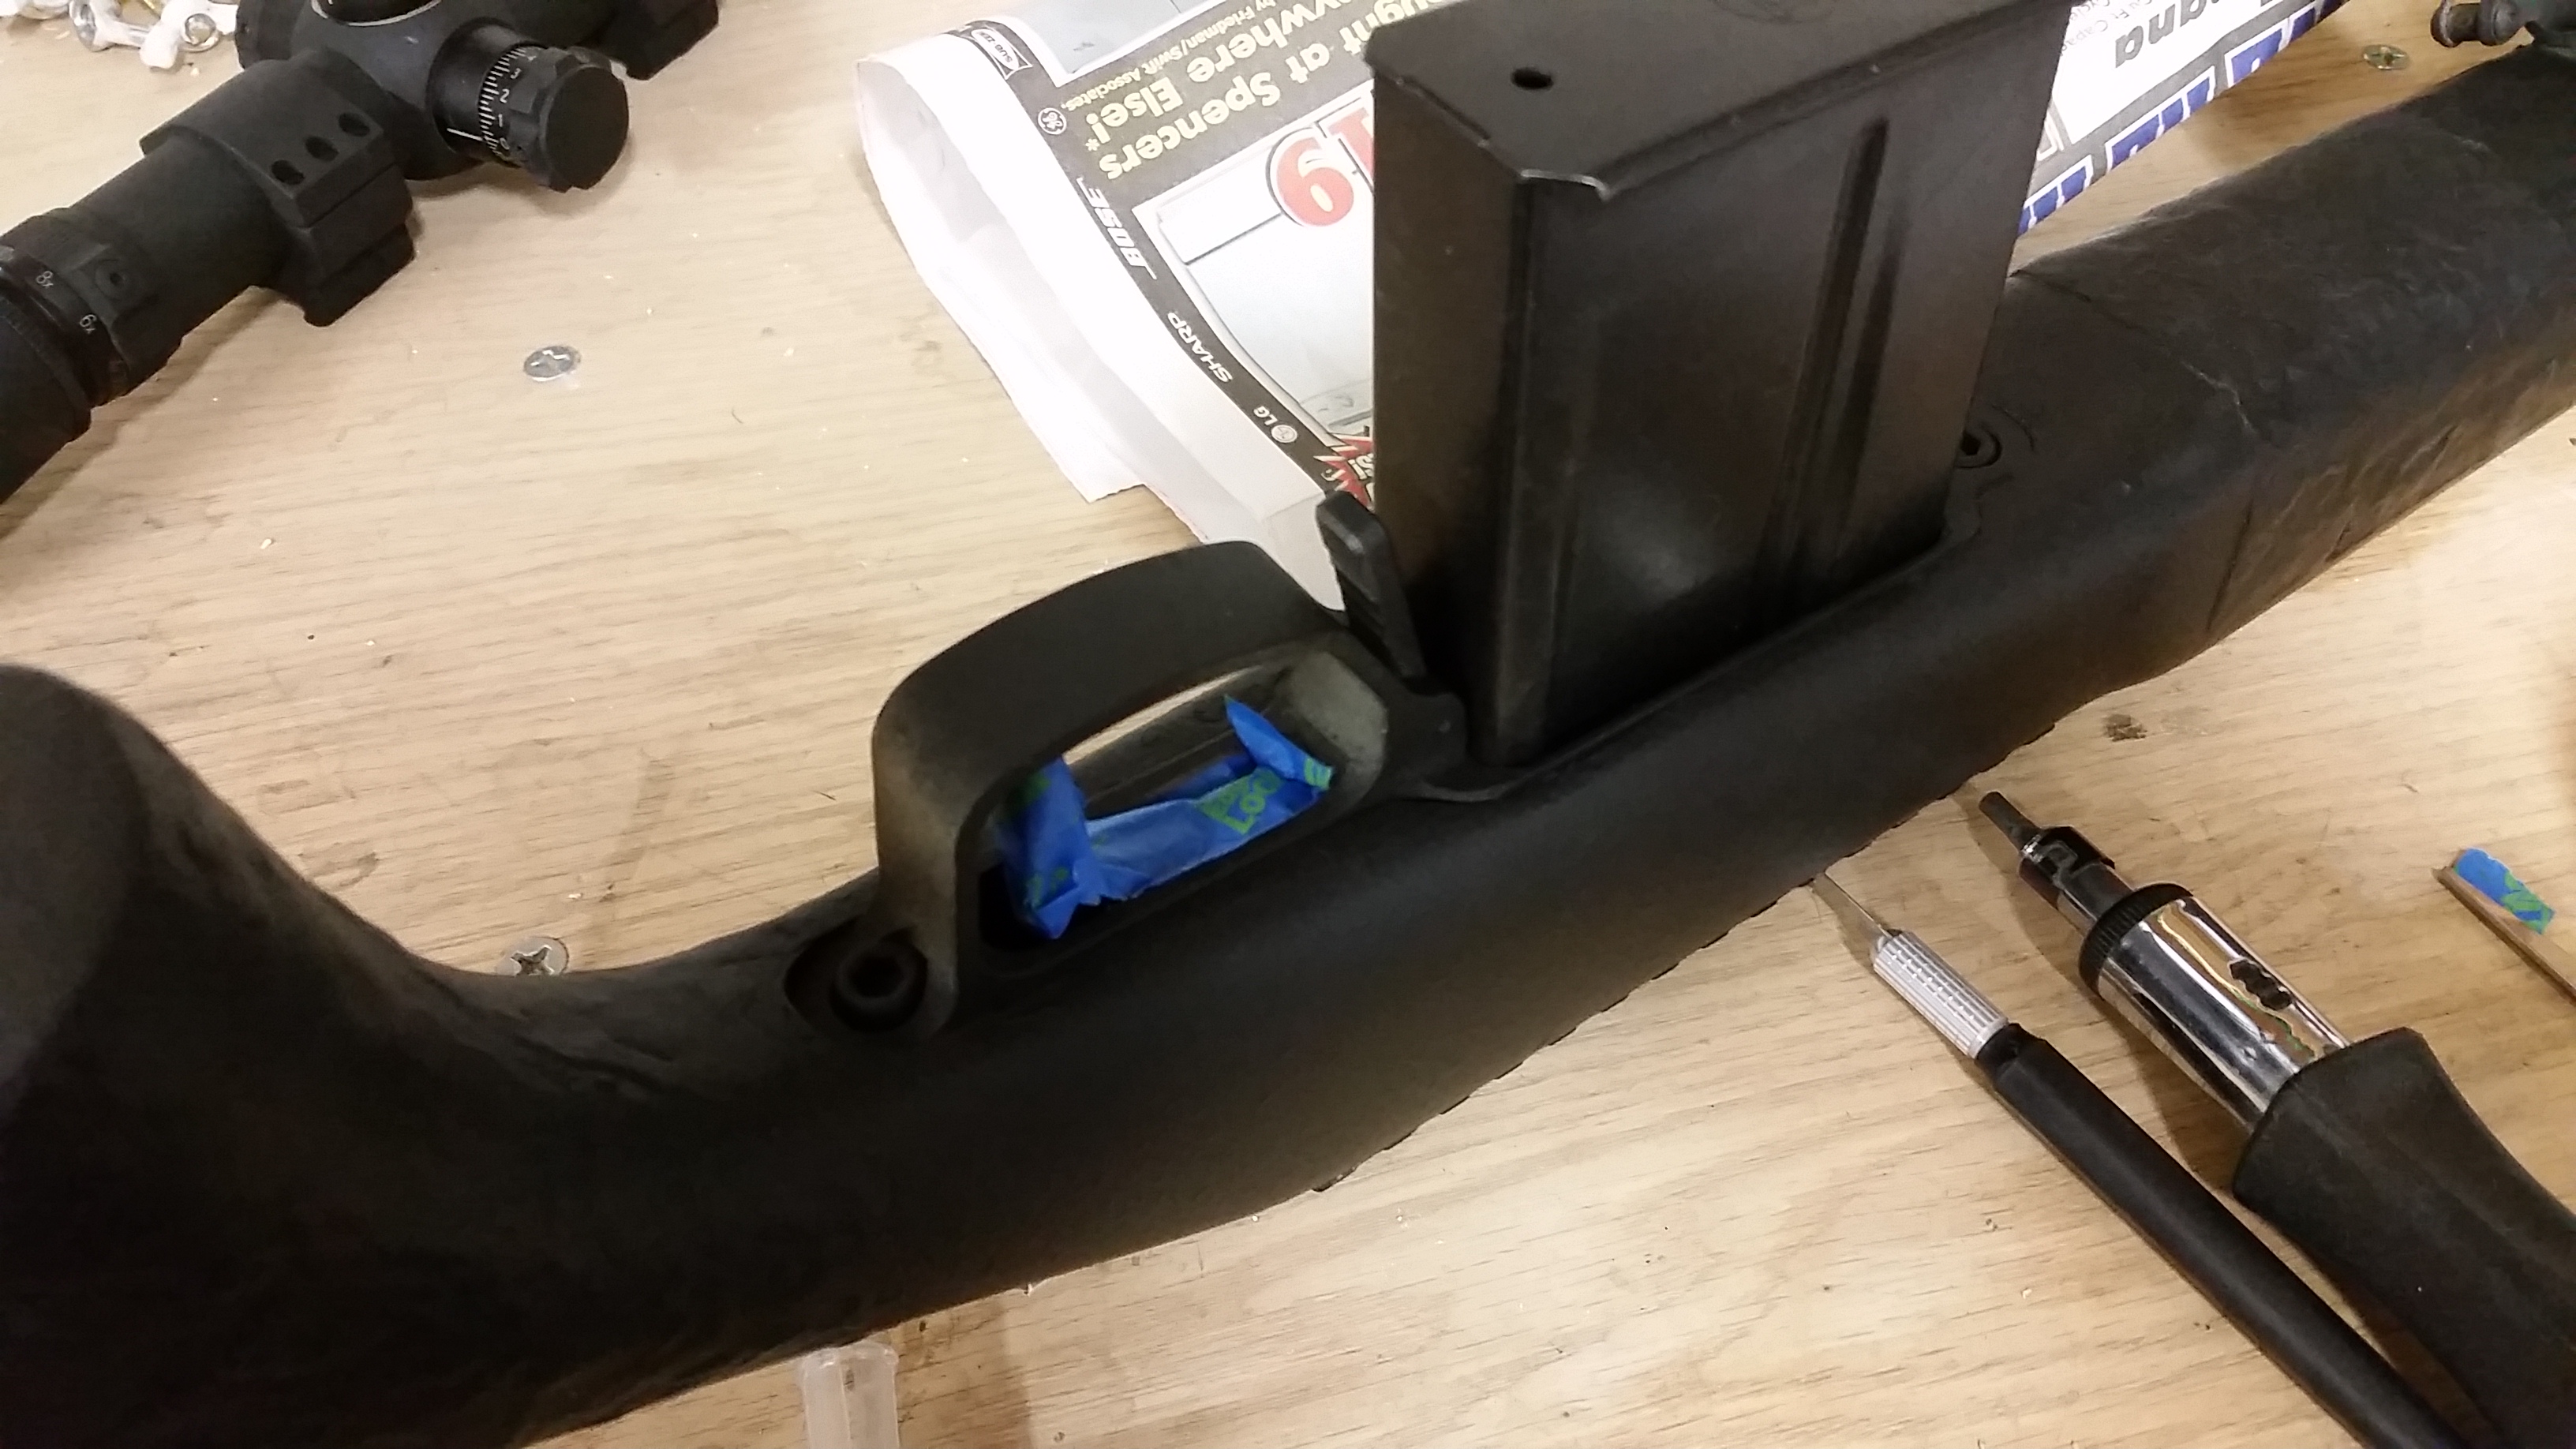
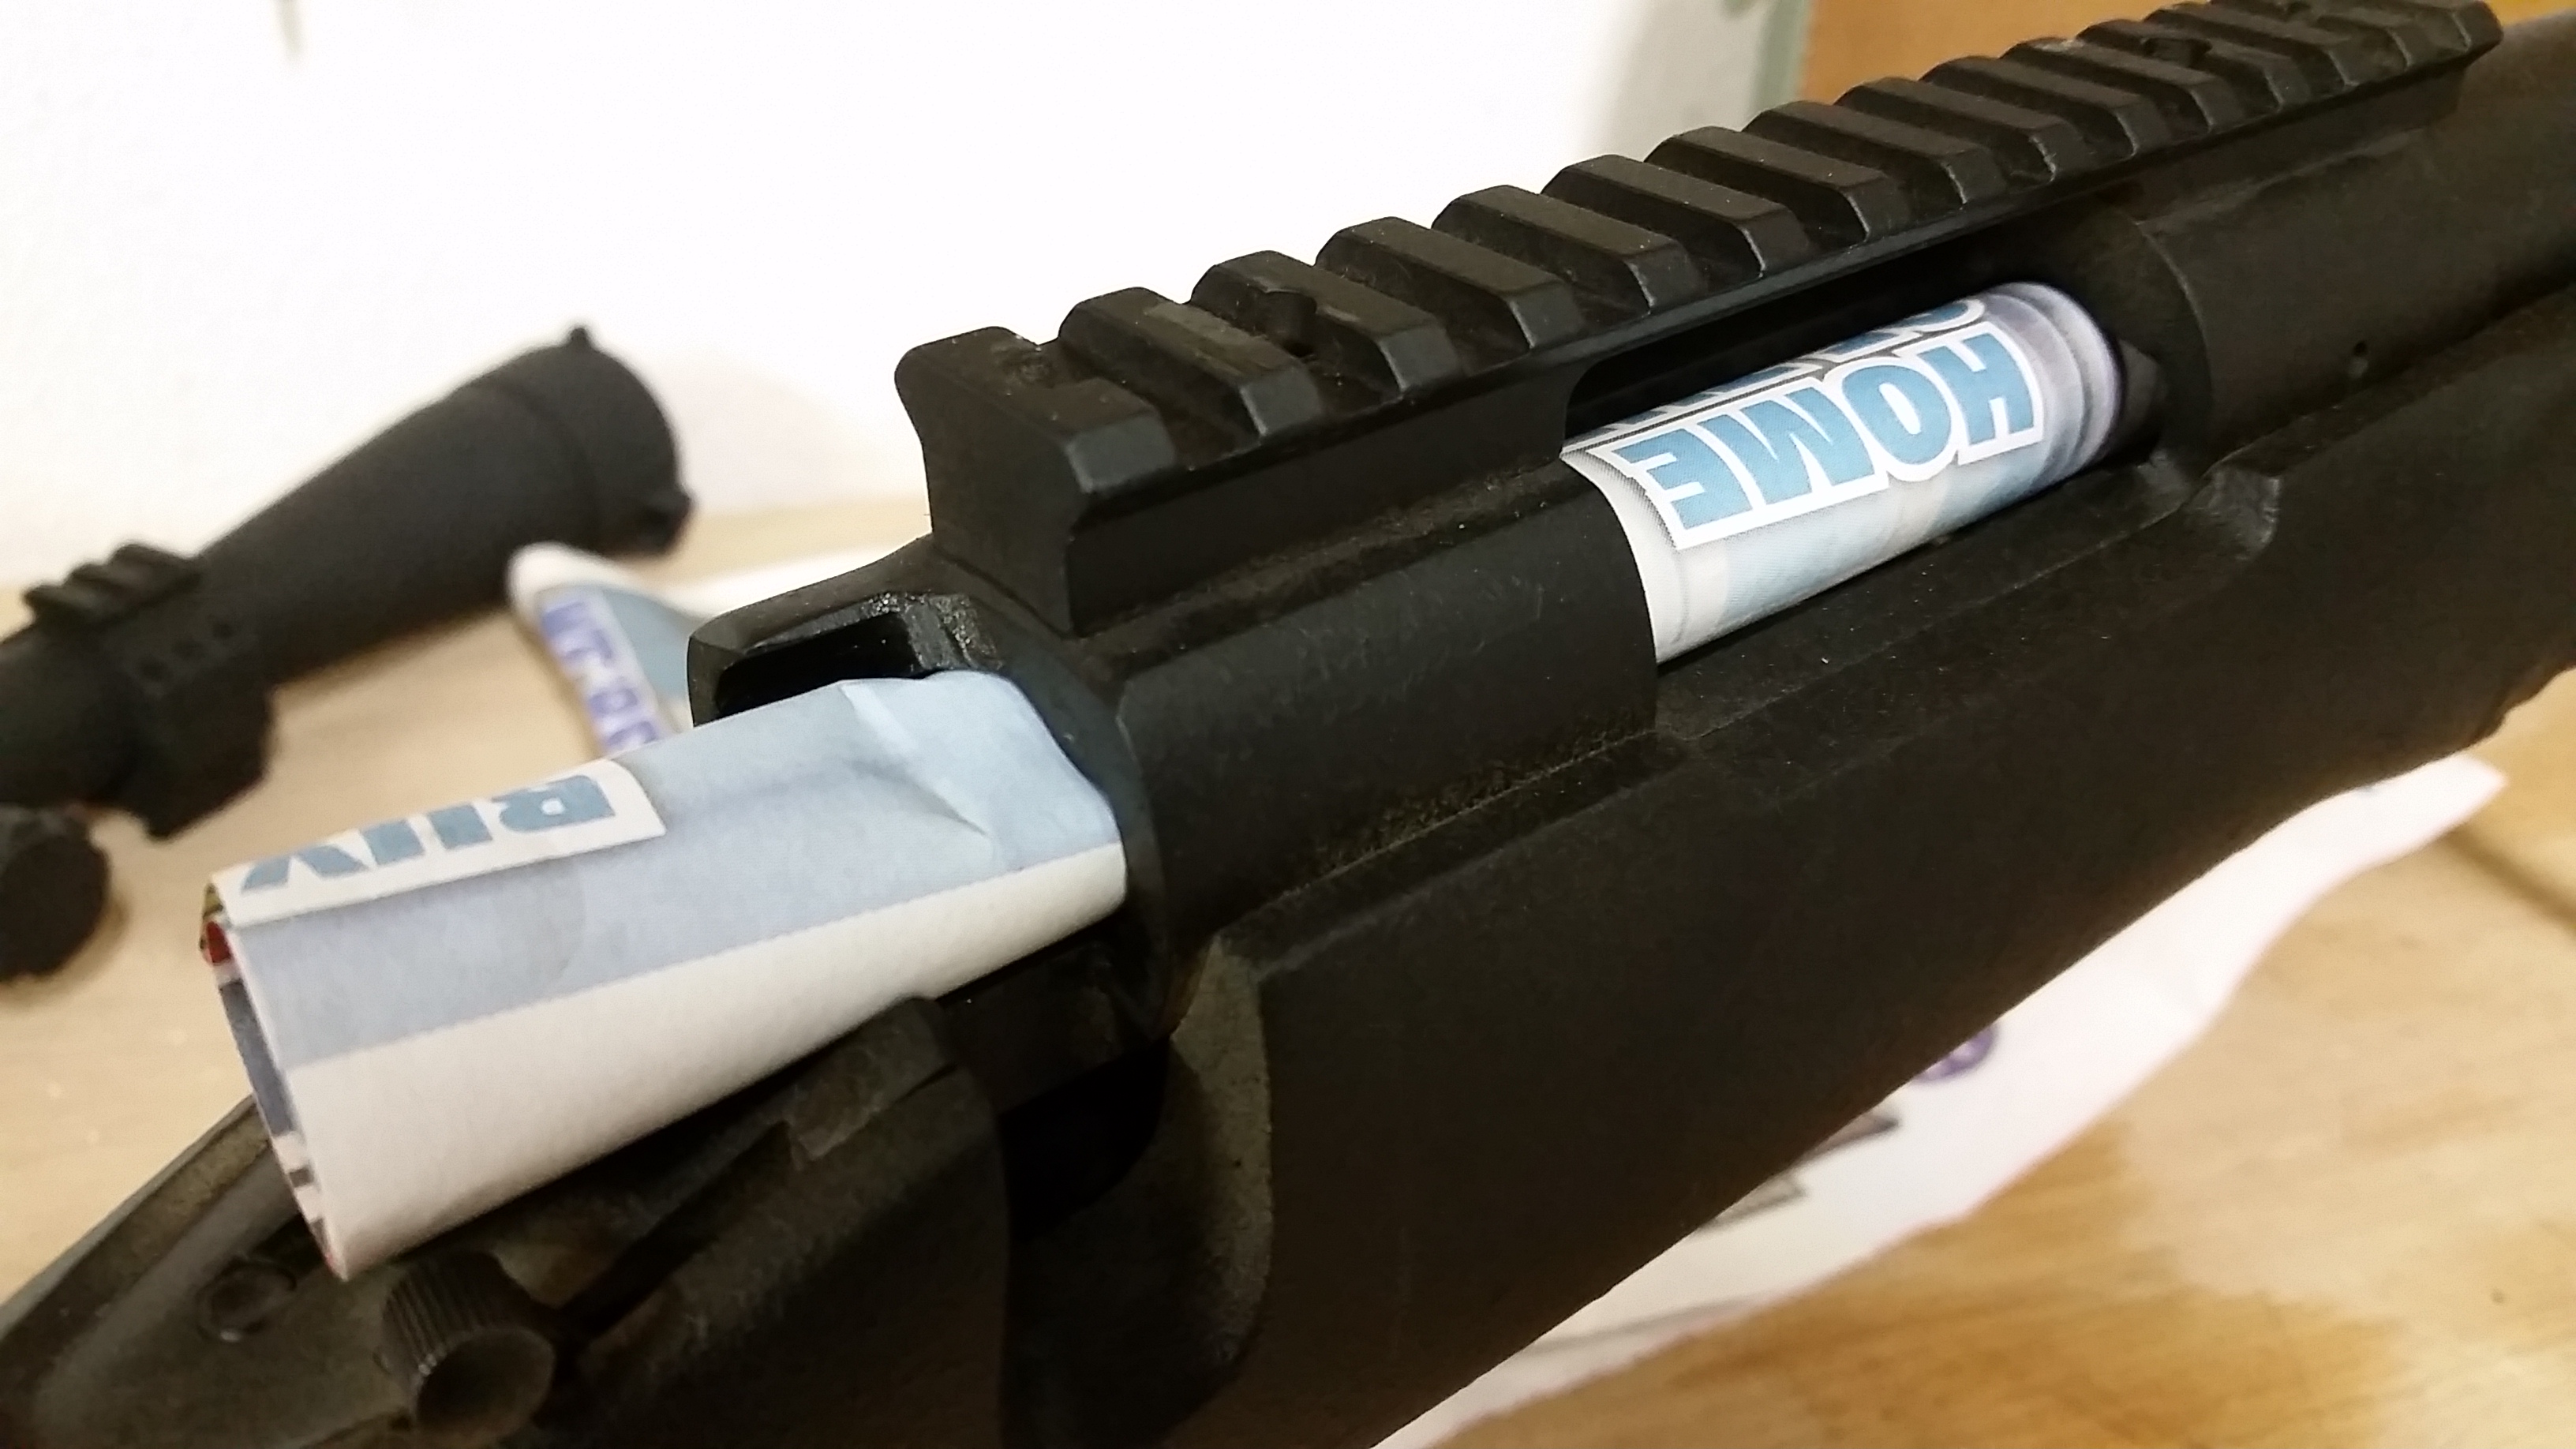 A rolled up piece of newspaper works well for the action
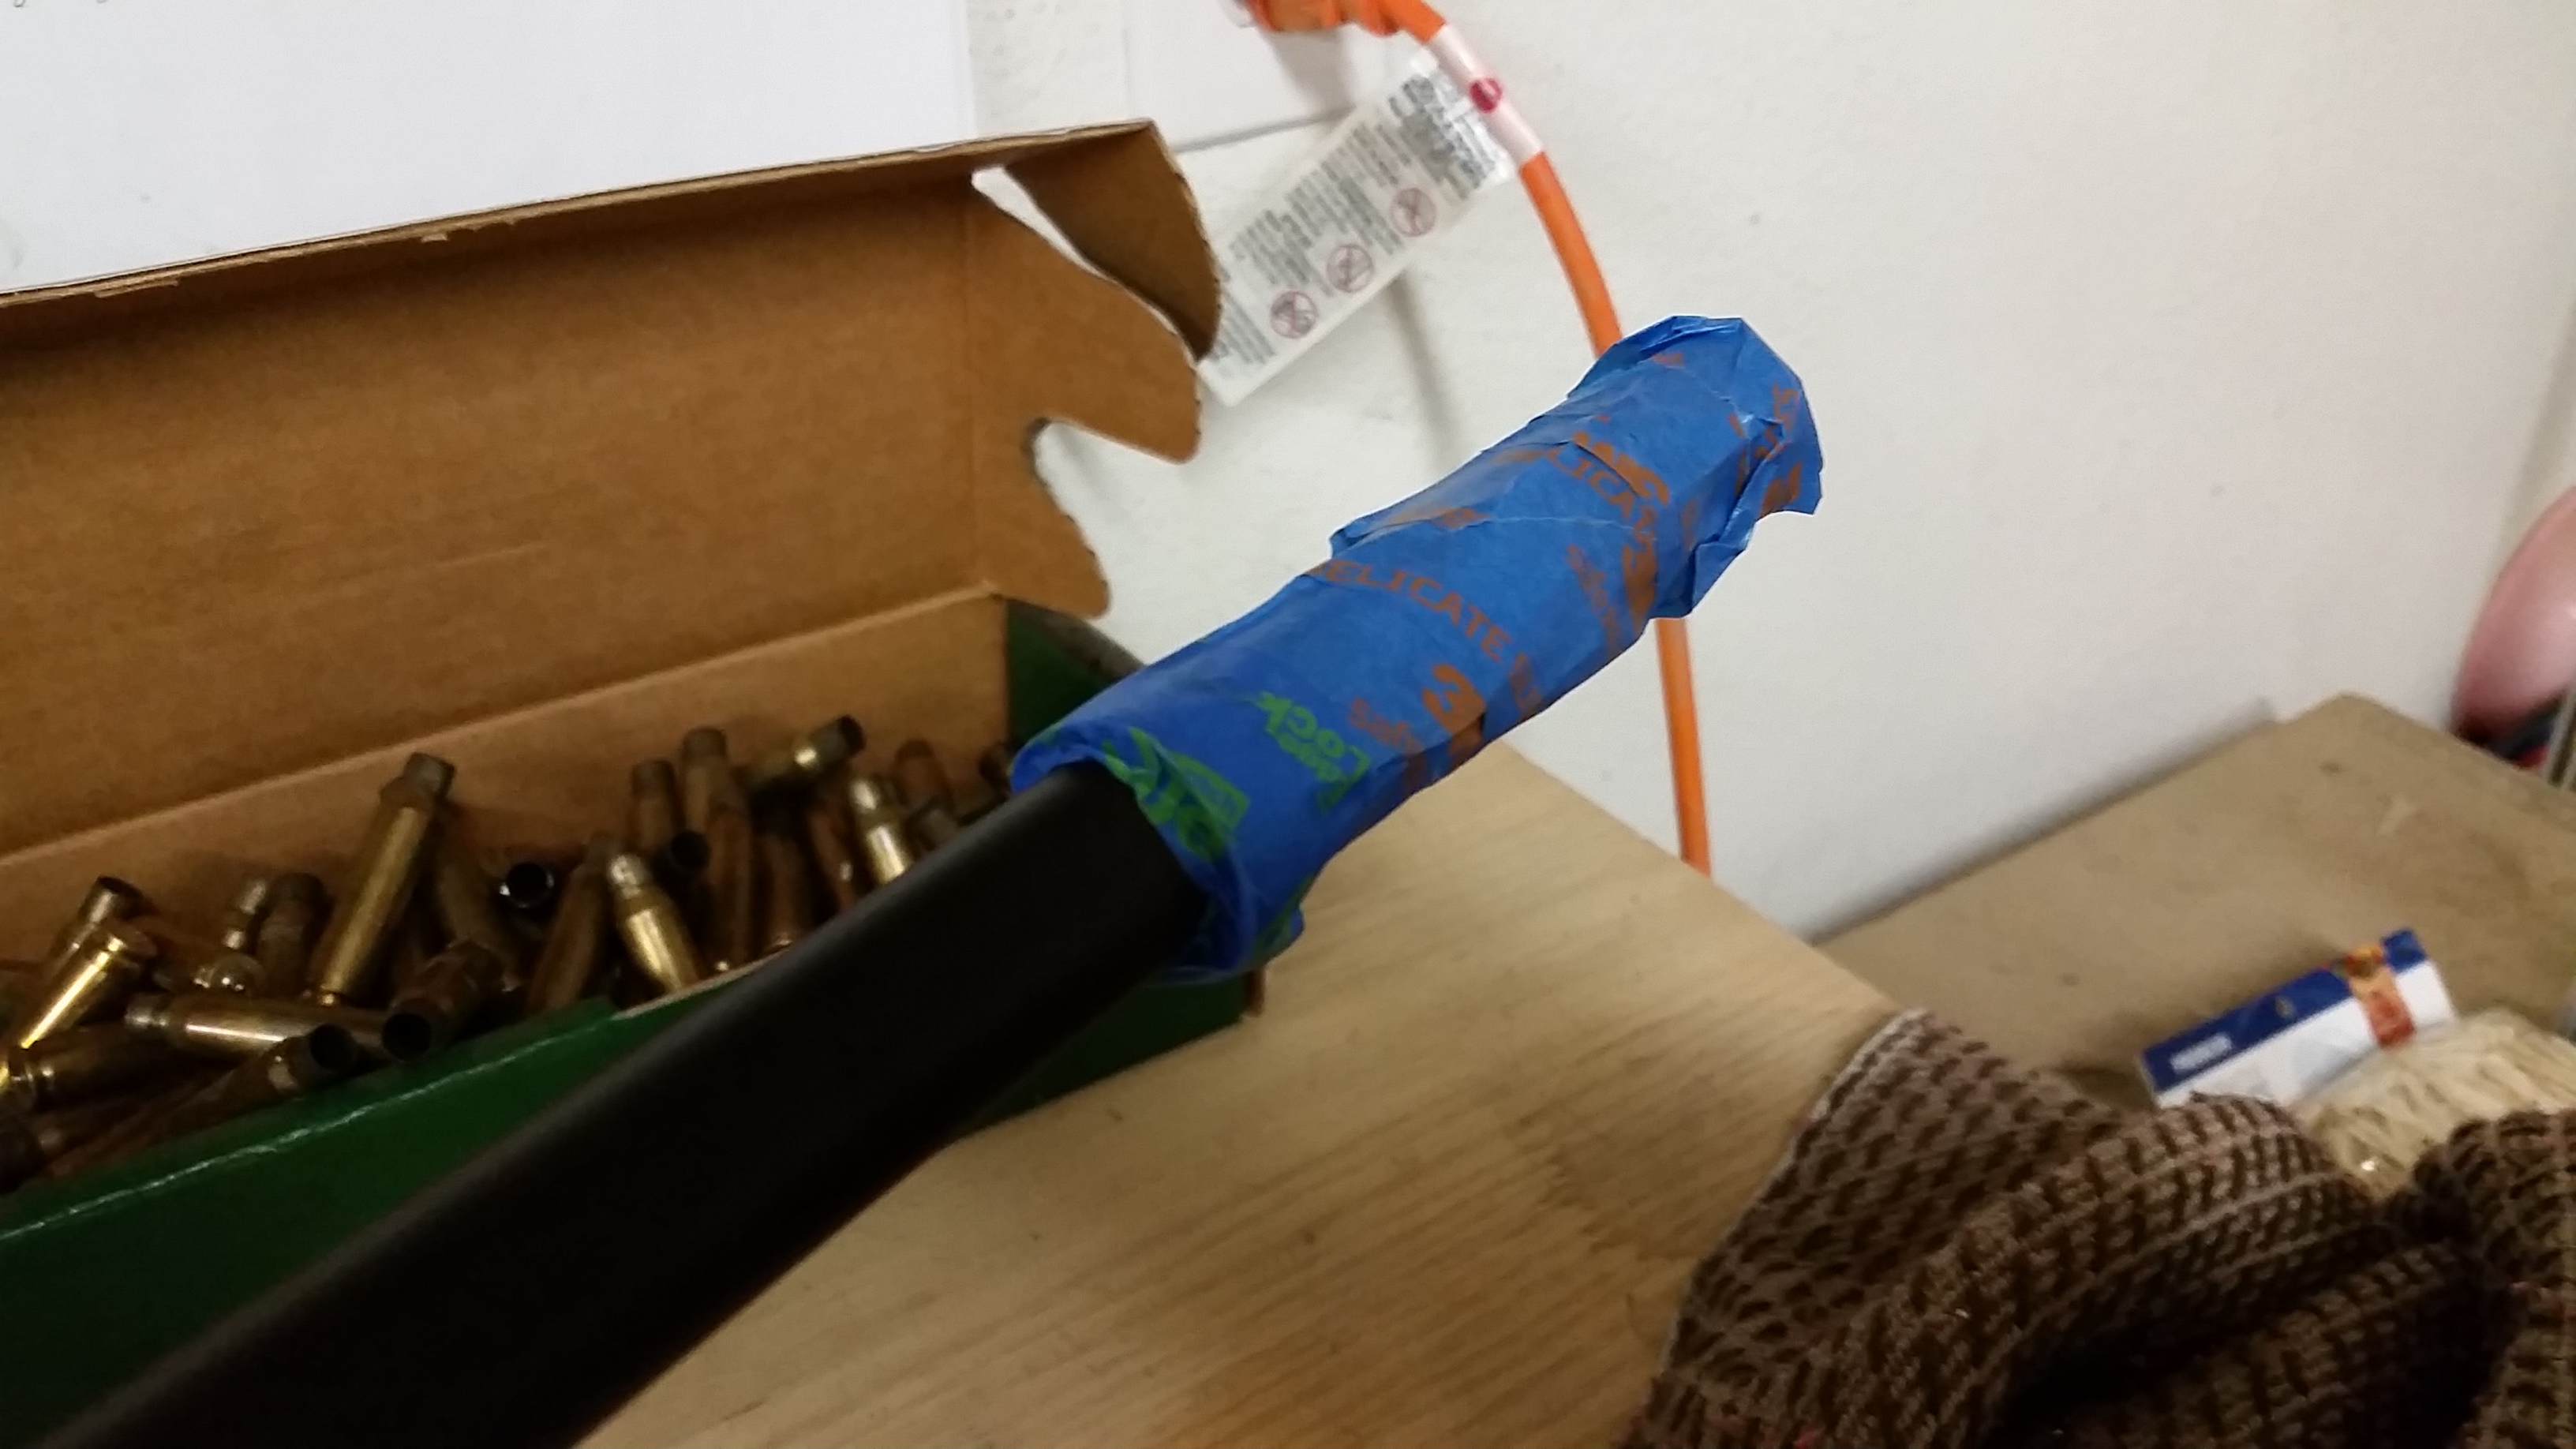 A note about the muzzle device – if it is used for interfacing/mounting a suppressor in any way, don’t paint it. The paint will just gum up and make it a pain in the ass to get the suppressor off. However, if it is just a brake/flash hider/comp/whatever, go right ahead.
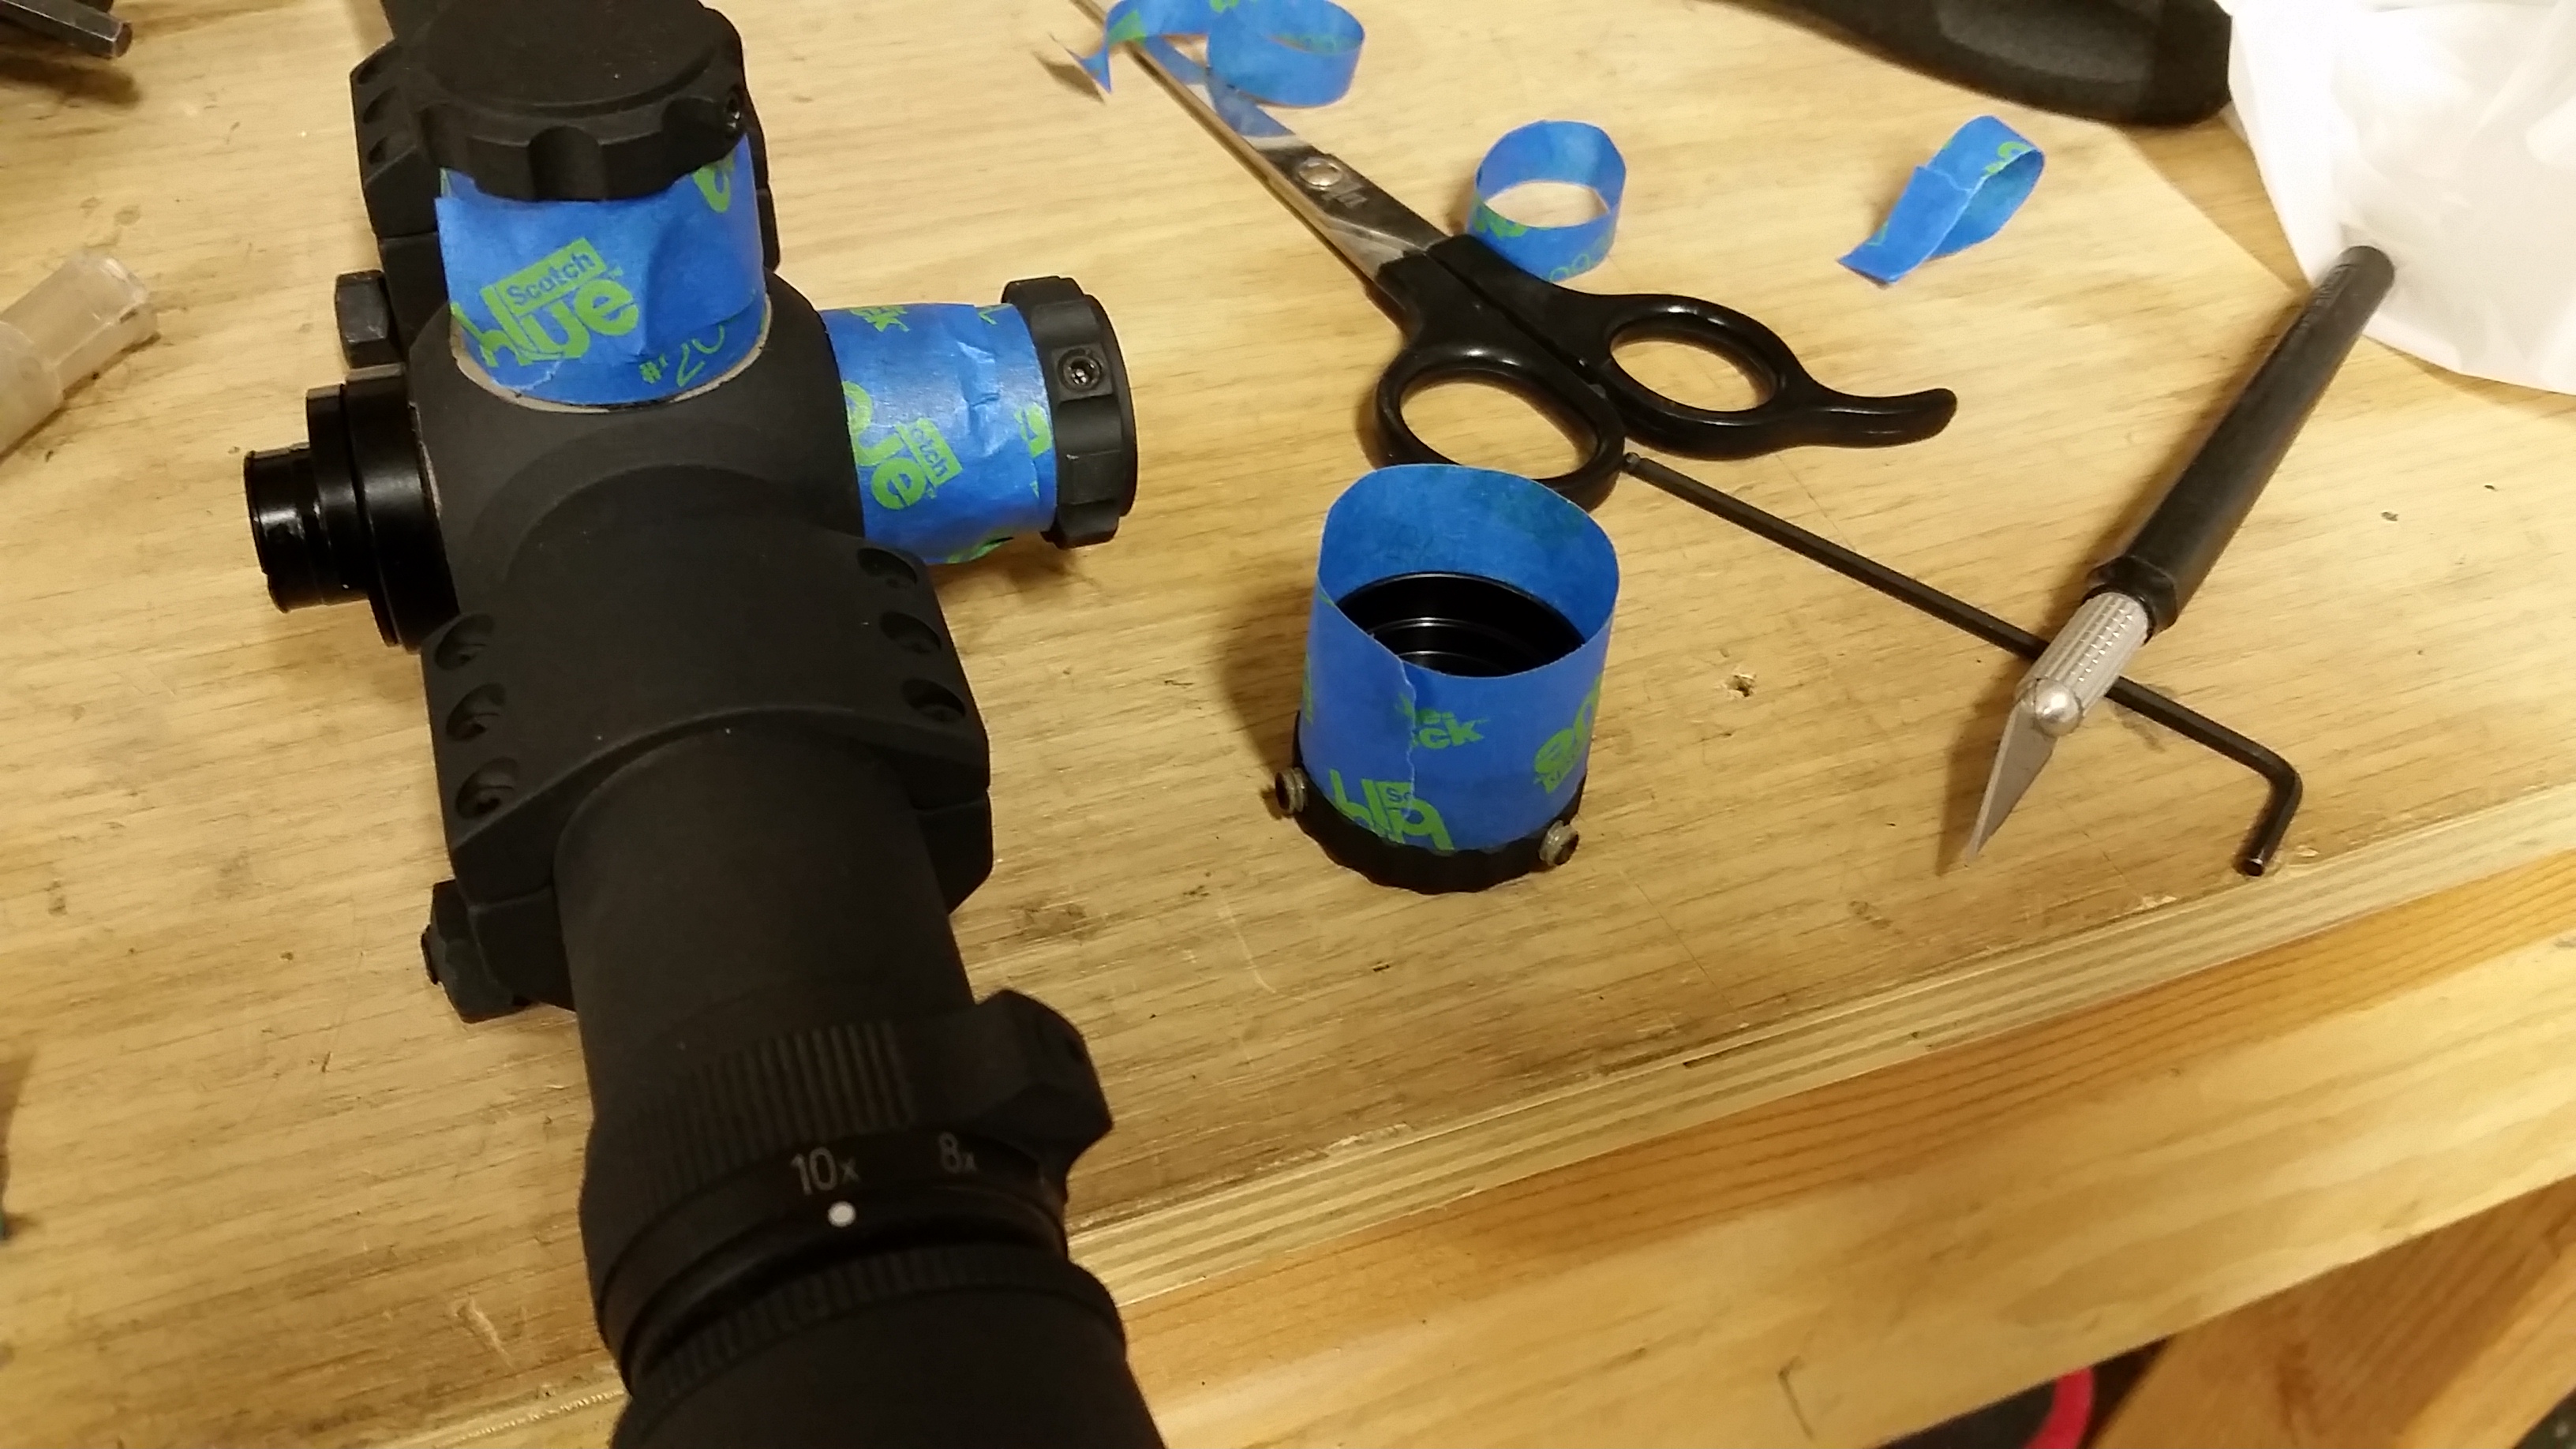
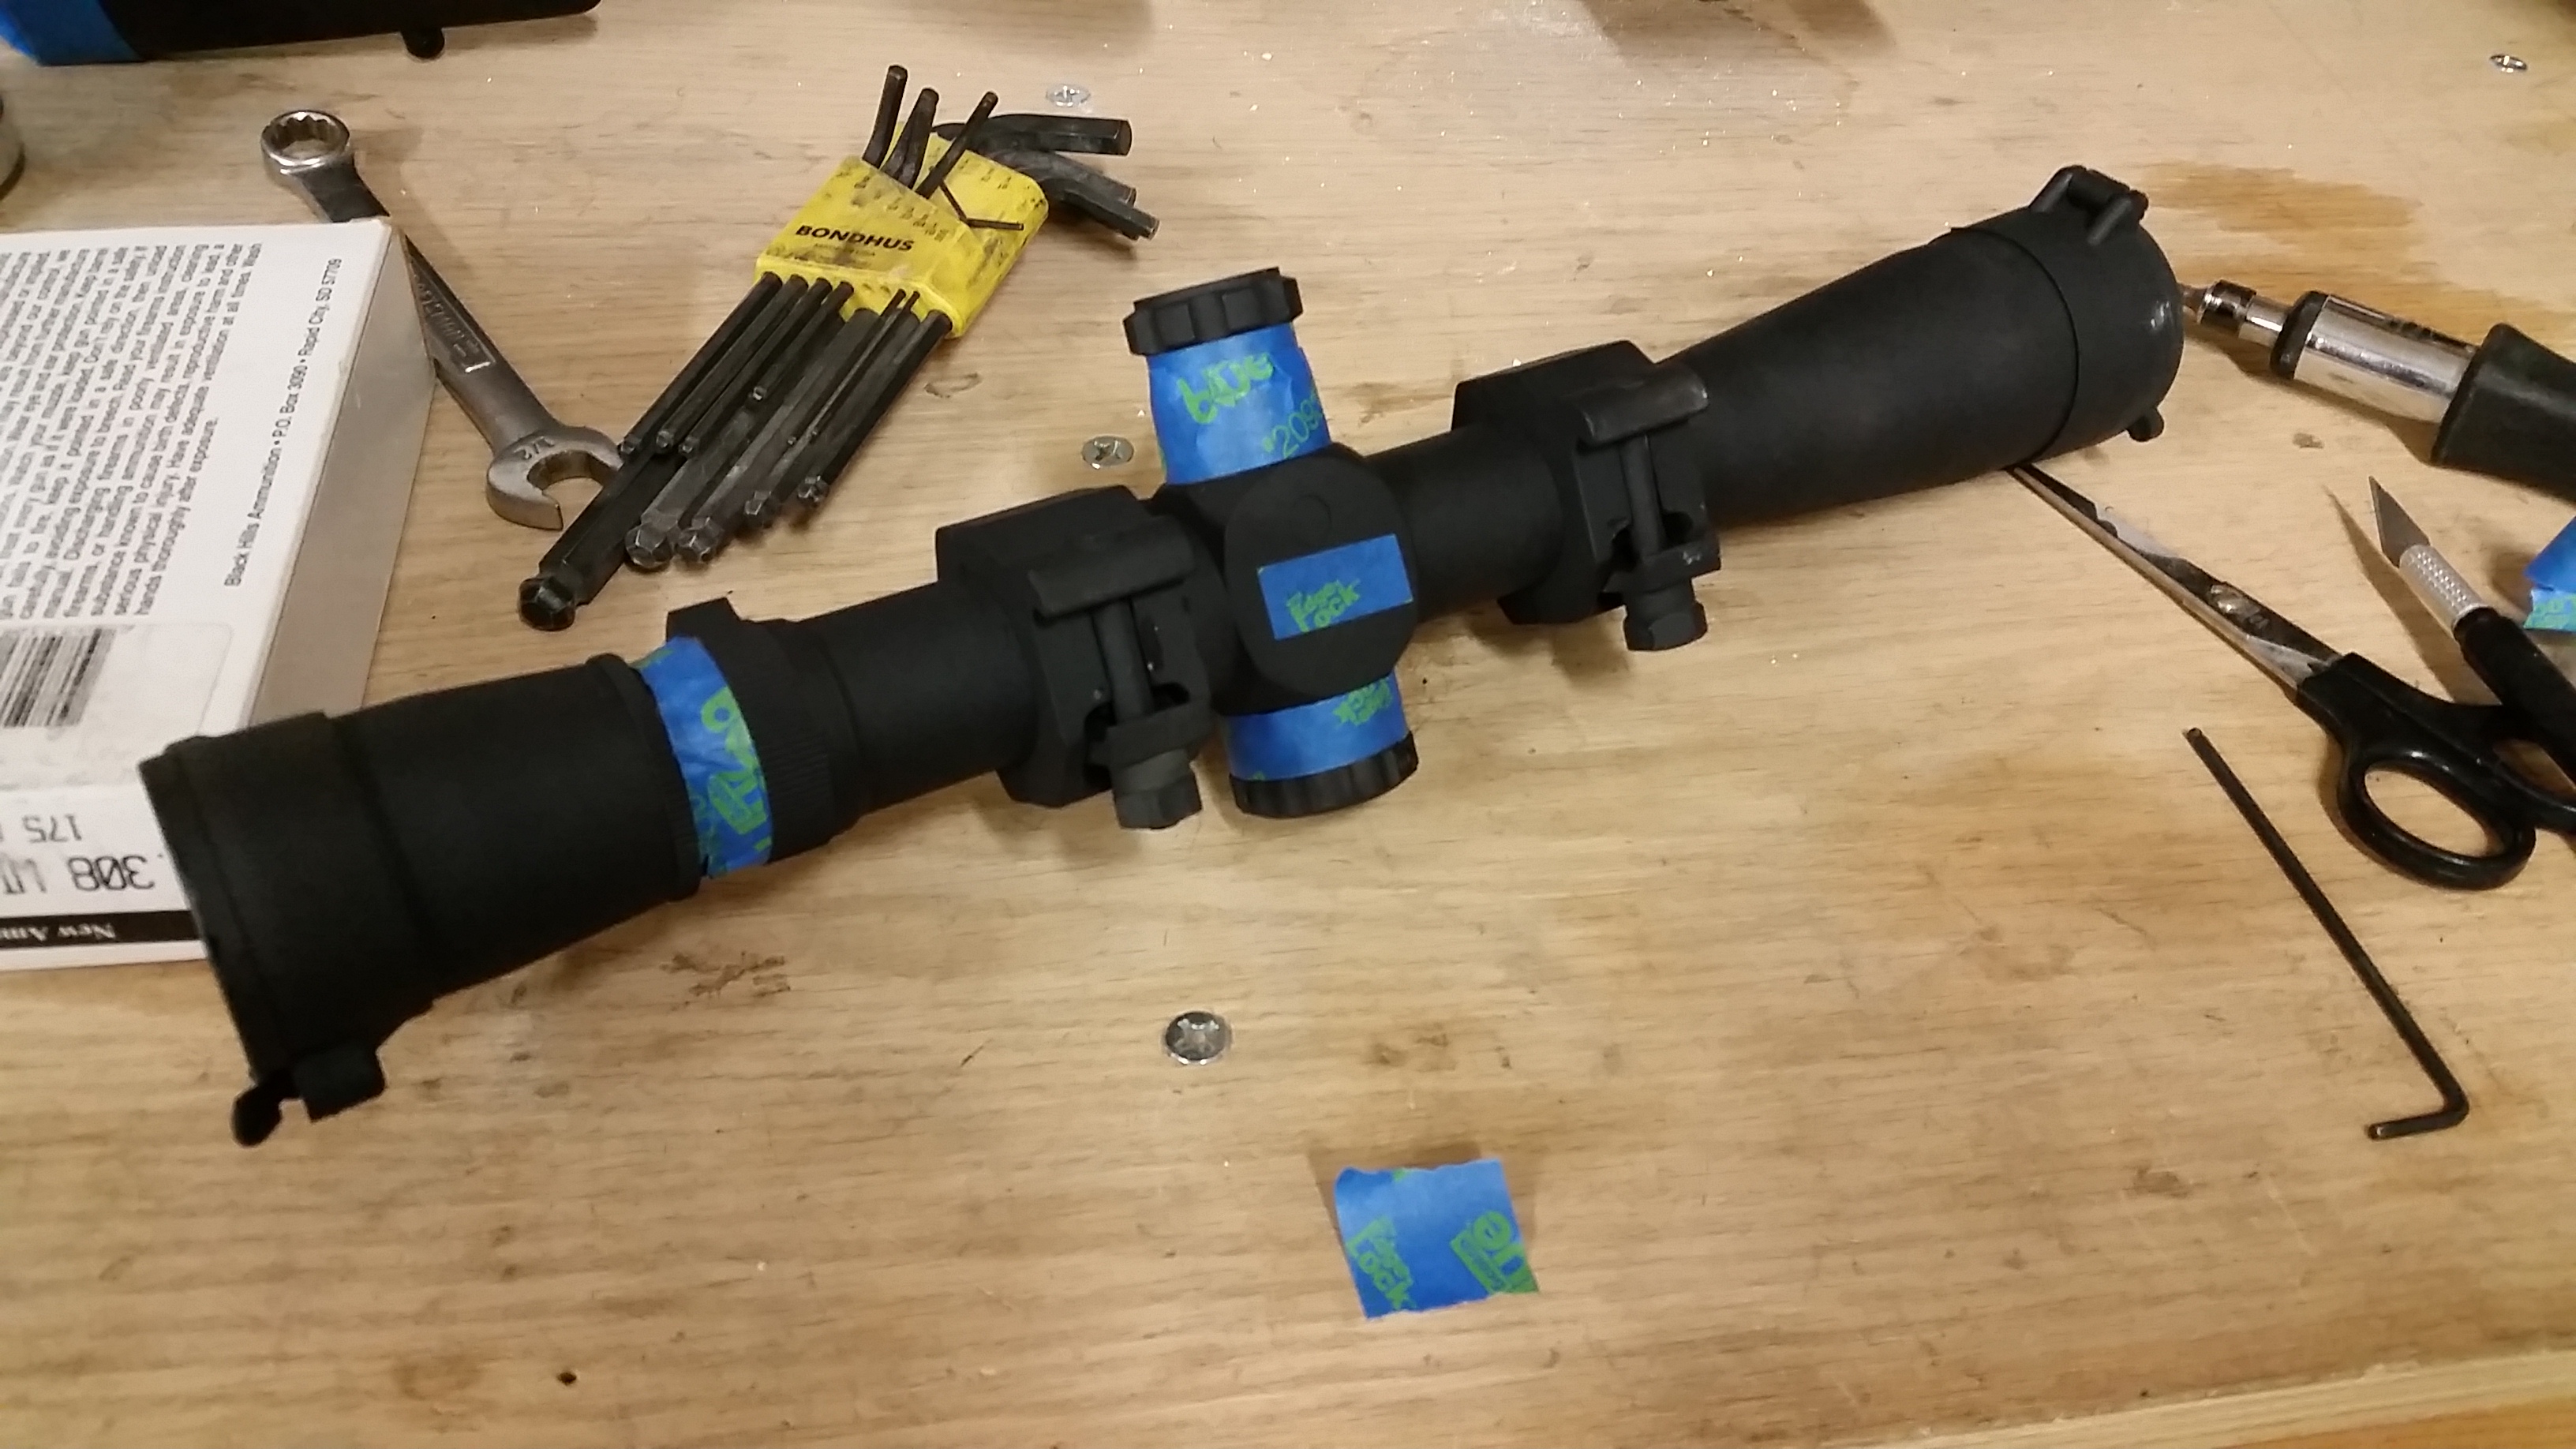 Remember to mask off the serial number if it is laser printed on (most are), as well as any UID (bar code type) identification numbers. I don’t worry too much about engraved S/N’s, but official guidance says to mask them off. More on that later.
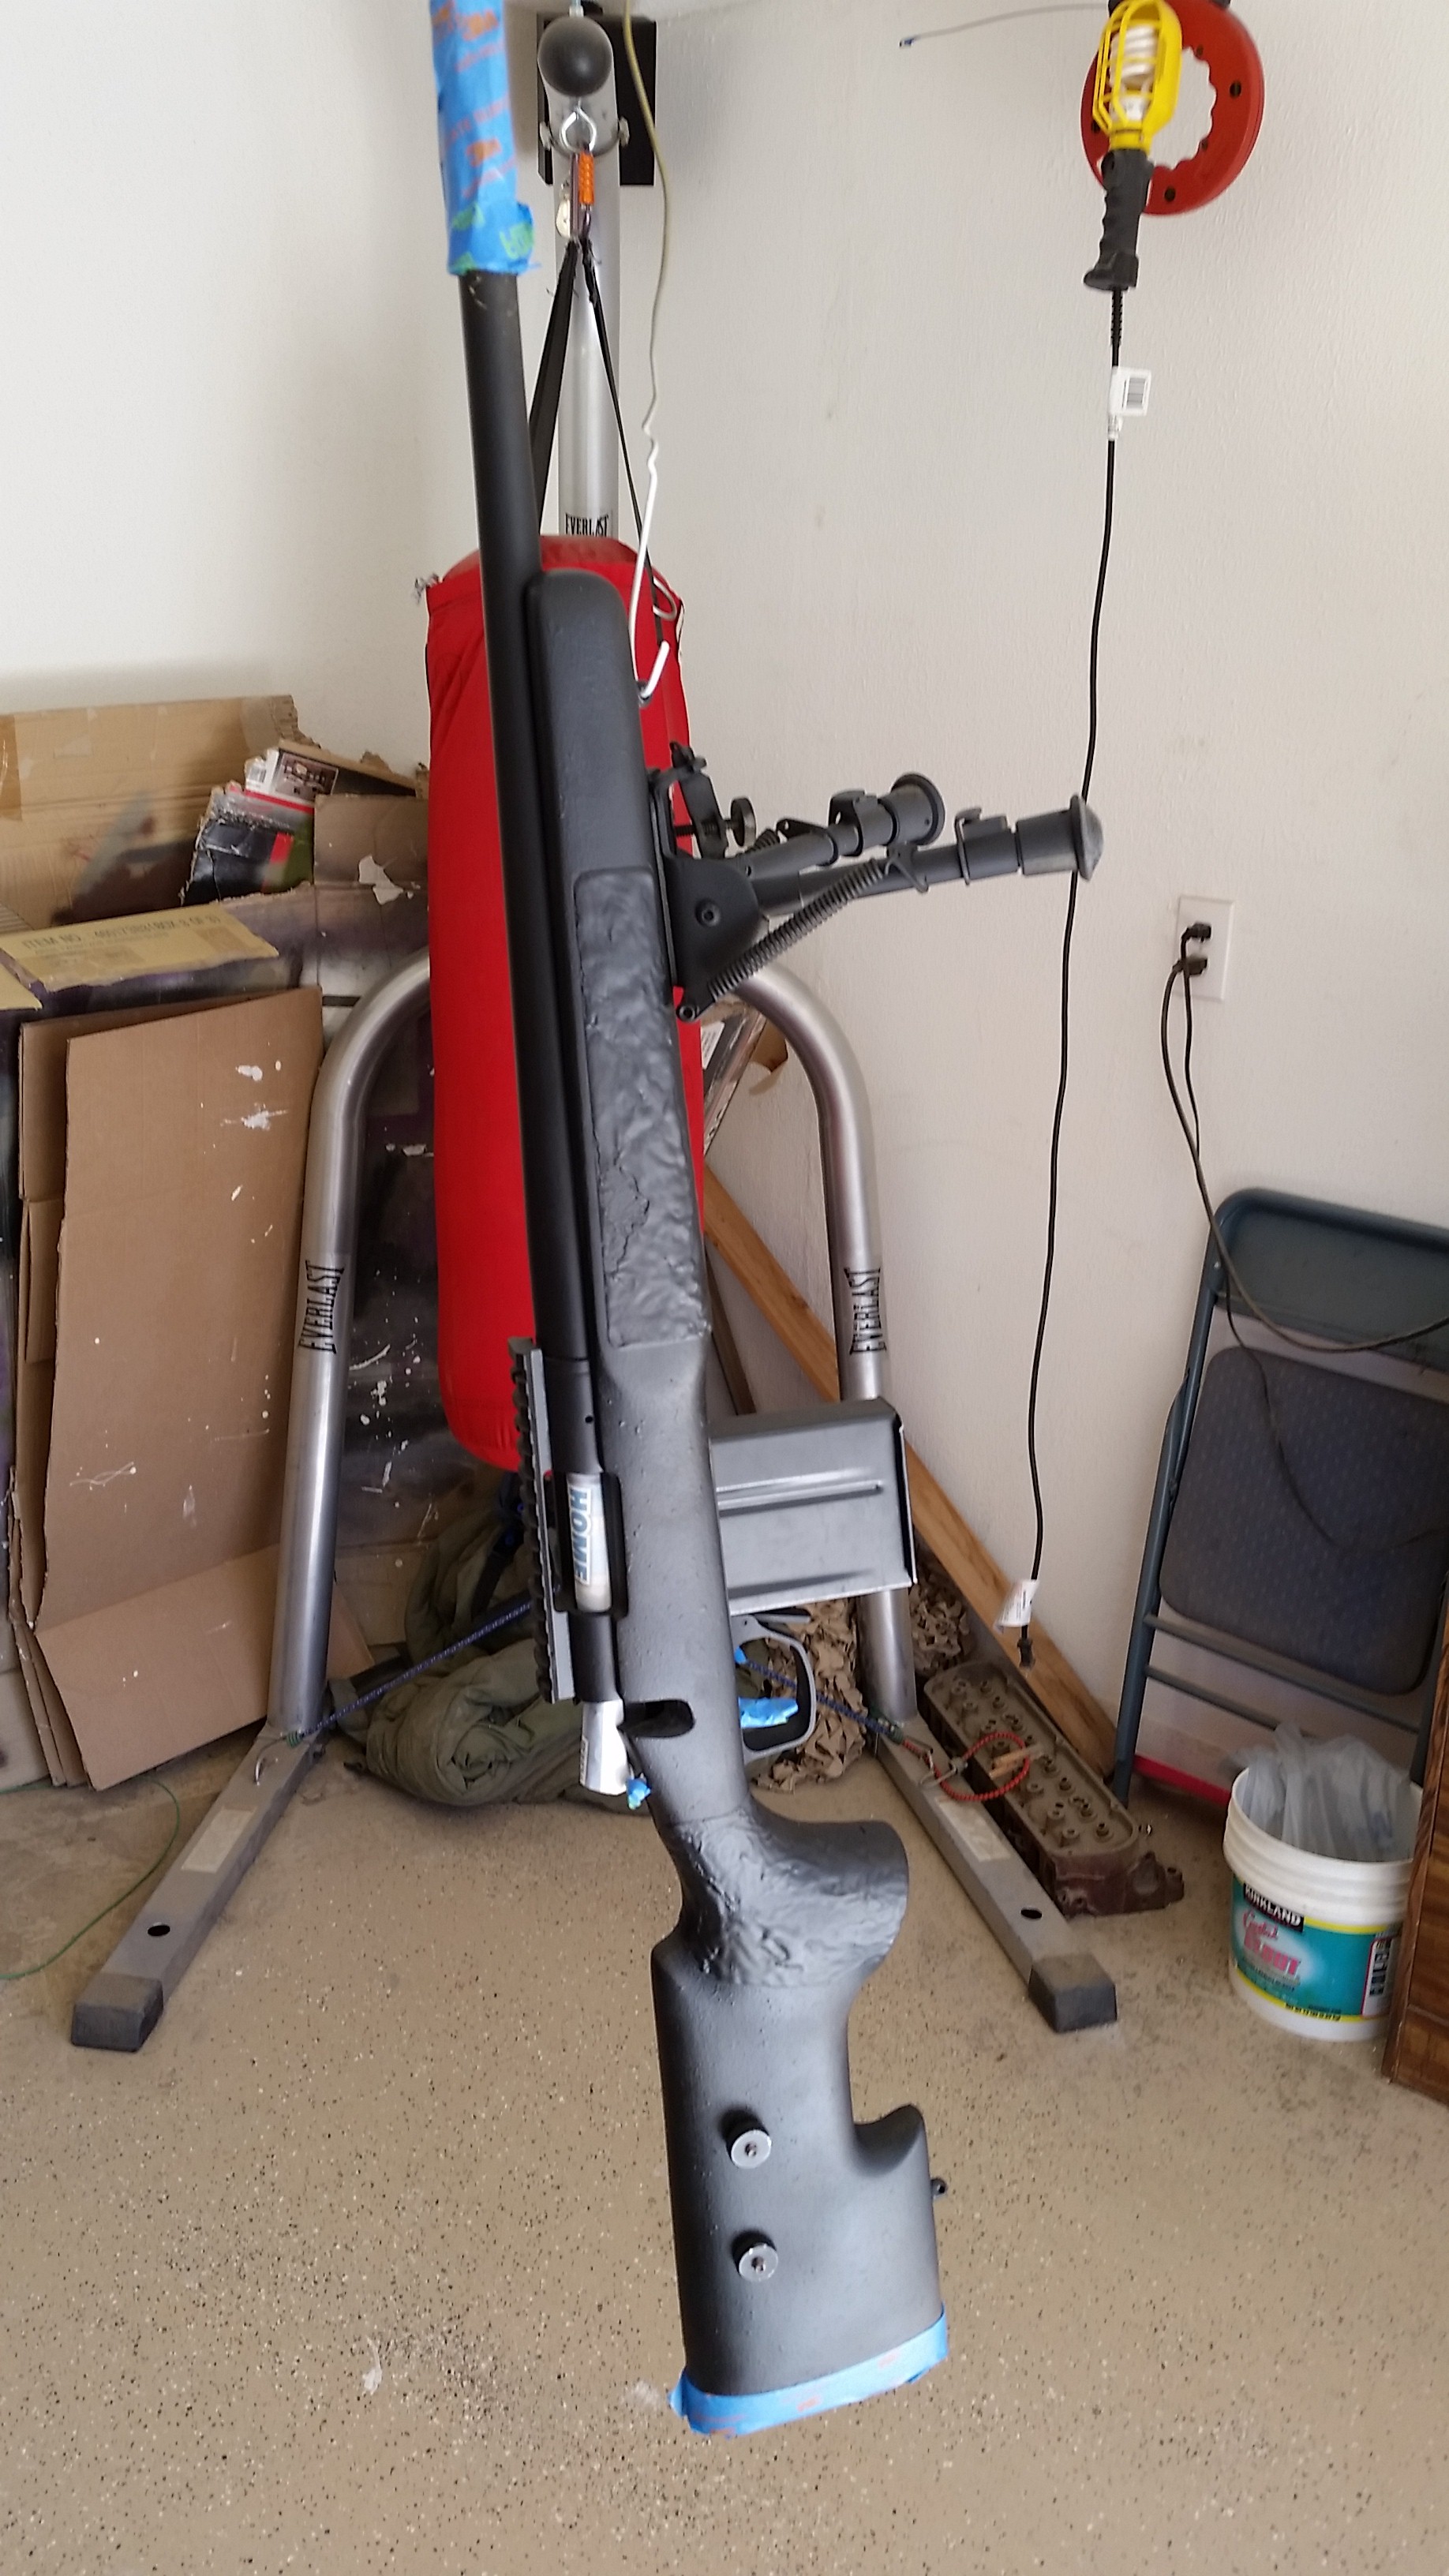 So we’re all masked up and ready to paint. Time for the magic to happen!
Painting the Rifle
The beauty of painting camouflage patterns is if you screw it up, no big deal – just paint over it again. We’re not going for a nice, neat, uniformed pattern. Quite the opposite, in fact. Even so, light, even strokes are always the way to go. Hold the can about 12 inches away and apply an even, sweeping motion while applying all the fundamentals of rifle marksmanship to that spray nozzle.
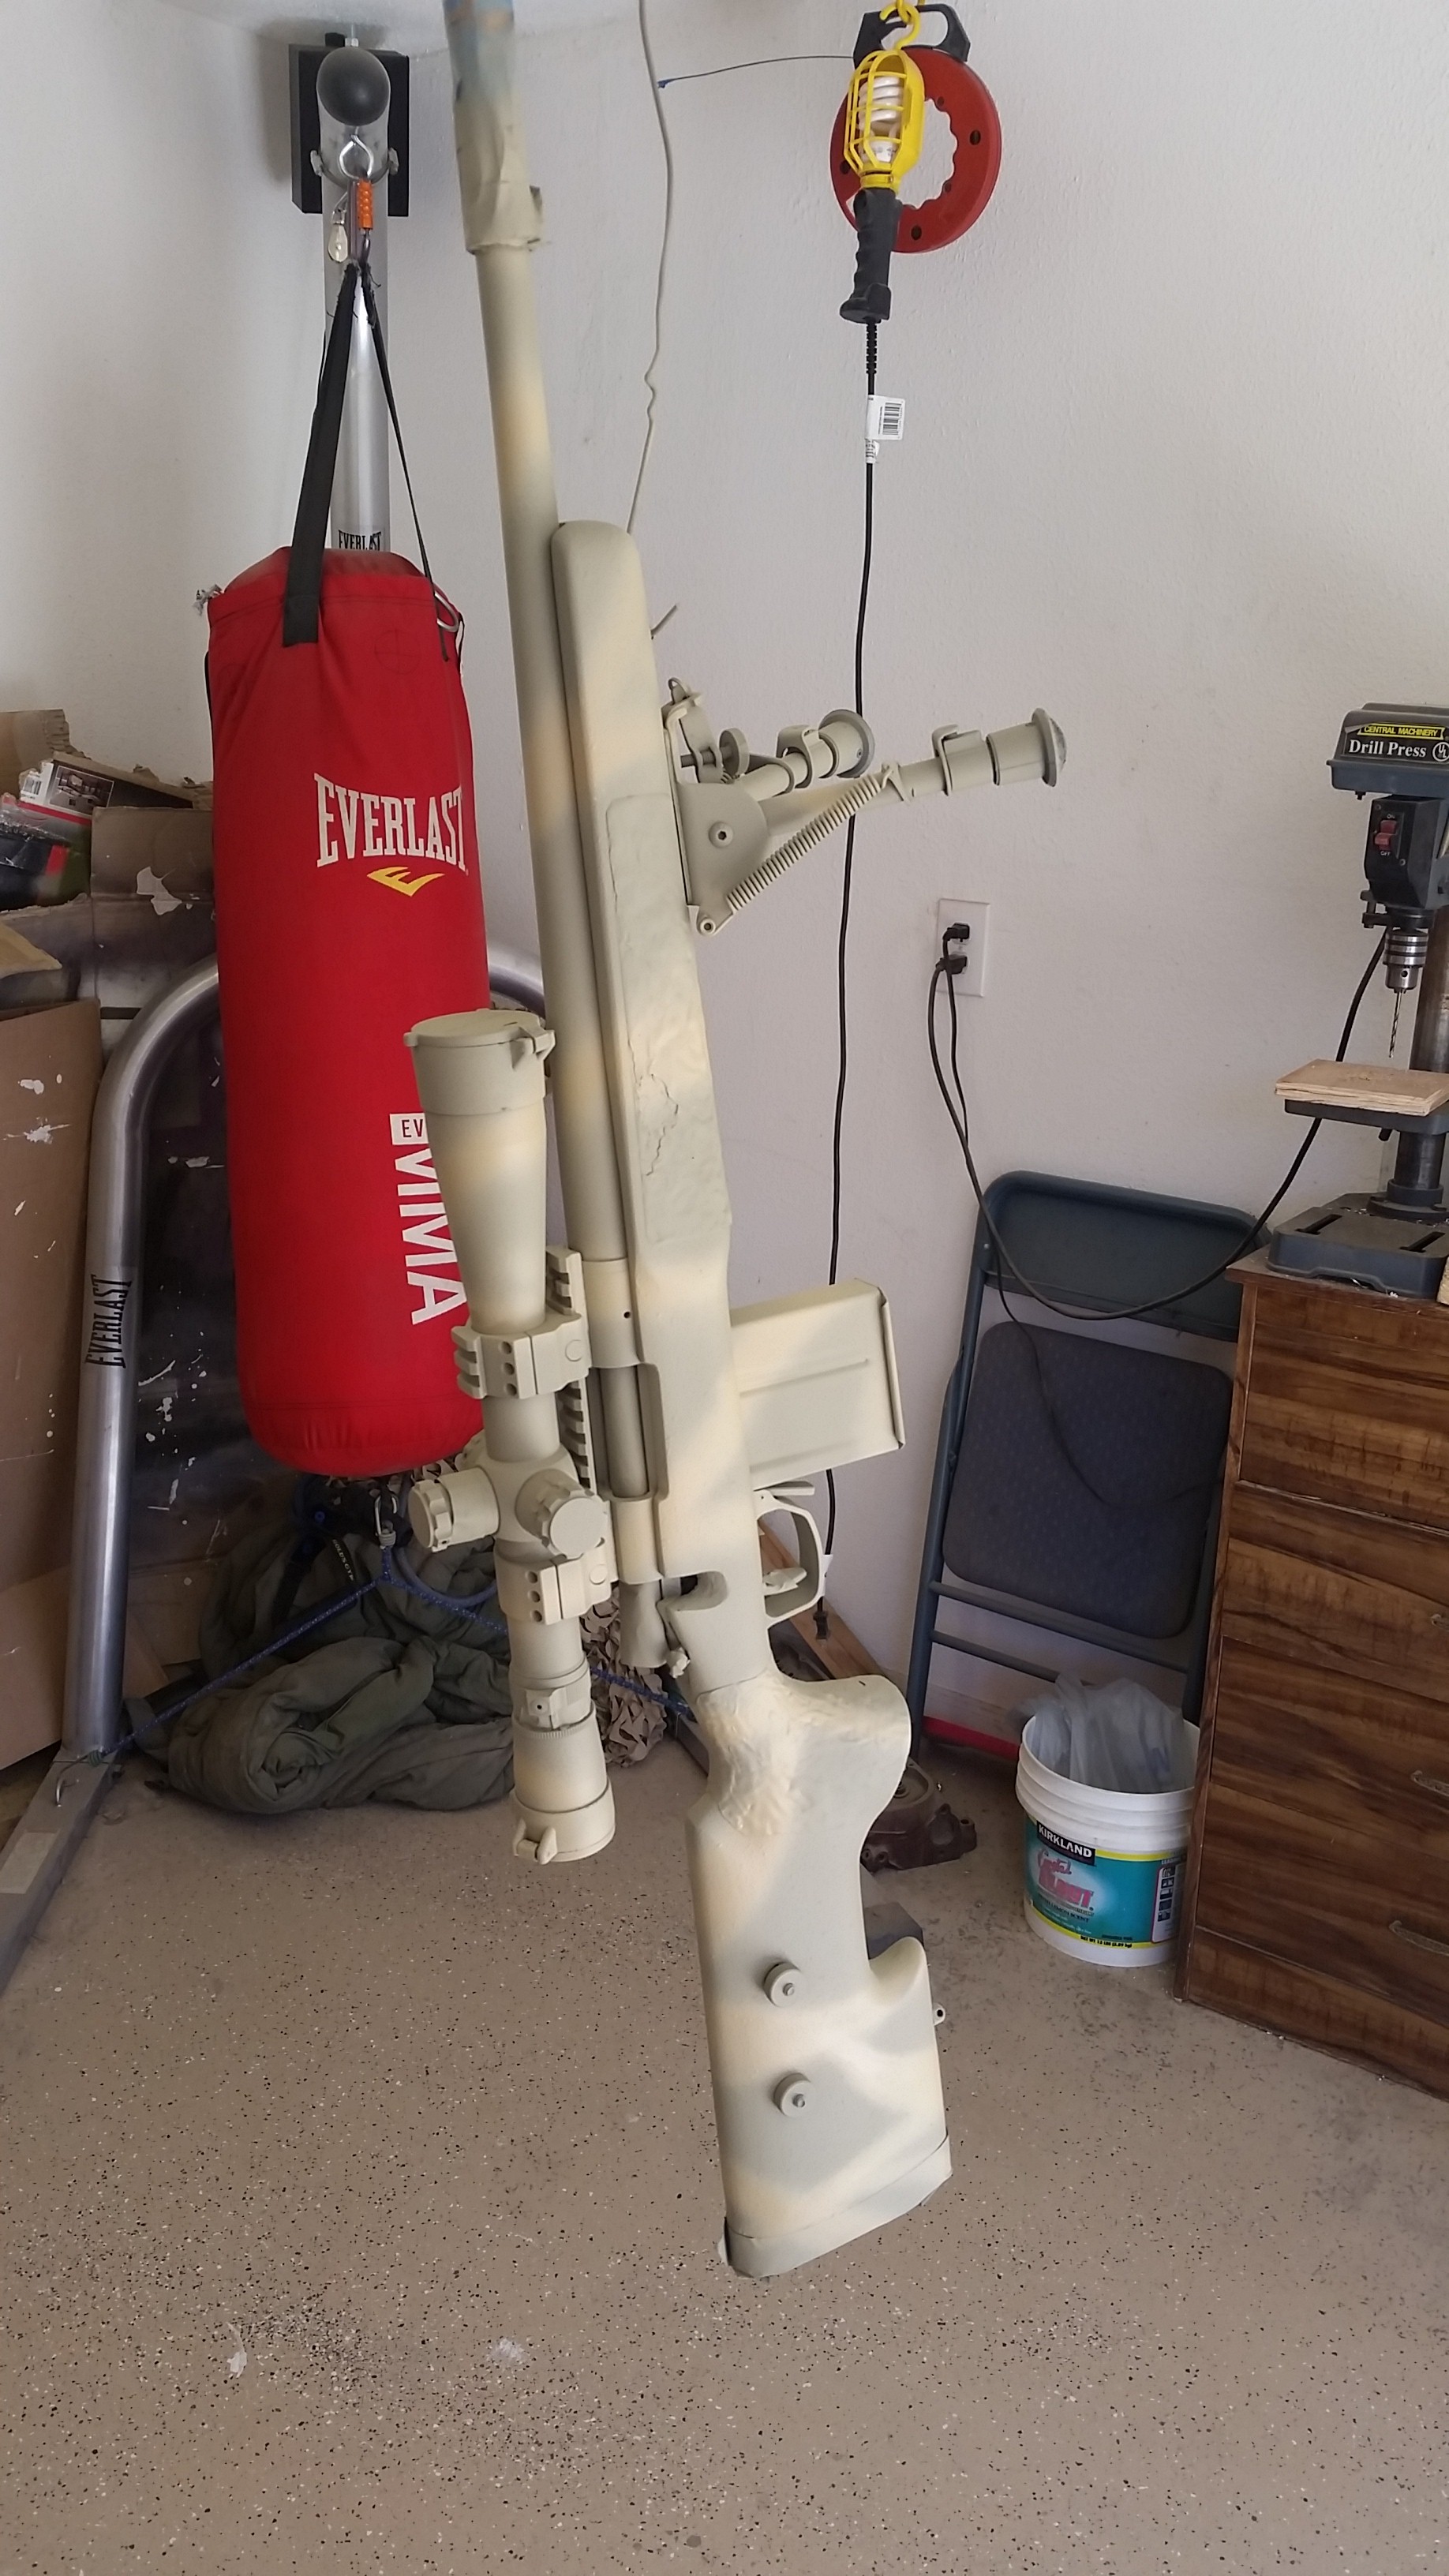
Adding a Macro Pattern
Now that we have laid down the base coat, we can apply some striping or splotching. This is admittedly a method of personal preference, but I do it to add a bit of a macro effect of creating some overall variance. Your mileage may vary.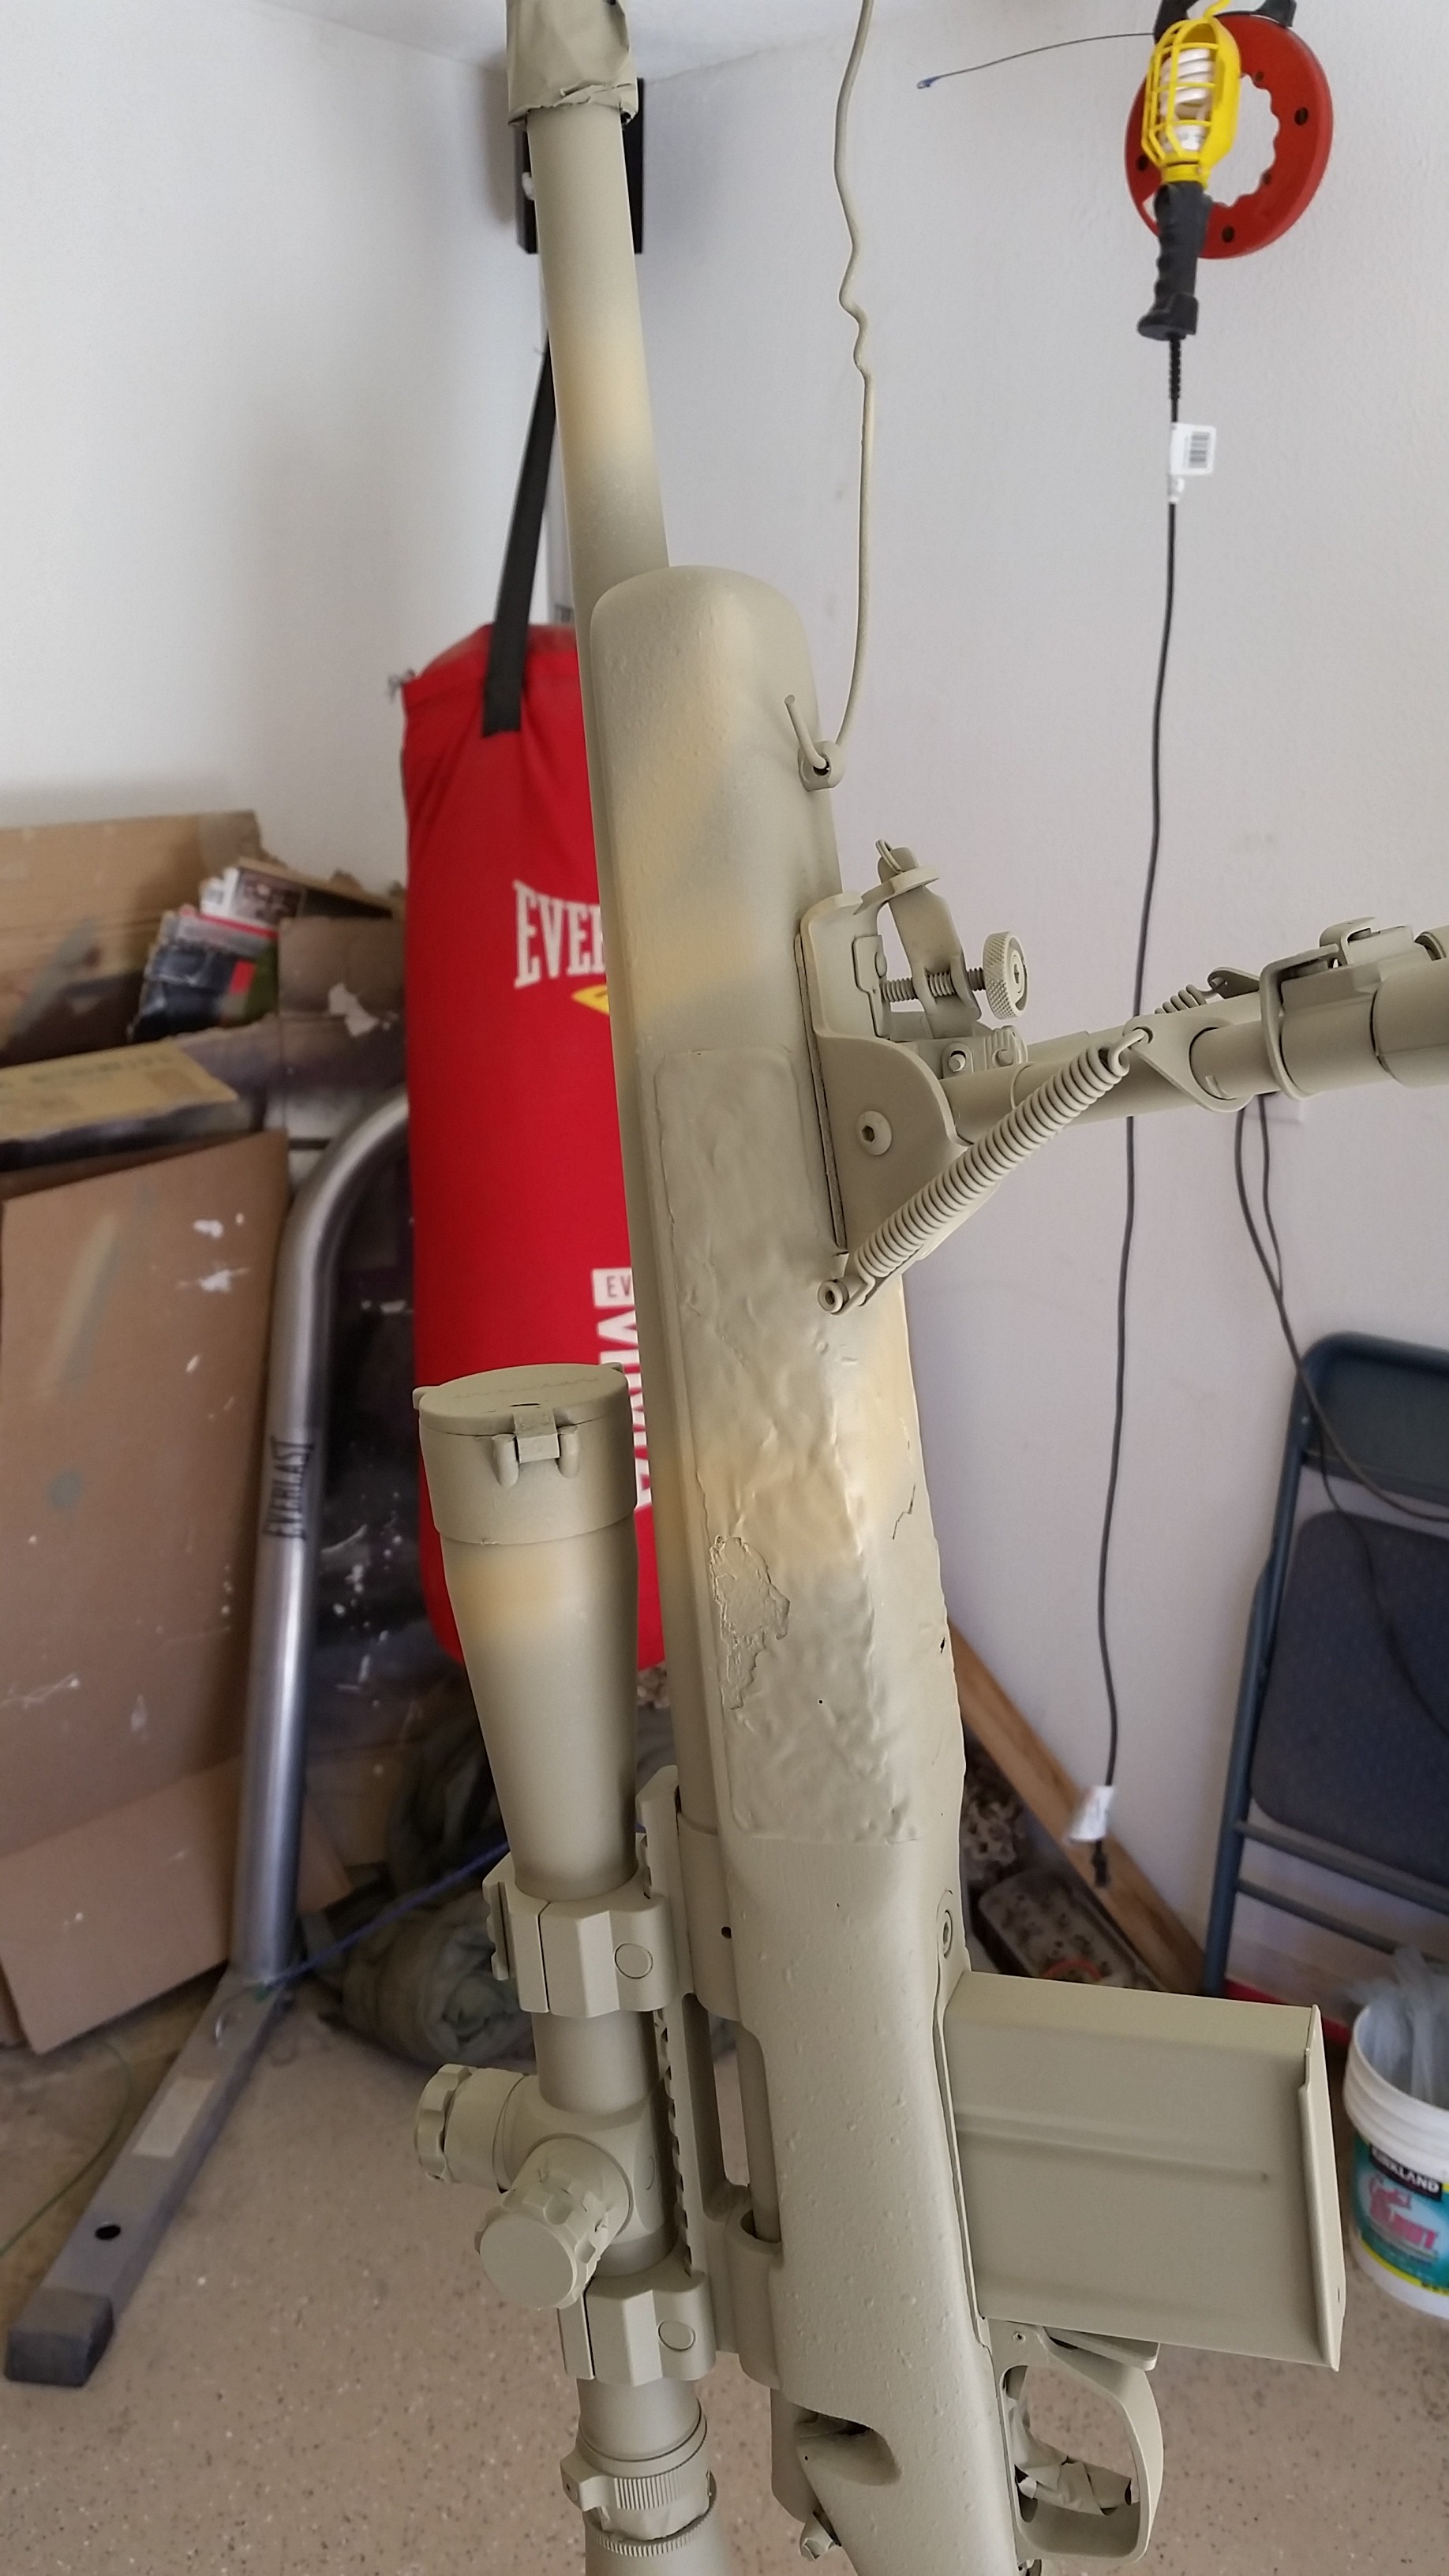
Adding a Raffia Micro Pattern
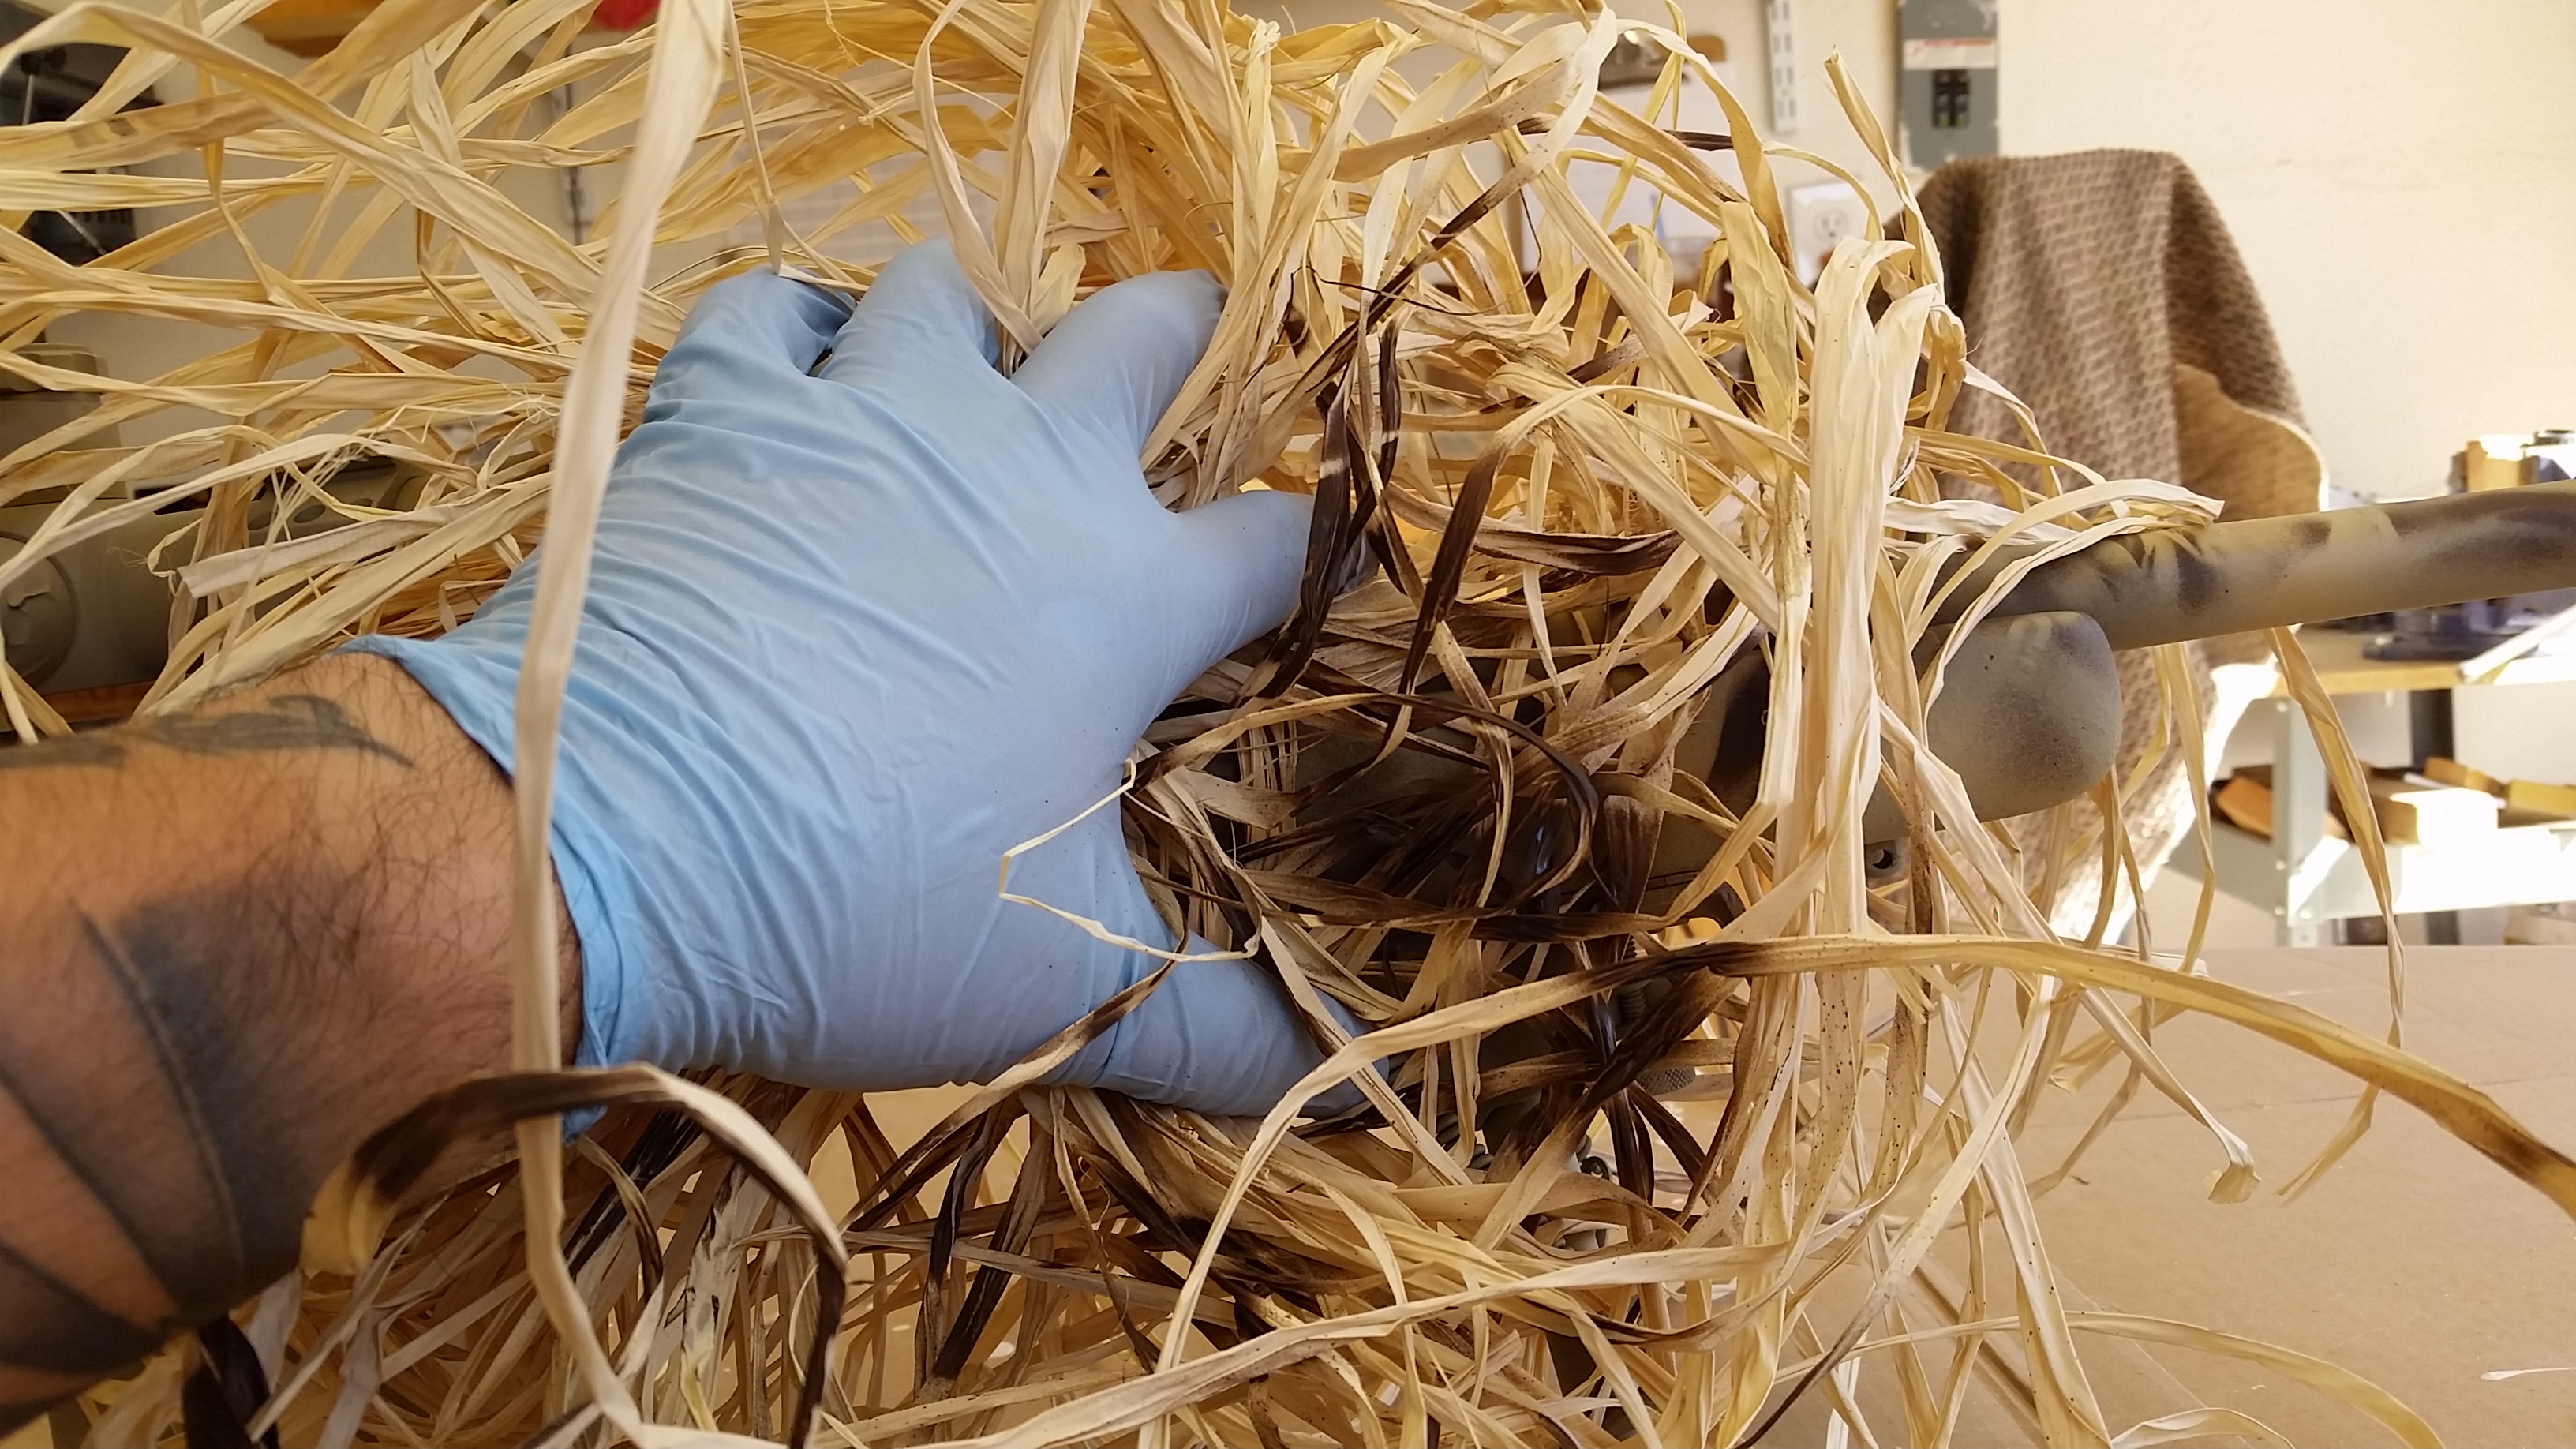
Now to break up all that with some micro pattern. I like to use raffia for this, as it can create a very random, but natural effect of simulating depth and shadow and it doesn’t get heavy and paint soaked like jute or grass does. My philosophy on this is not to try to paint grass, but rather the dead space between the grass. I’ve seen guys use leaves and different types of sharply defined vegetation as a natural stencil, but my argument against this is that it tries to mimic something with a very distinguishable and, therefore, recognizable signature. The goal should be, in contrast, to make your weapon look like nothing.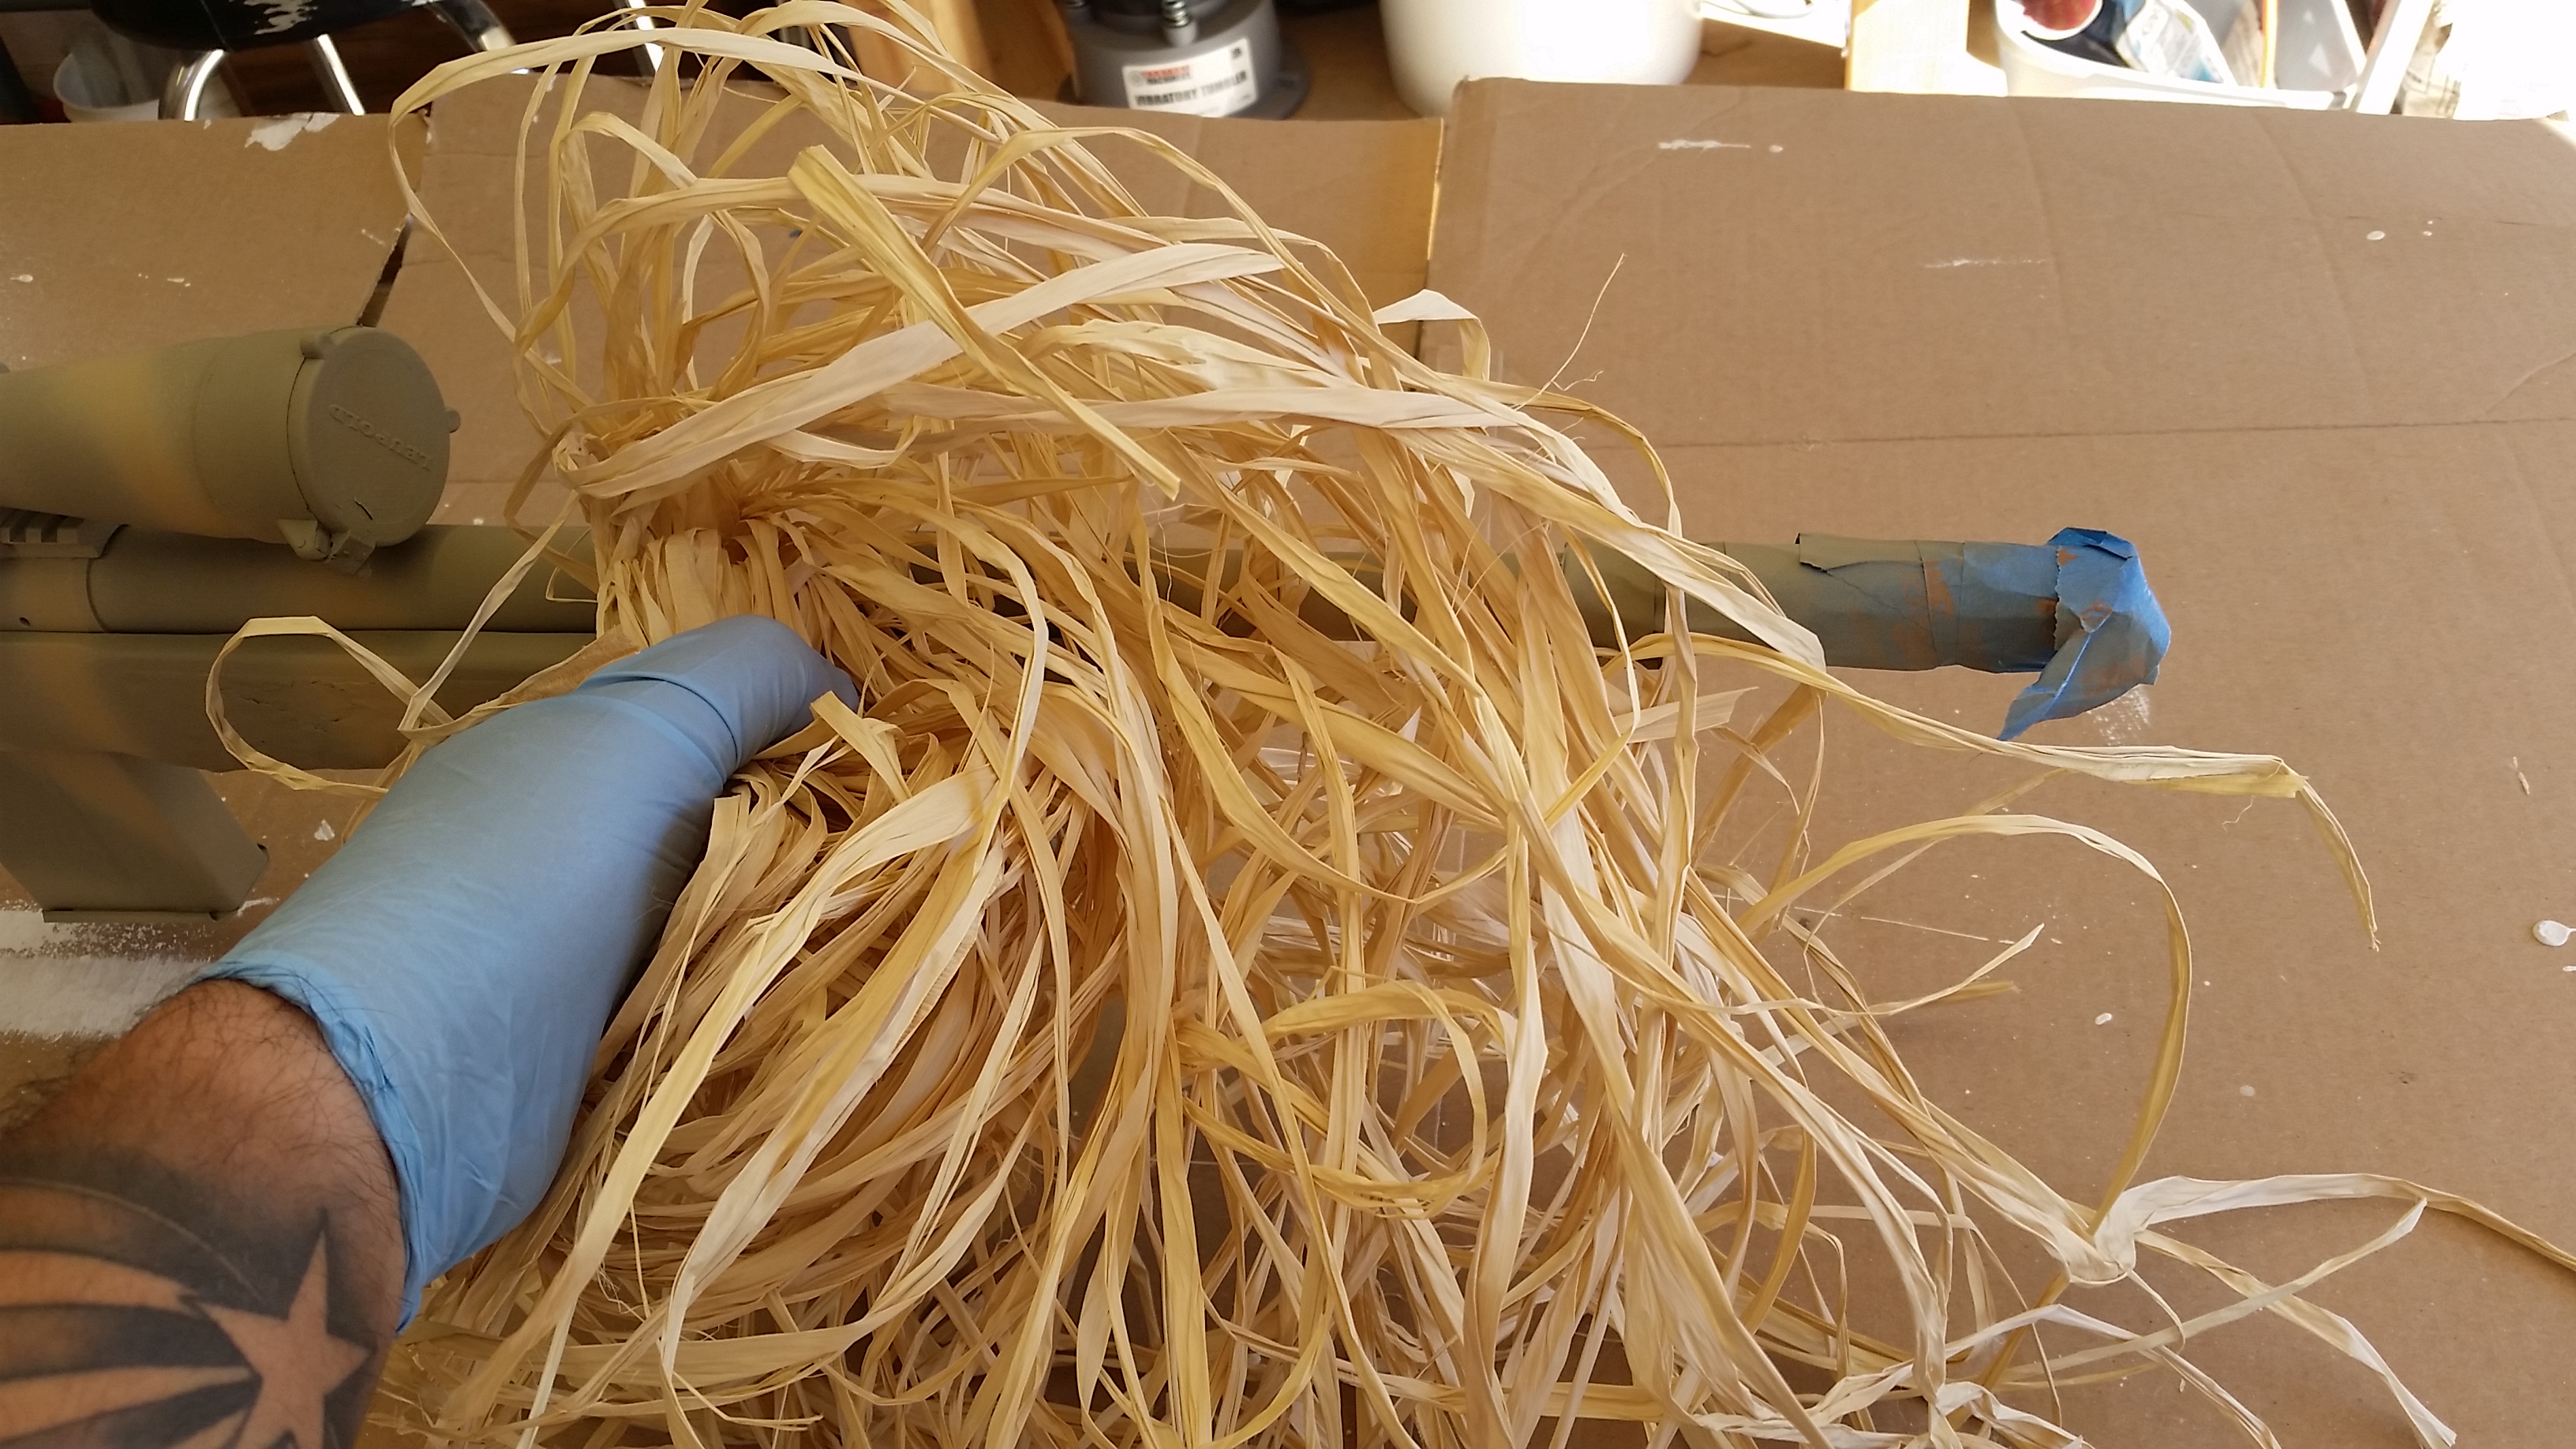 Just hold it in place and give it a quick blast…
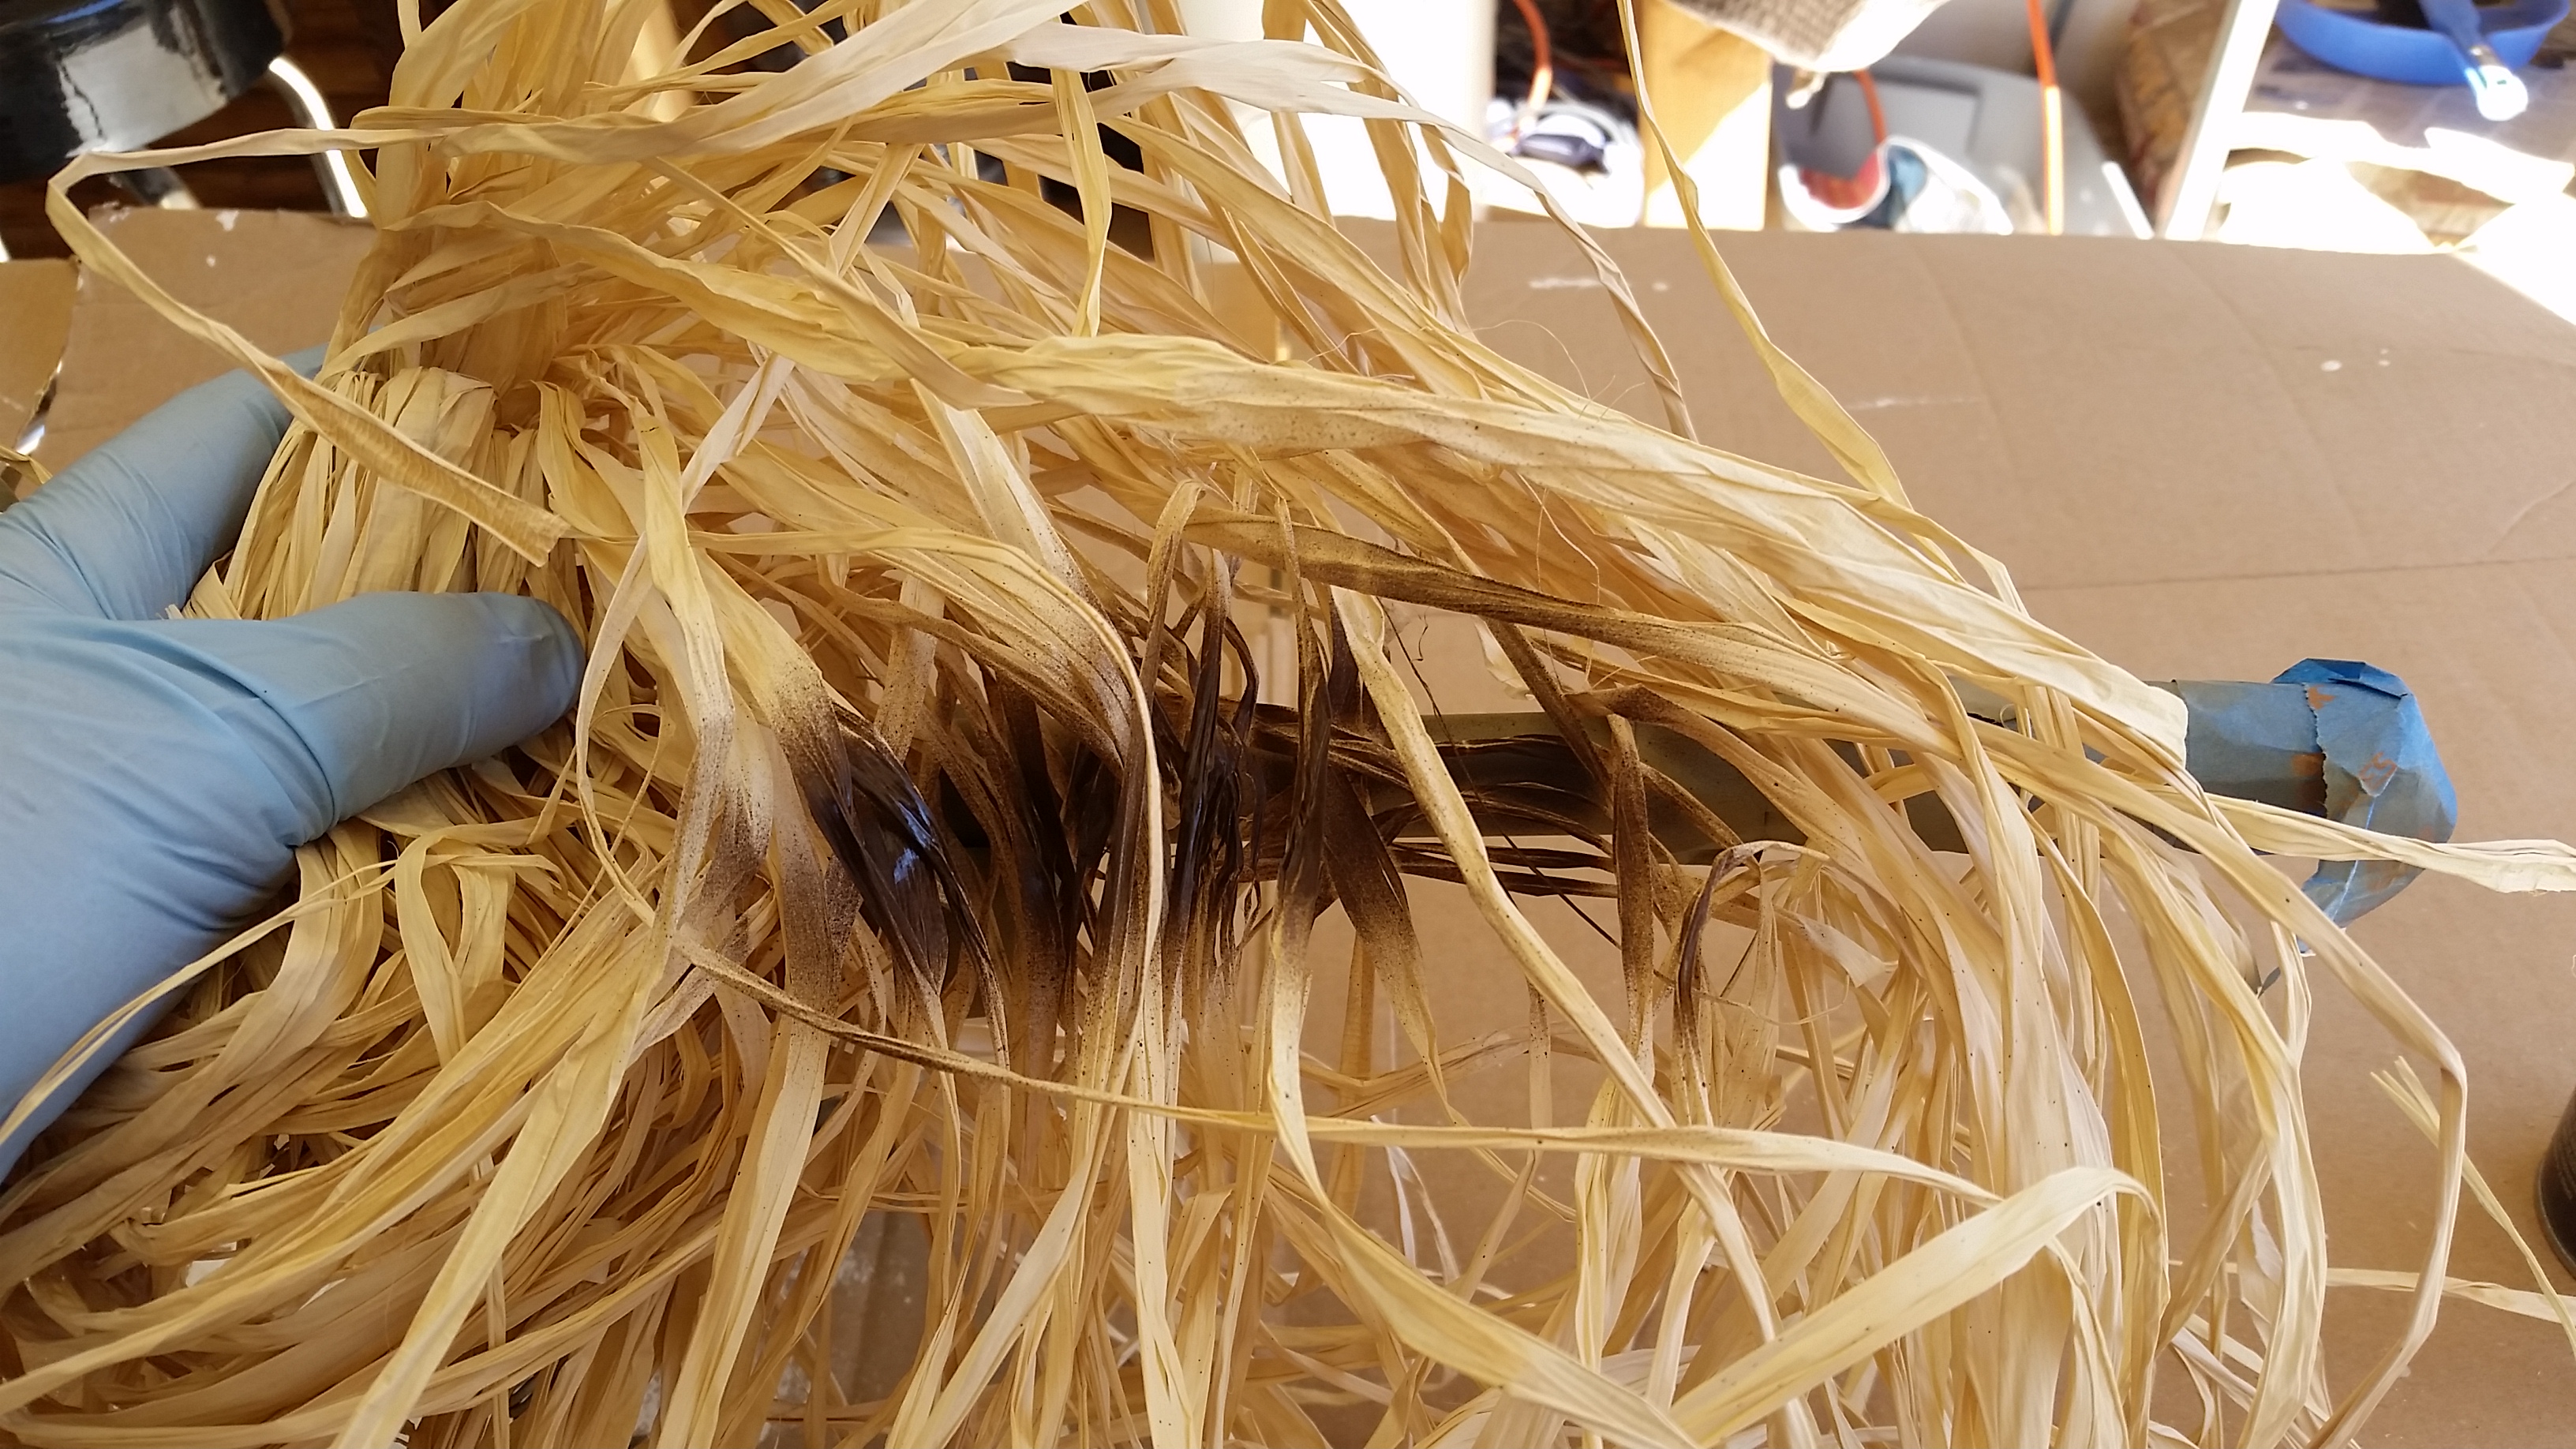 And this is what it should look like:
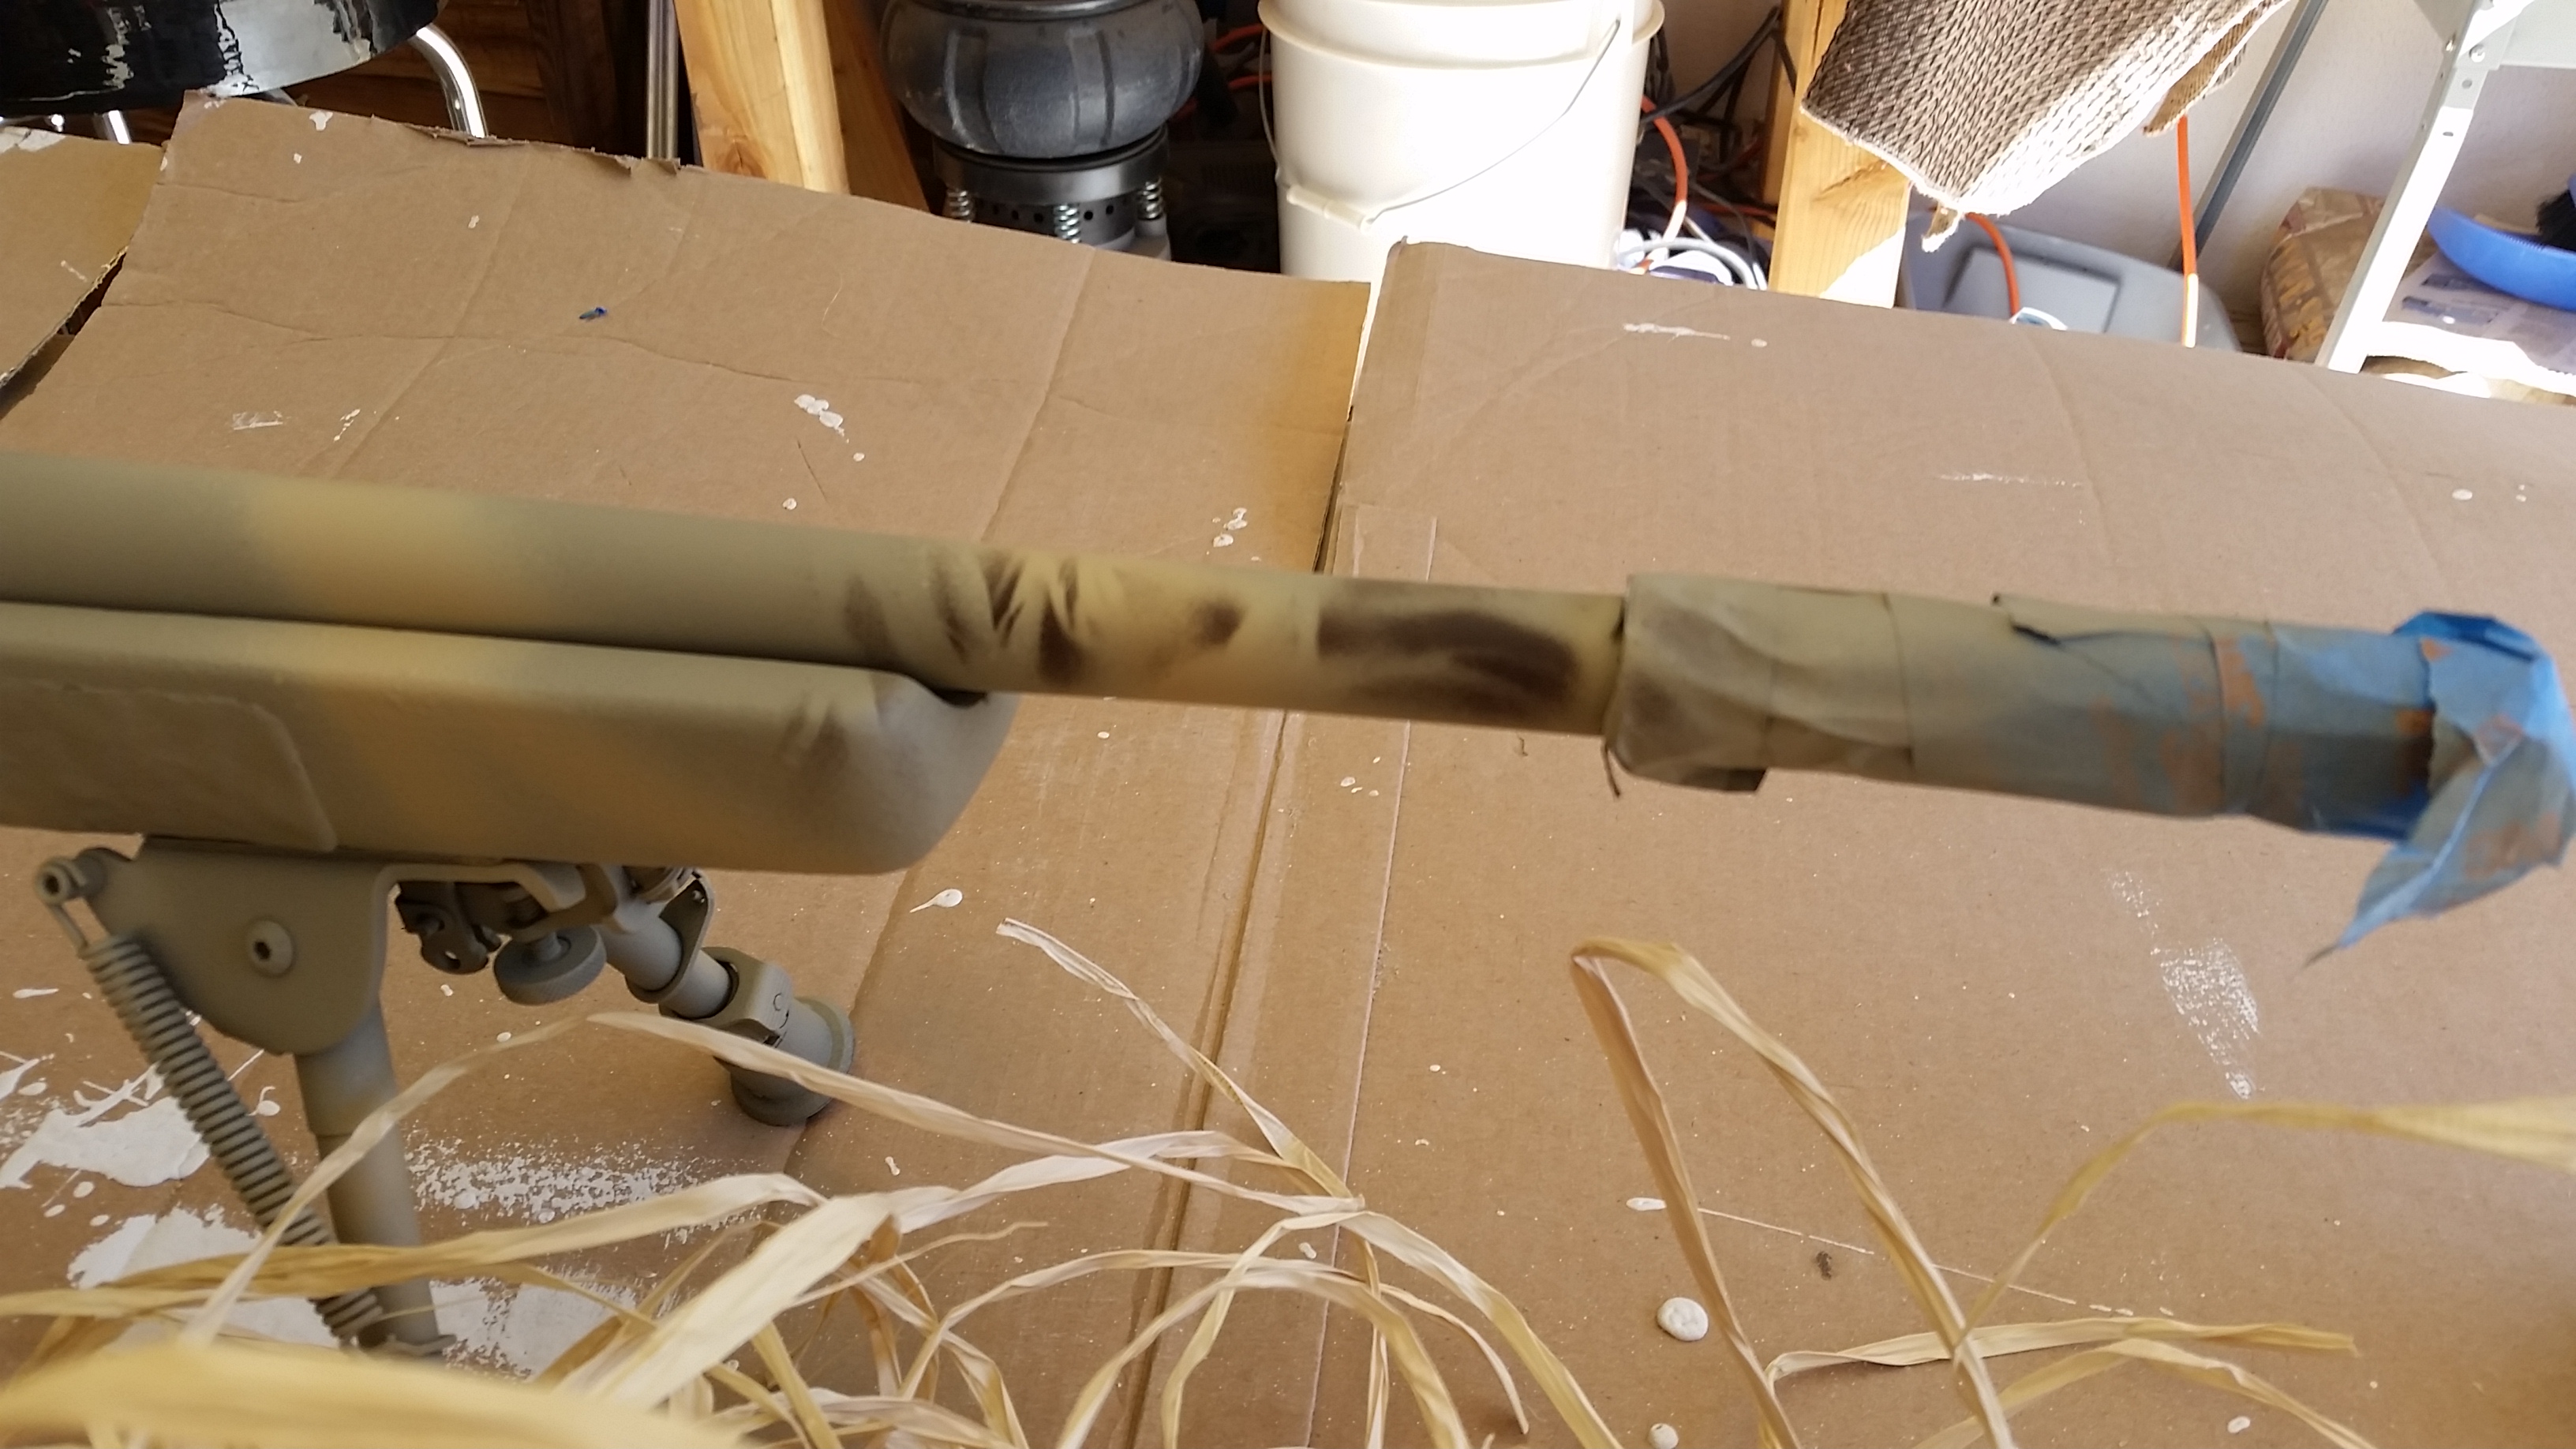 Now repeat the process at random intervals. If you think you hit an area too hard or dark, just hit that area again with lighter paint. No problem
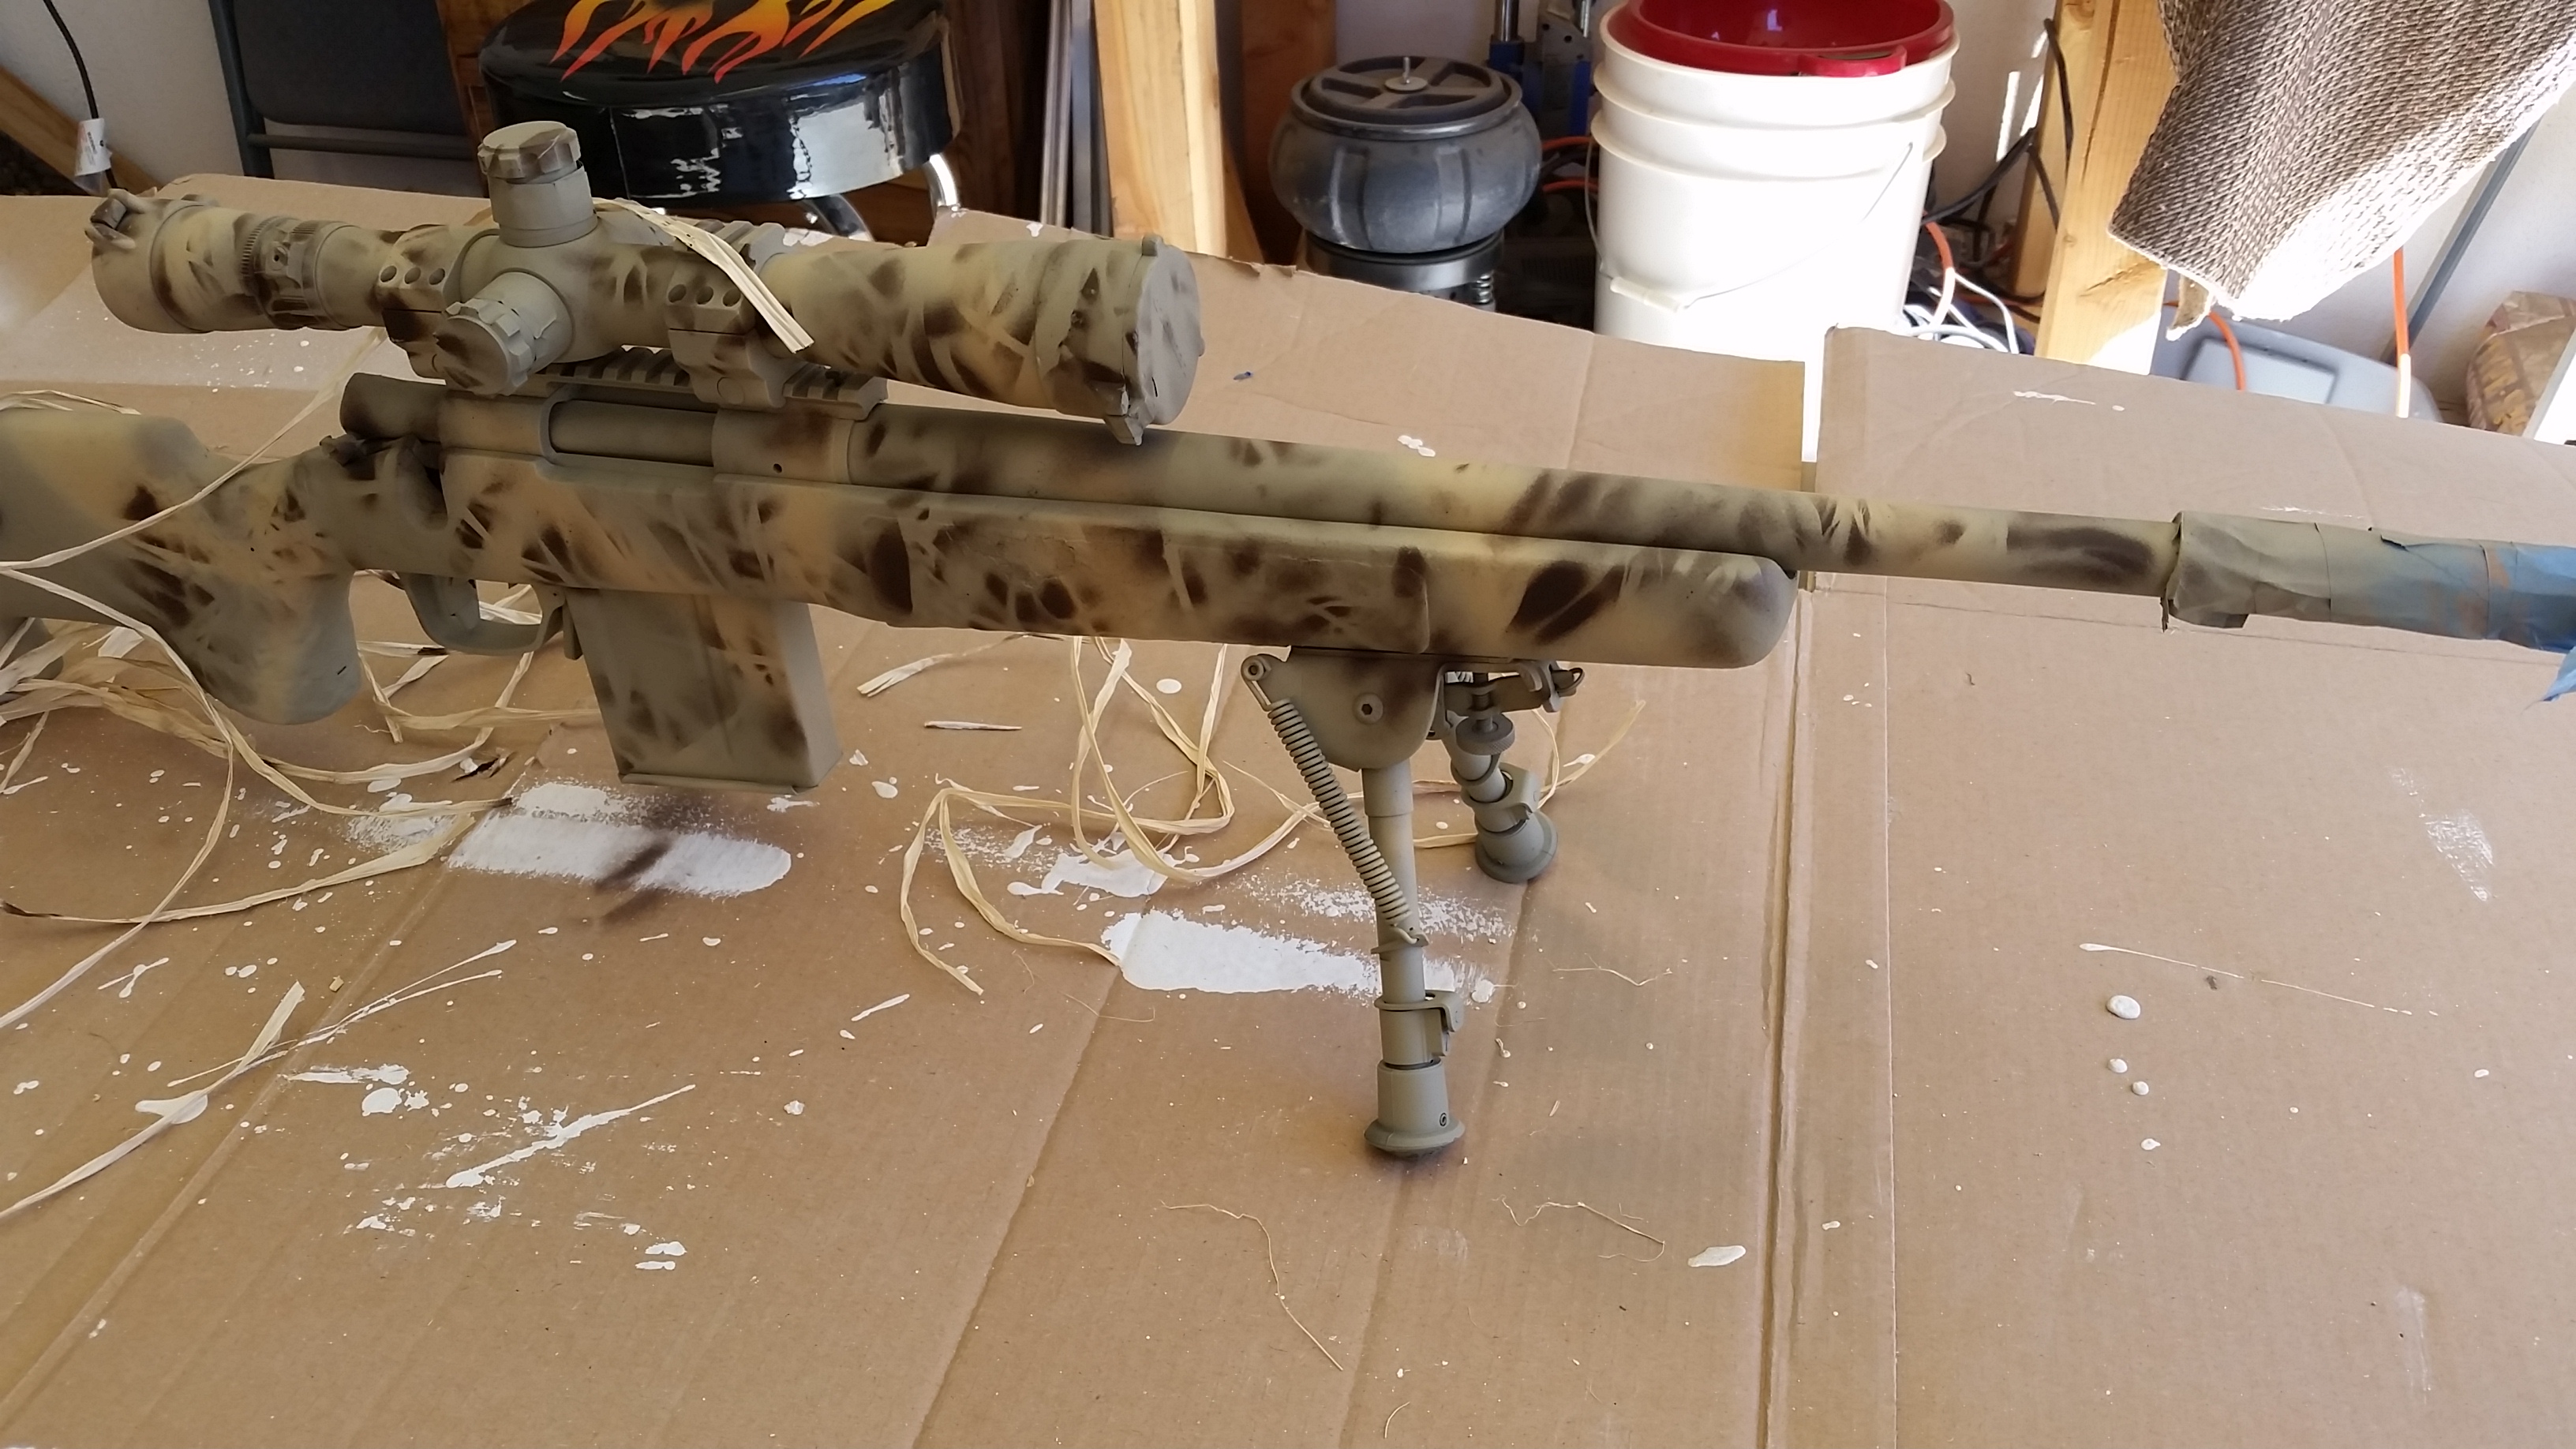
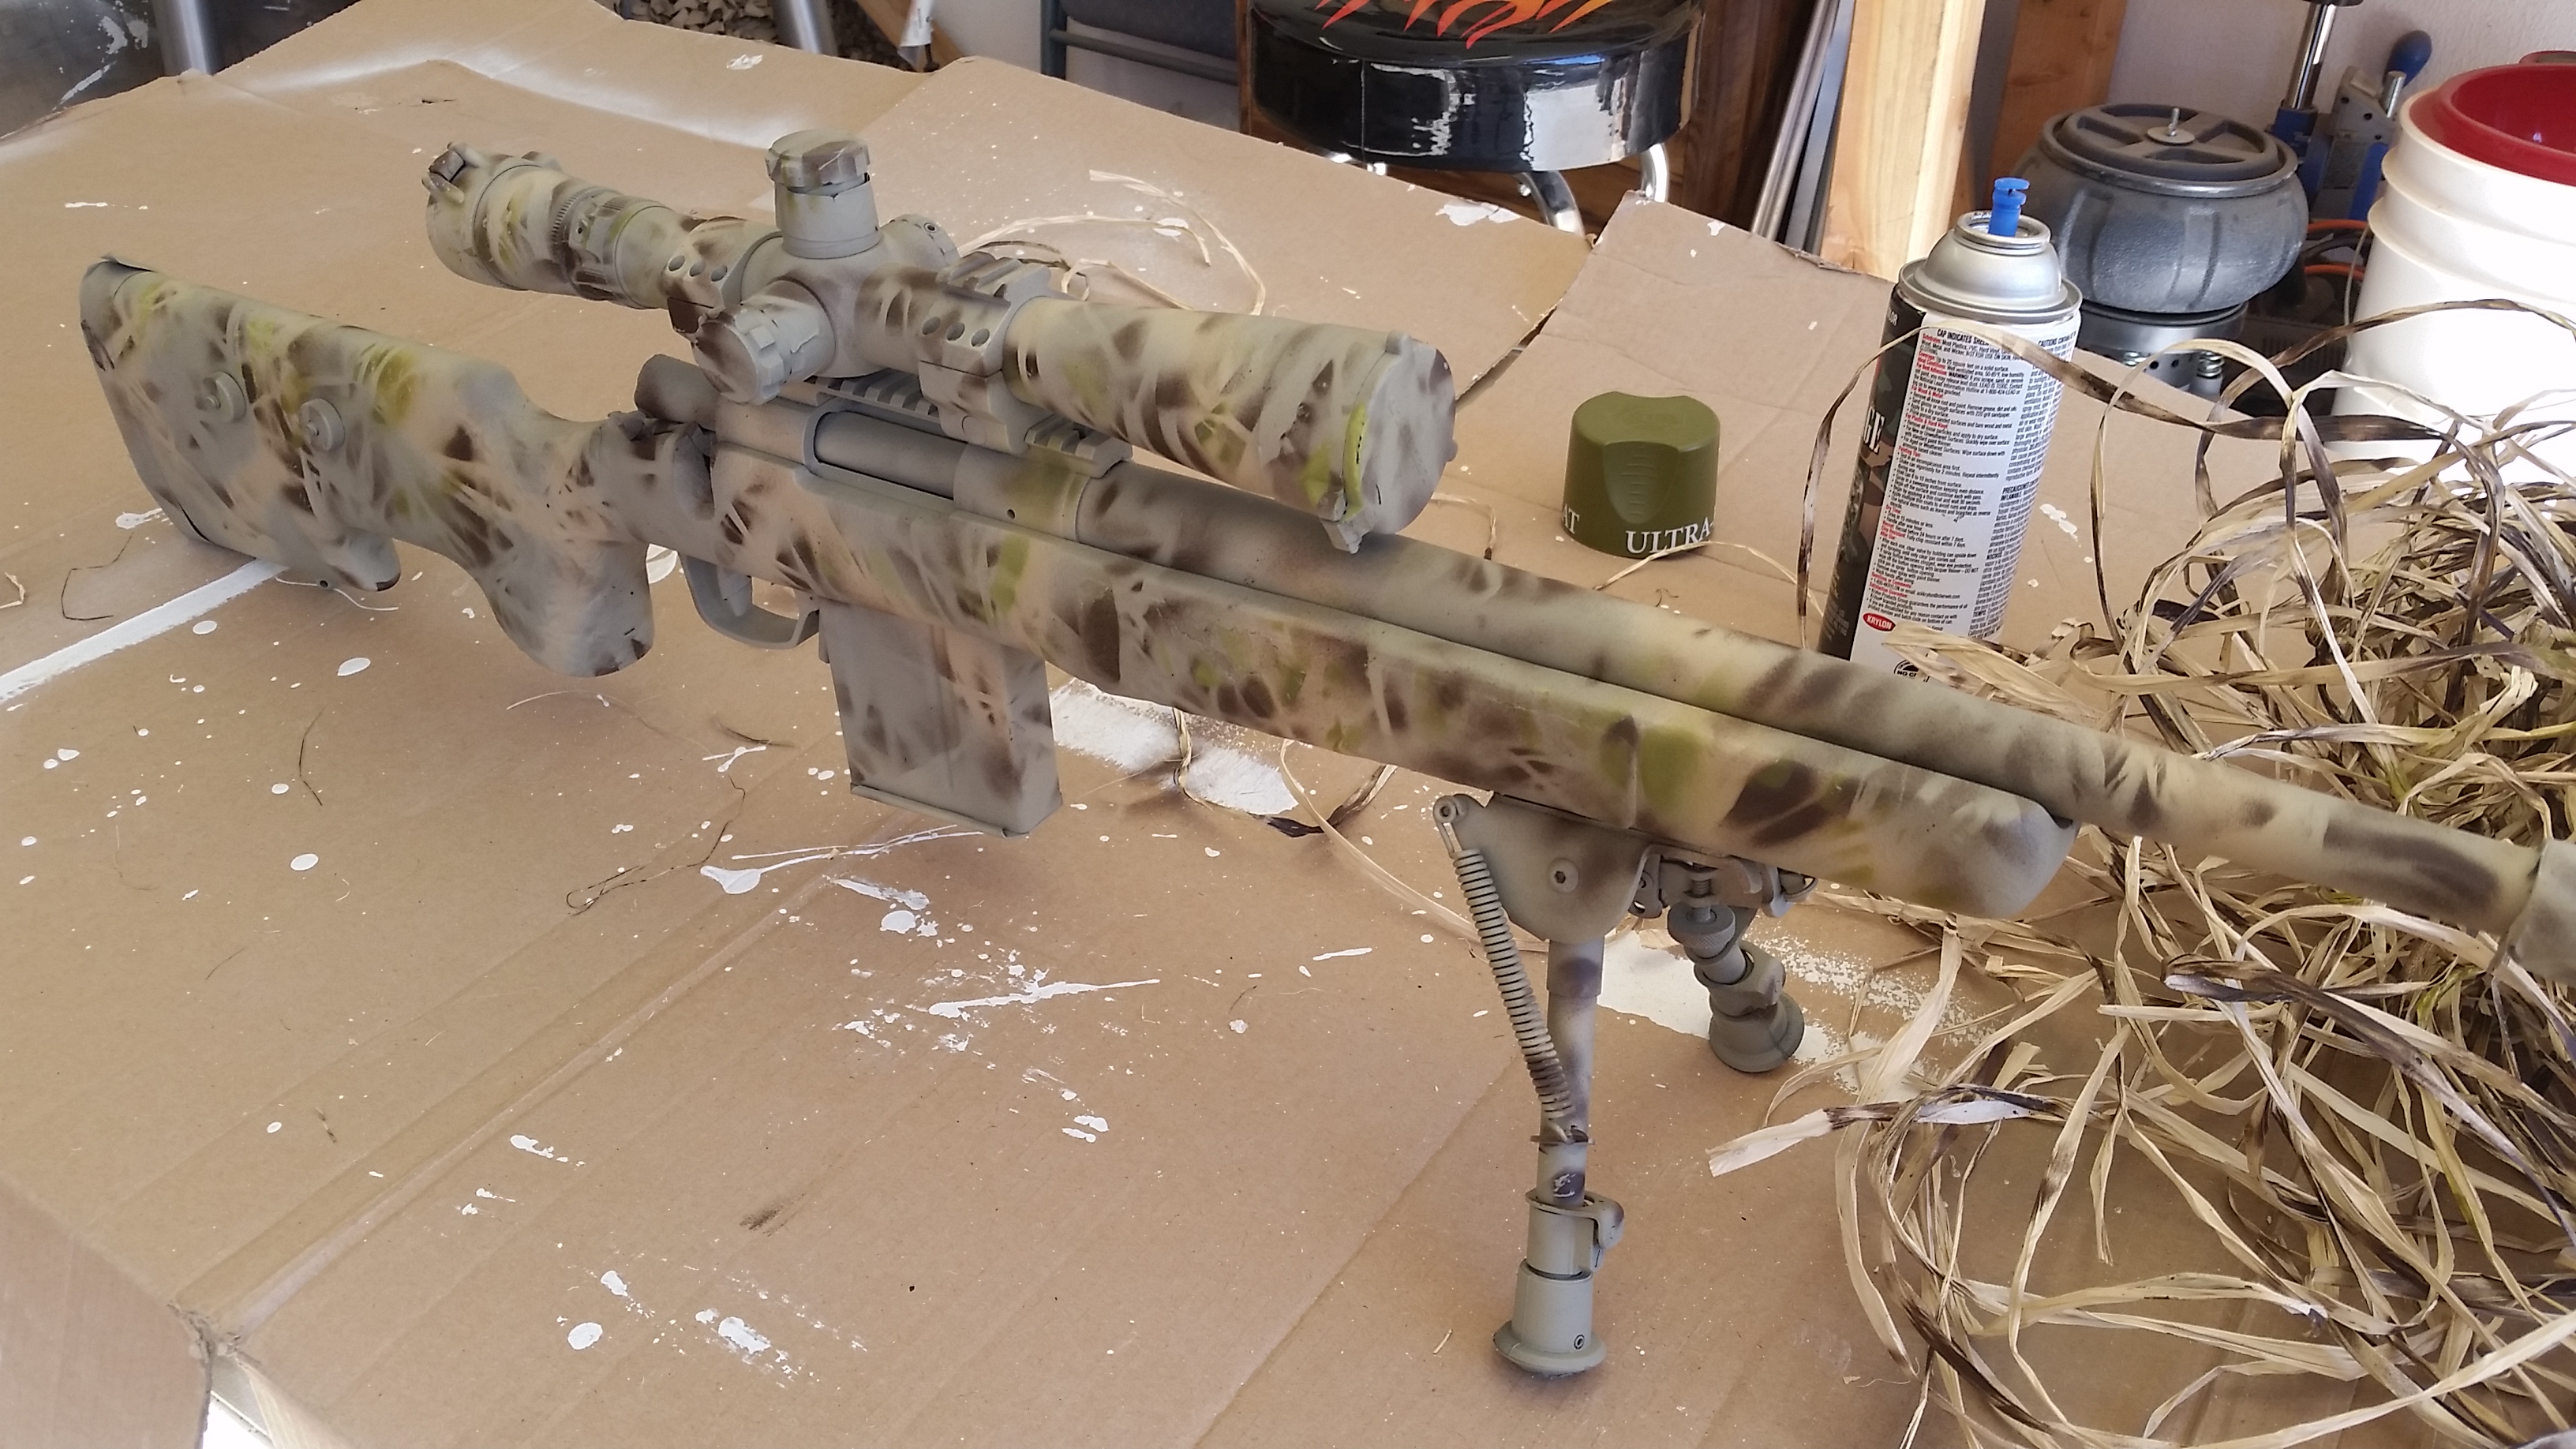 A sparse amount of light green added in
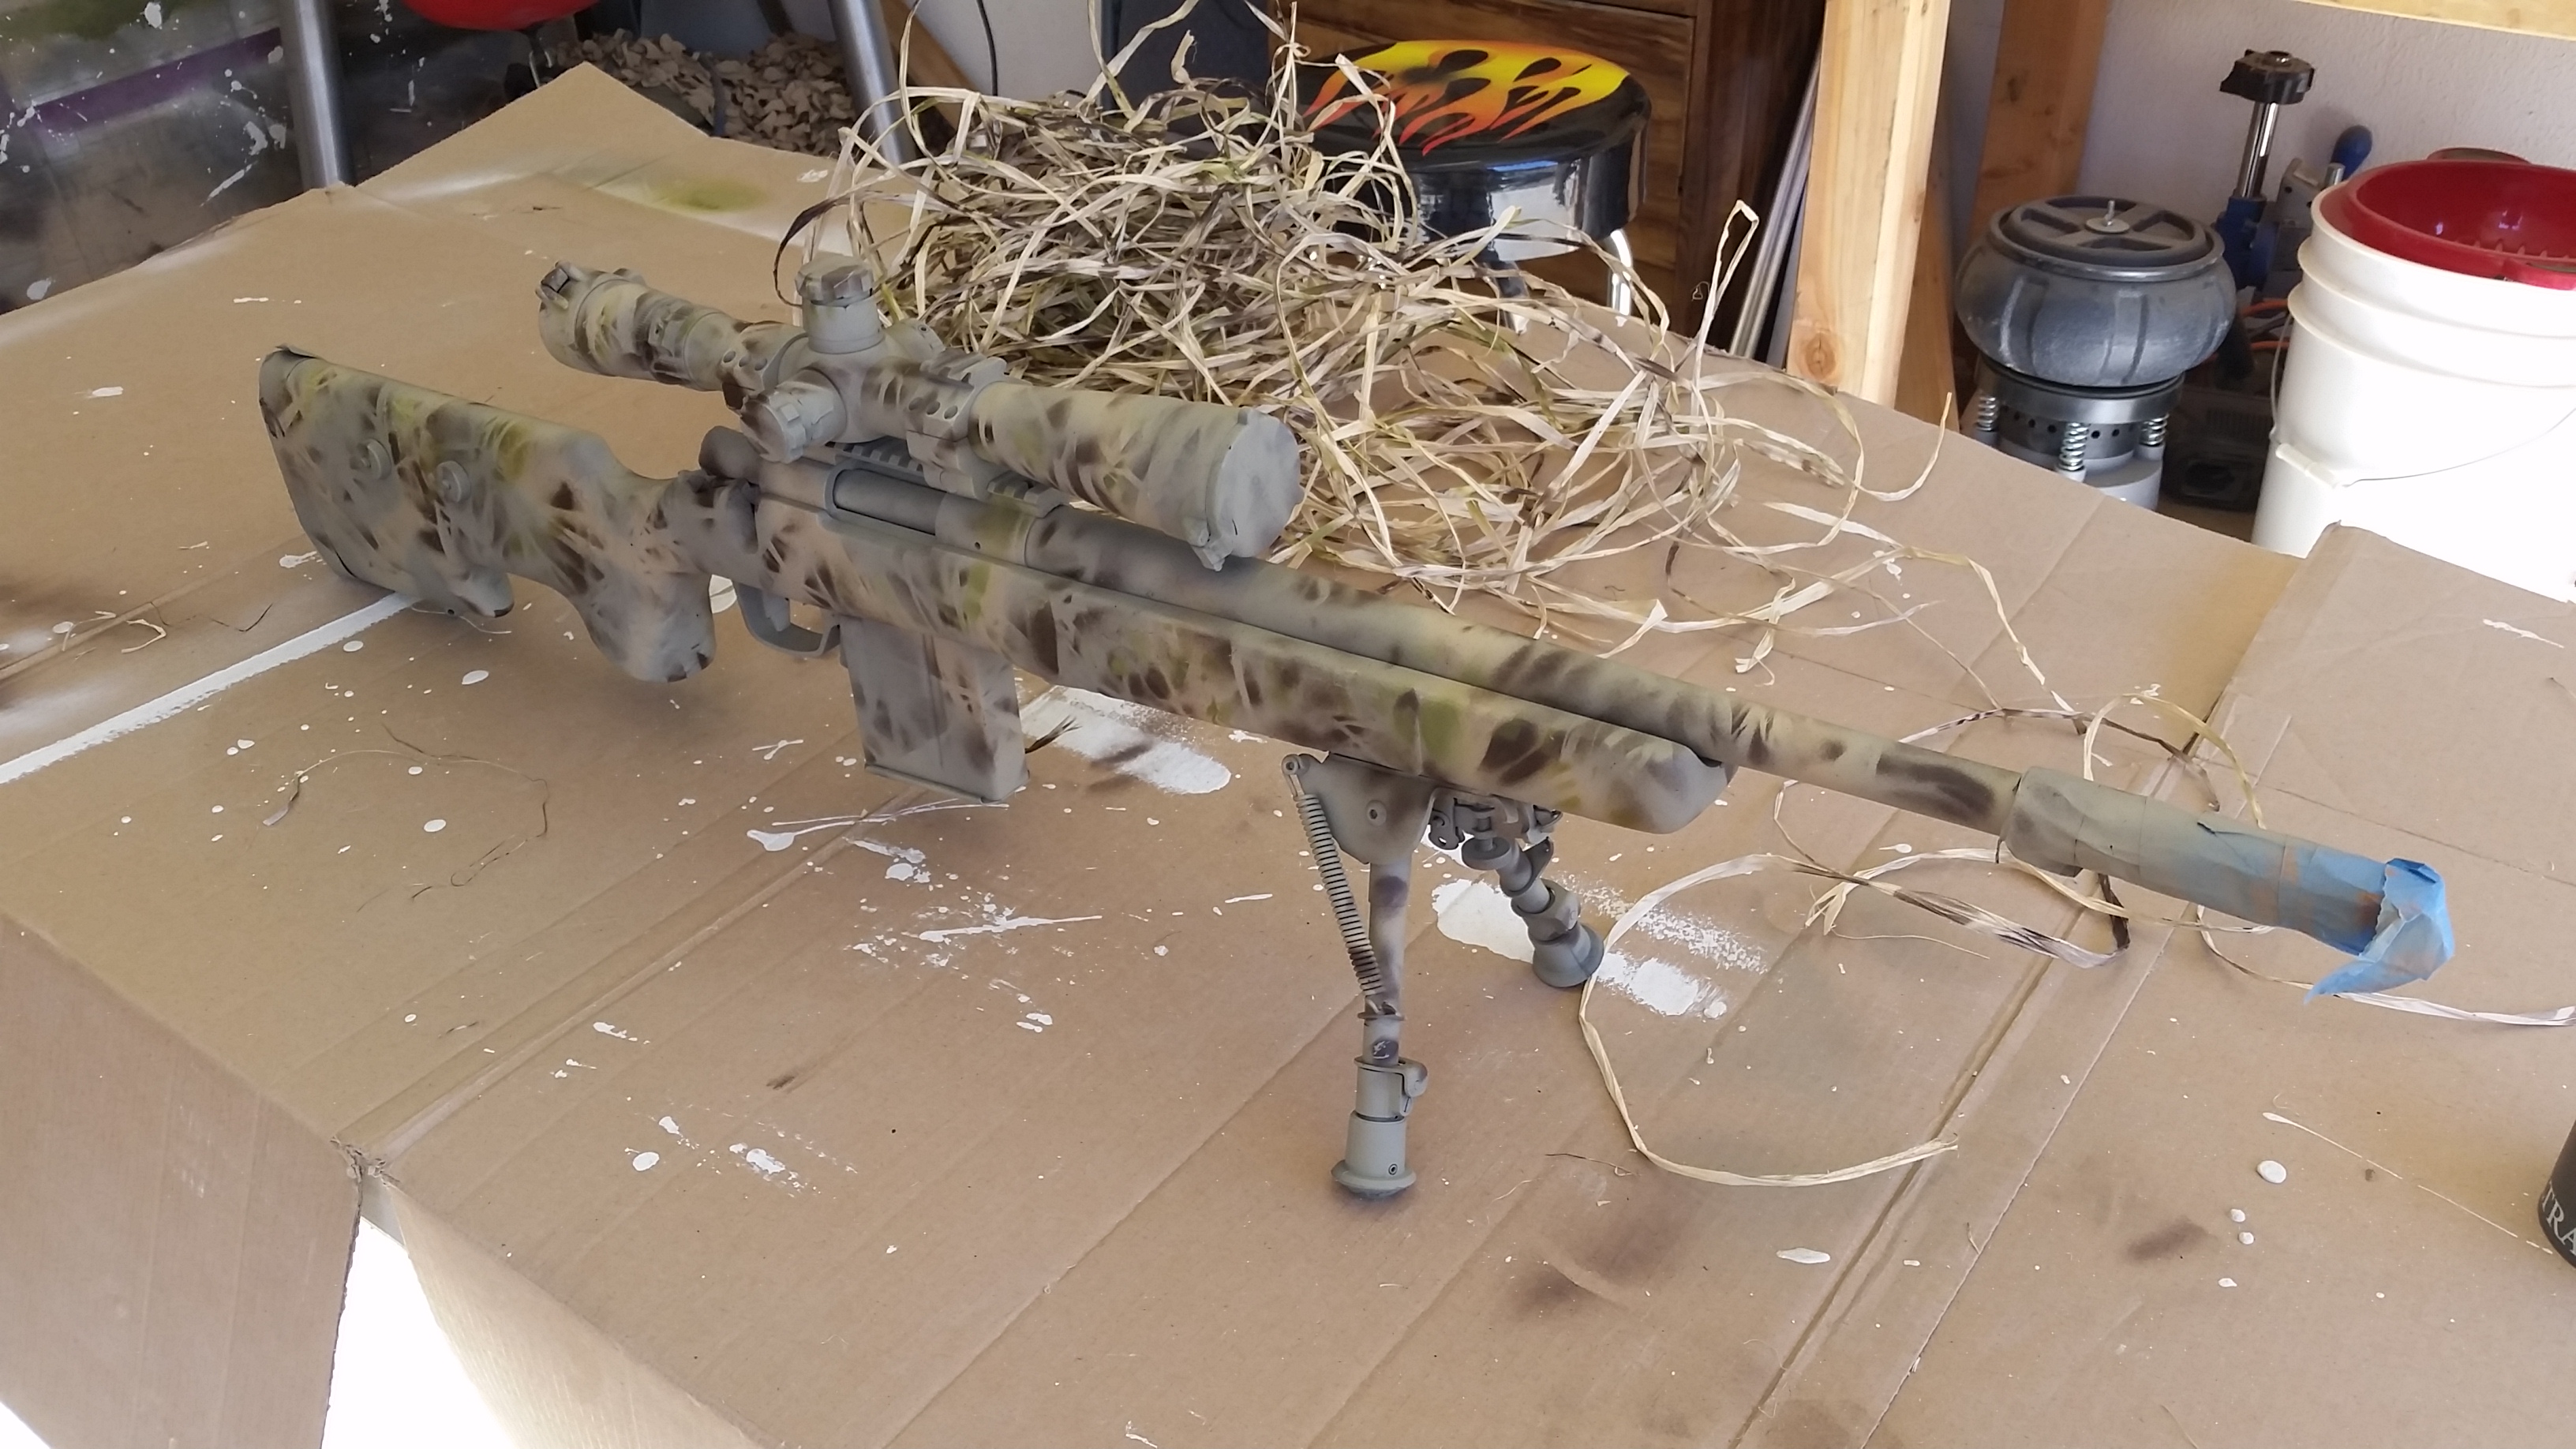 It’s hard to tell in this picture, but it has been lightly dusted with dark OD green to mute the overall tone somewhat. This is done by holding the spray can about 18-24” away and gently spraying a few blasts so that the paint is almost at the point of complete dispersal, and more or less falling onto the rifle.
Finishing and Function-Checking the Rifle
Now that you are satisfied with your results, let the paint dry for at least 30 minutes before you remove any of the masking tape. Once that is done, perform a functions check of your weapon to make sure none of the paint ended up where it shouldn’t. Look through your optic as well, and check the lenses to make sure none of the paint somehow made its way onto them. If so, now is the time to remove it. Acetone is usually recommended for this, but when in doubt look up the specs on your optic to be sure.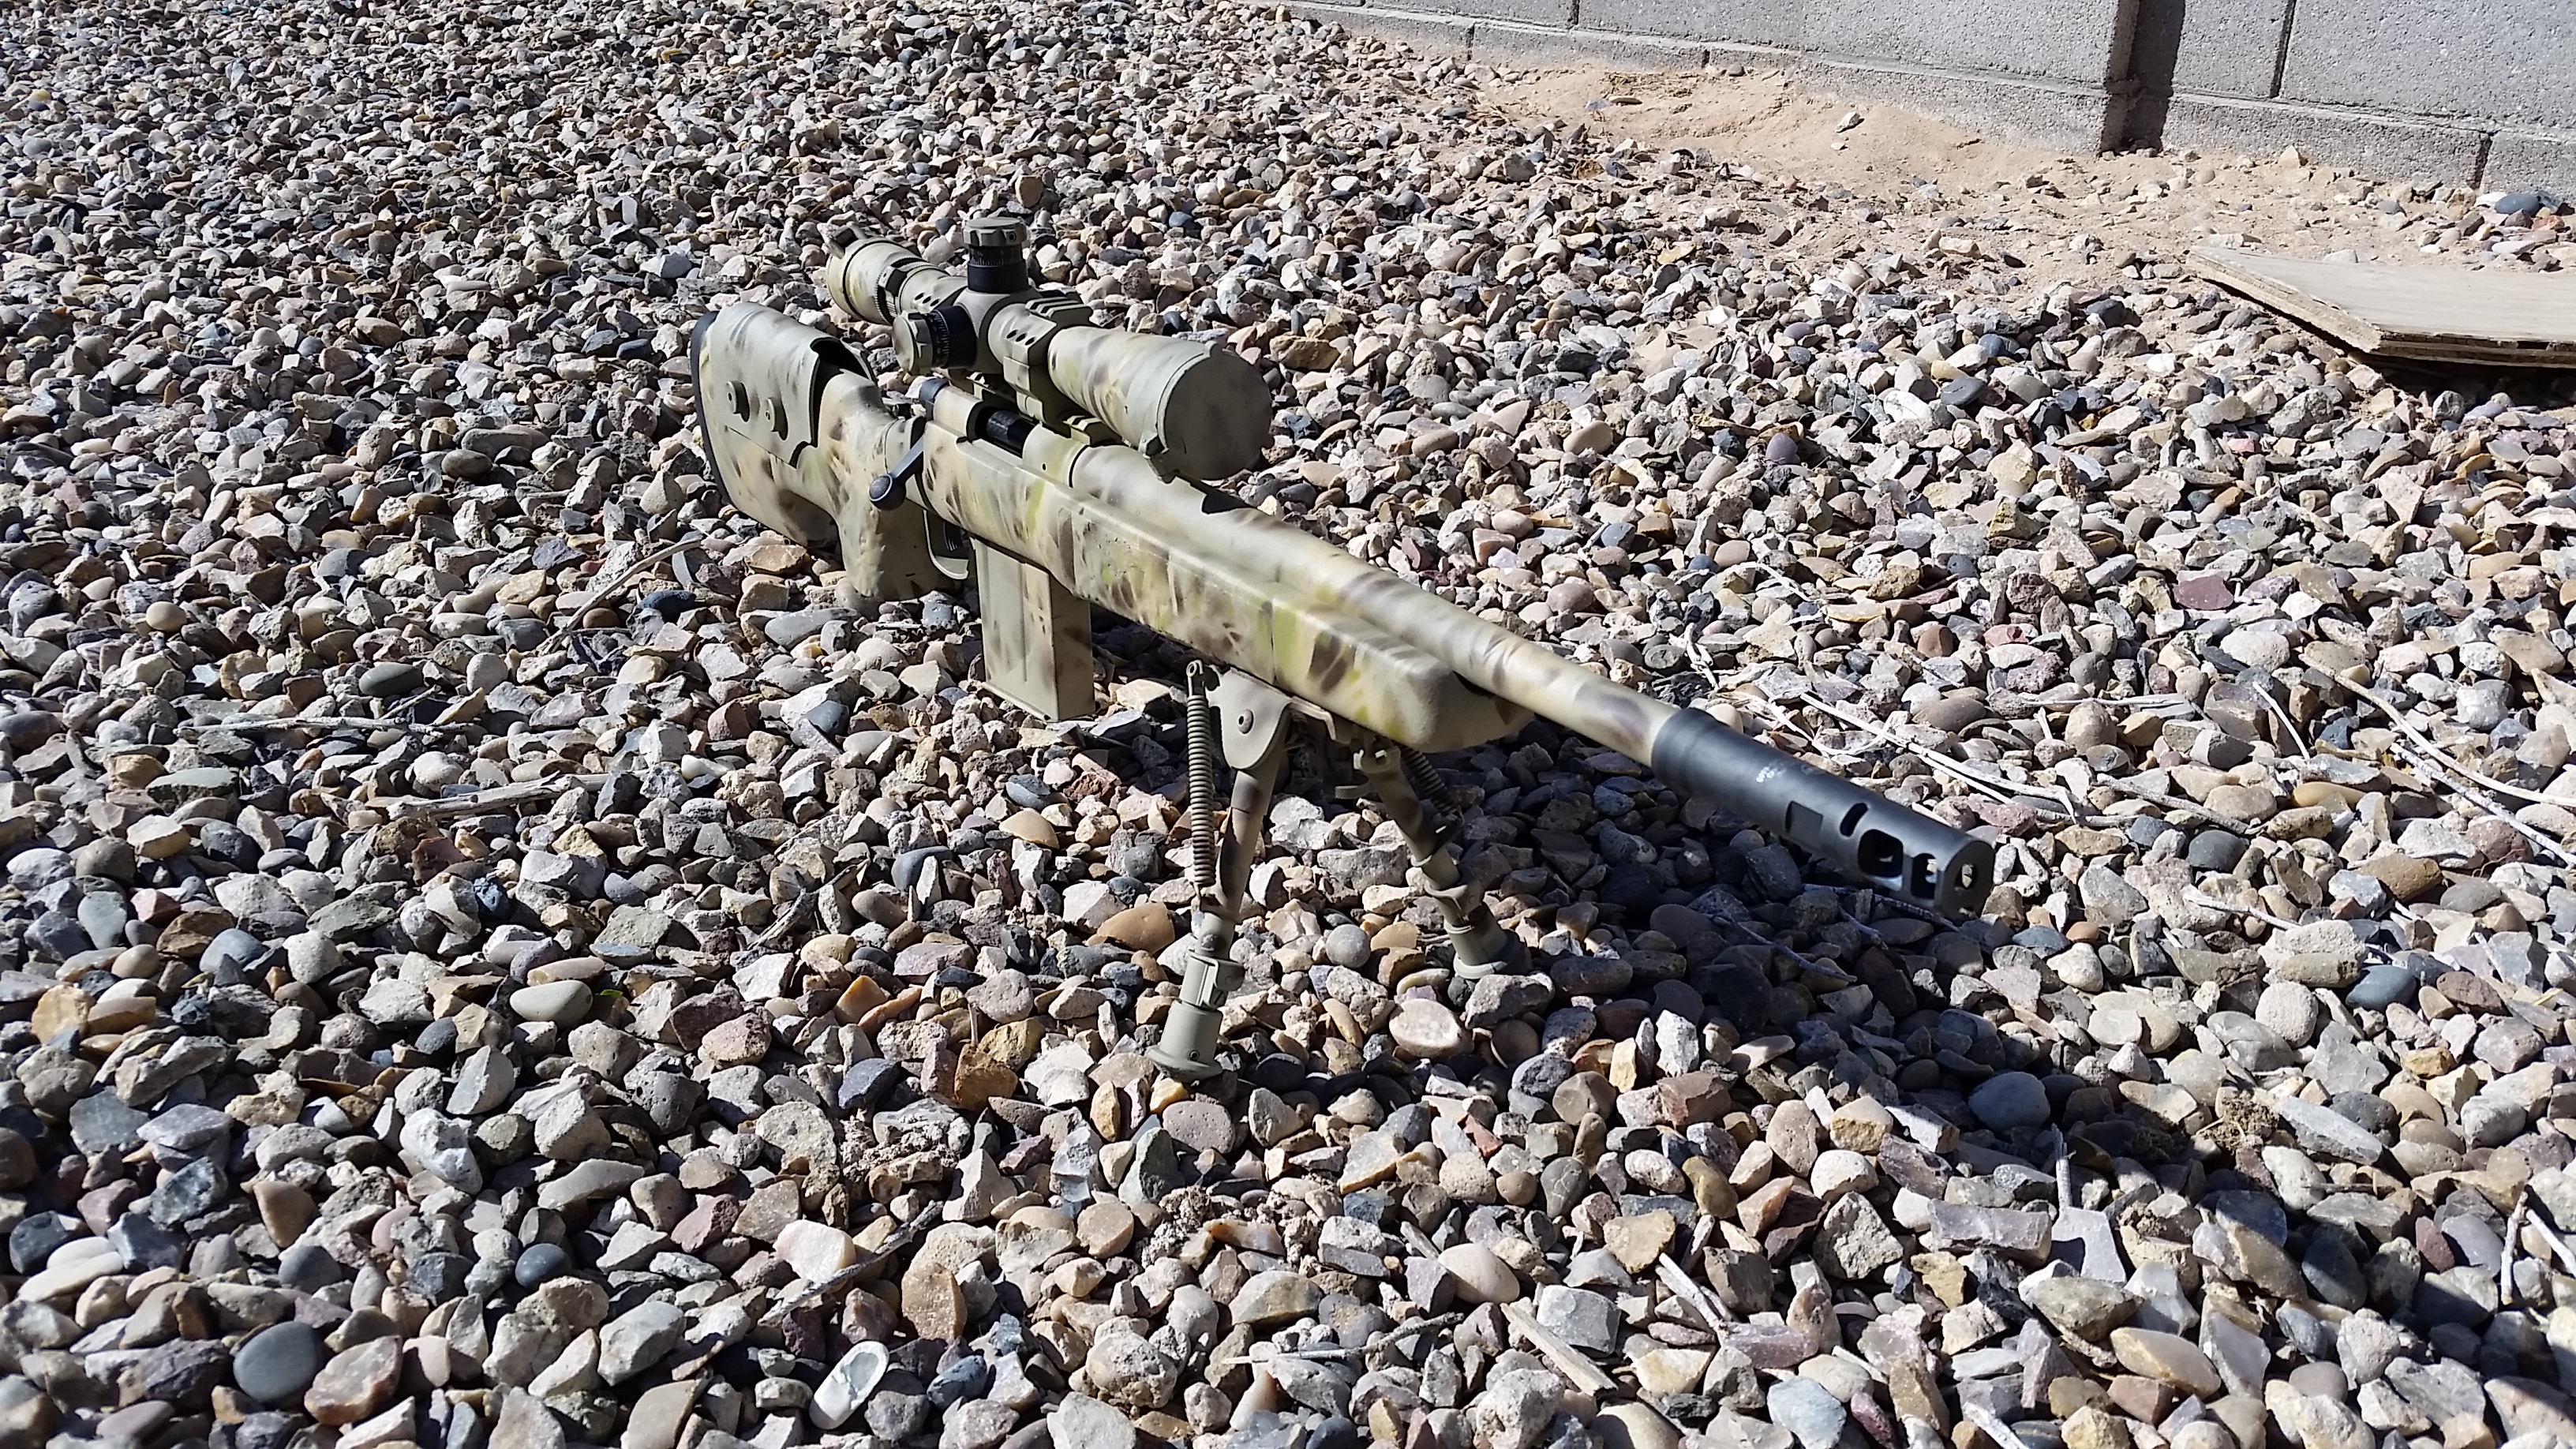
Painted and Unpainted Rifle Comparisons
Below are a few comparisons to a stock as a rock AR in my local terrain. While it is by no means all encompassing, the huge difference in visual signature is undeniable.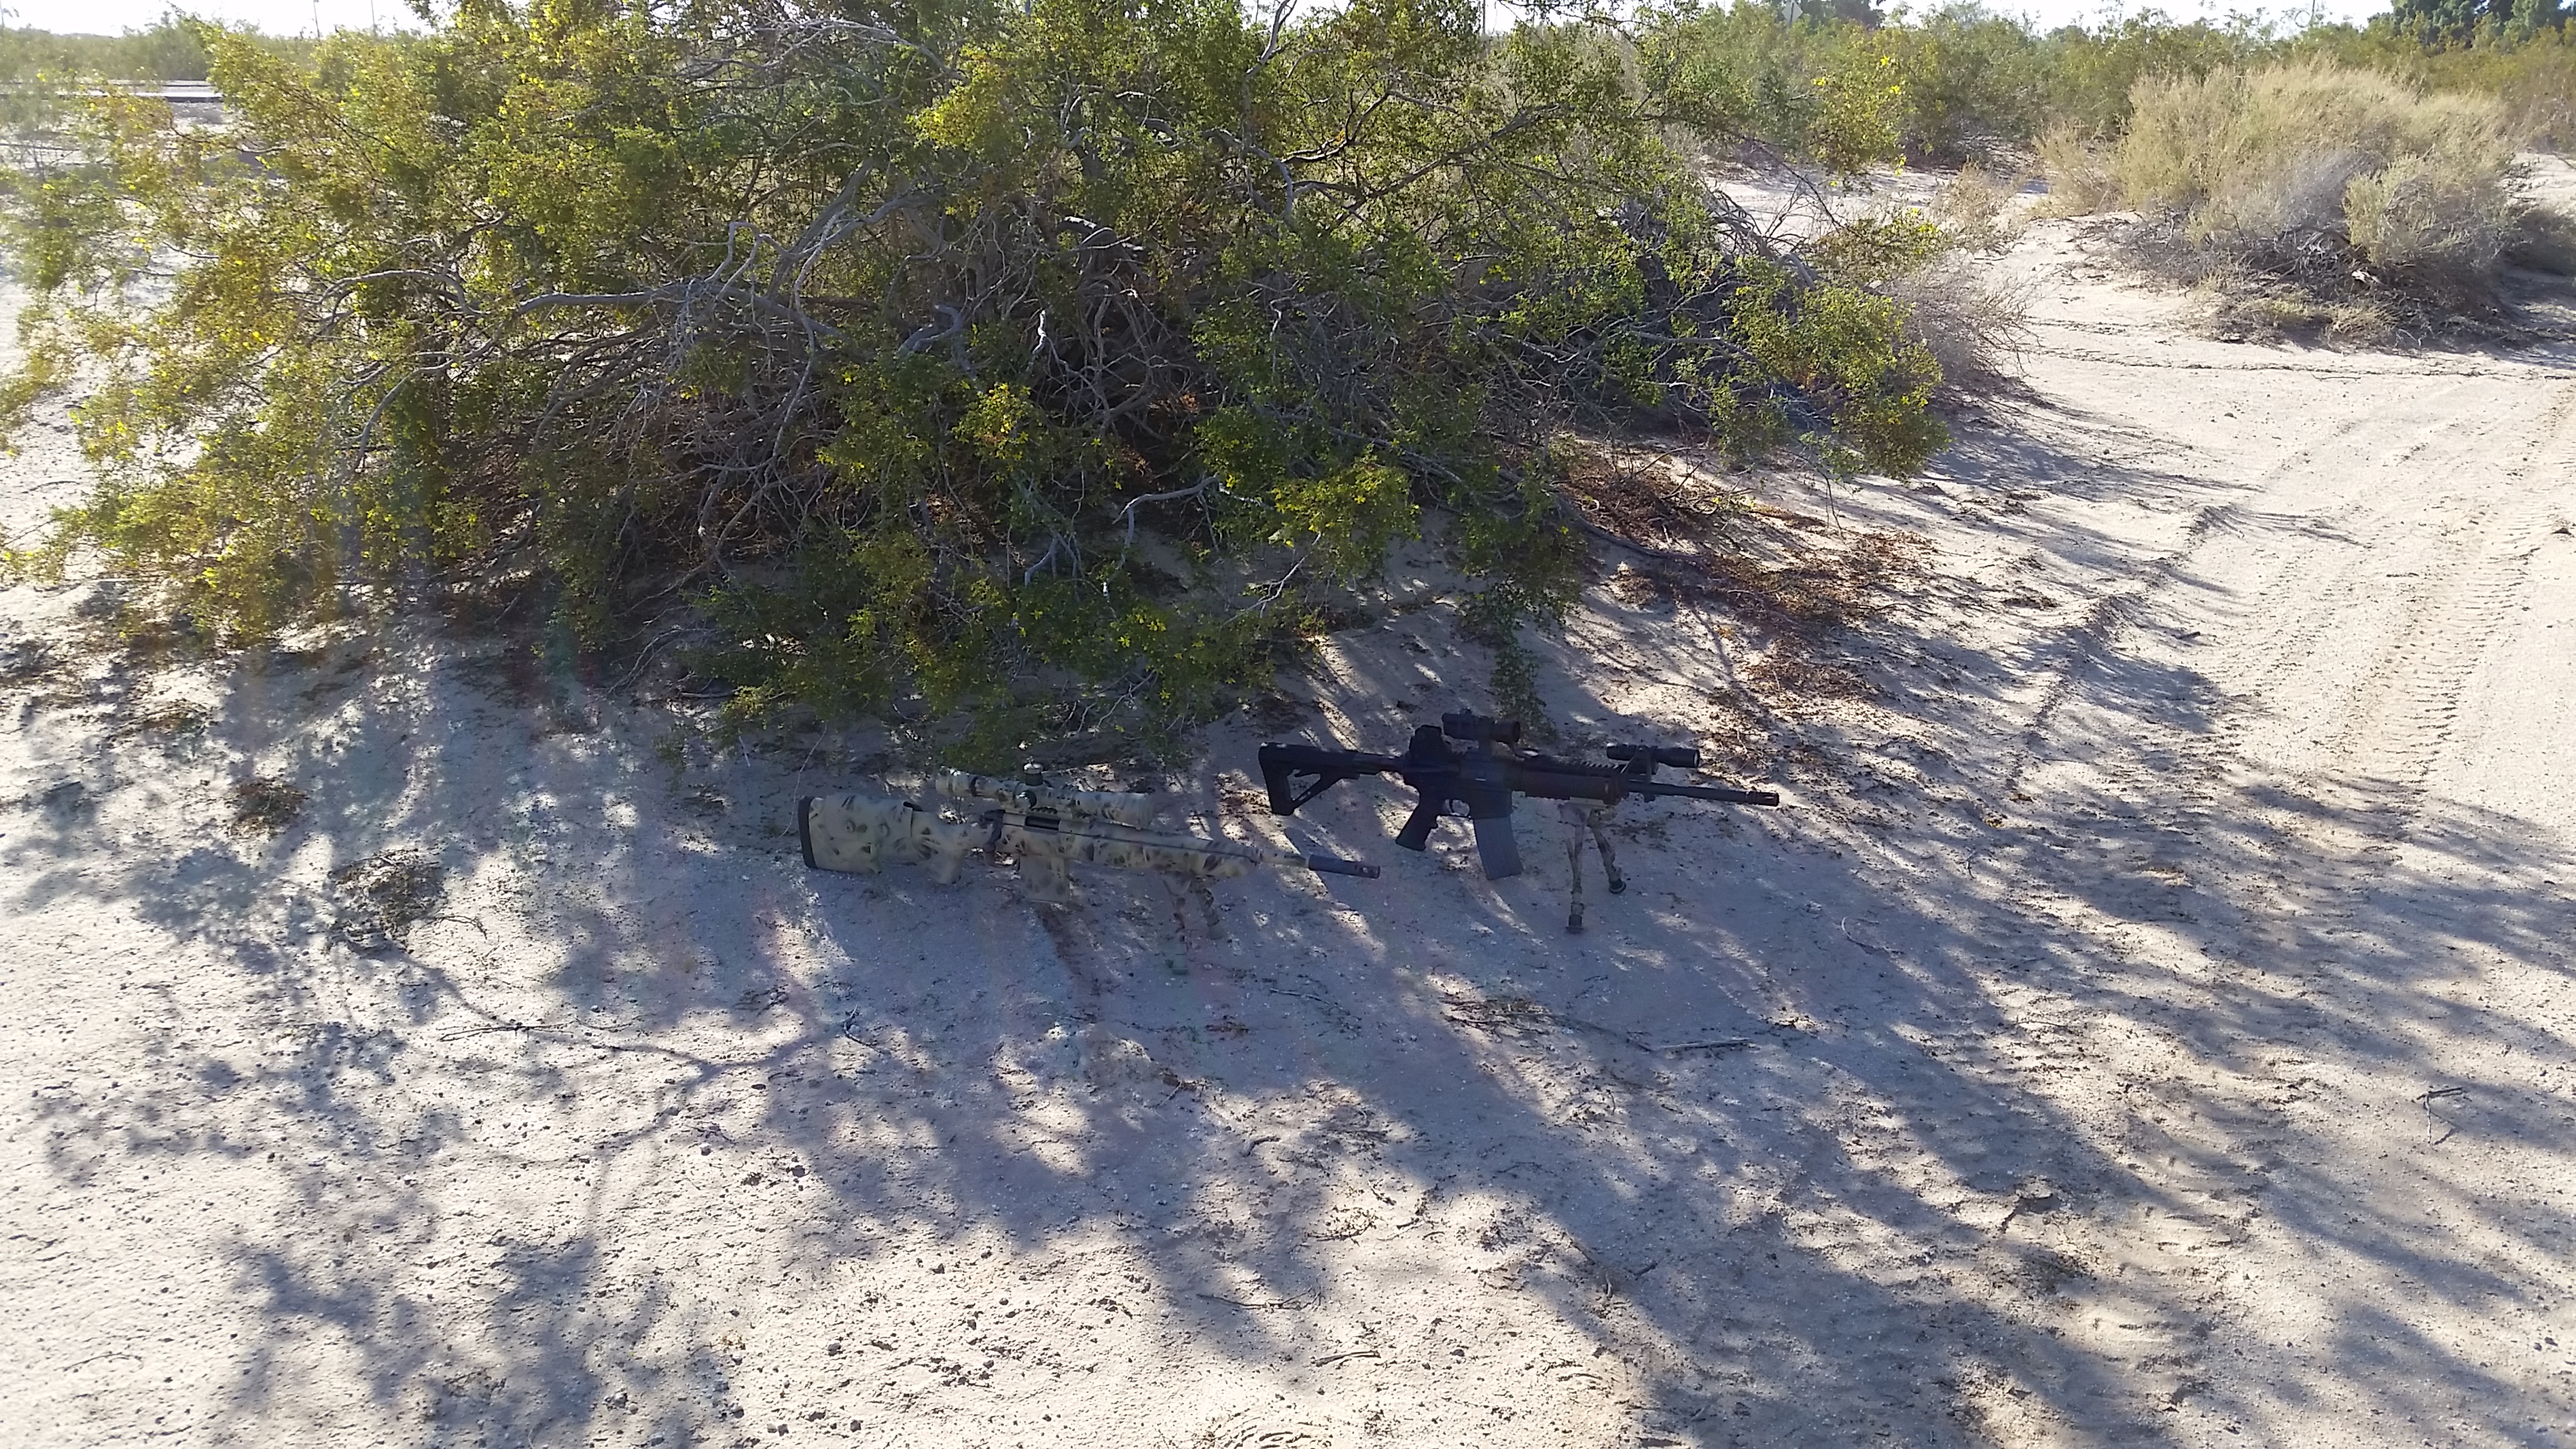
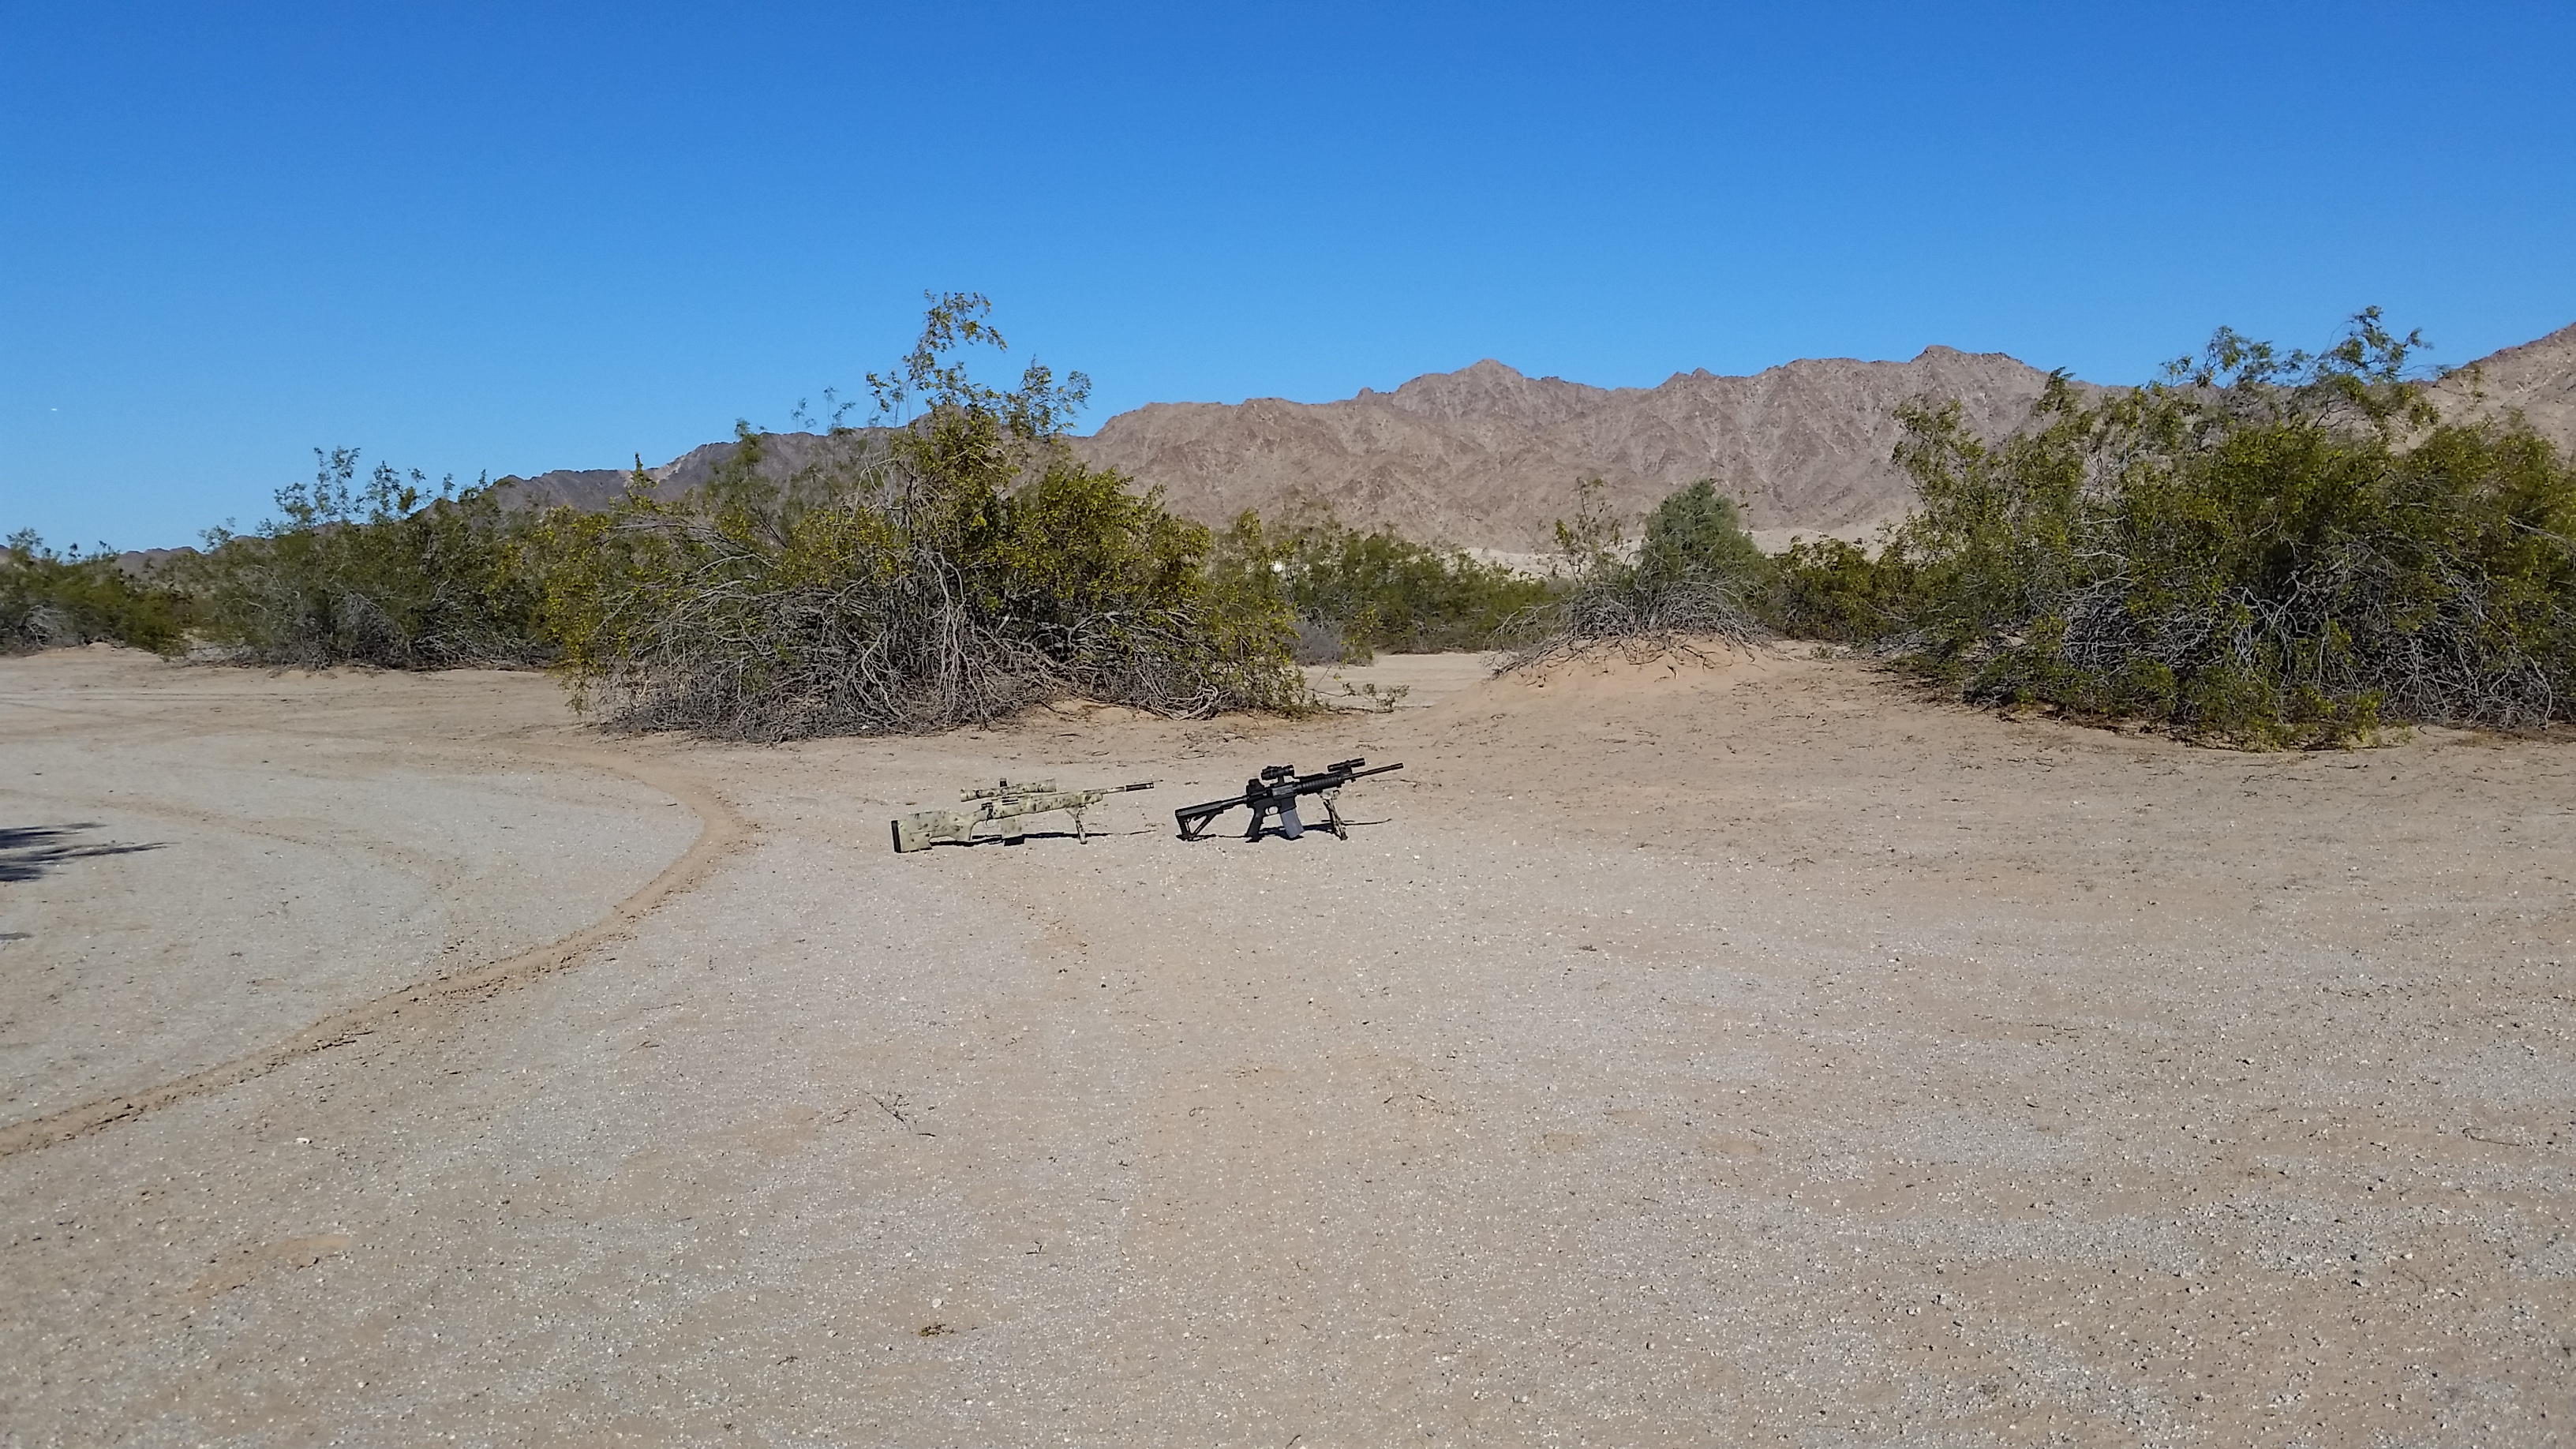
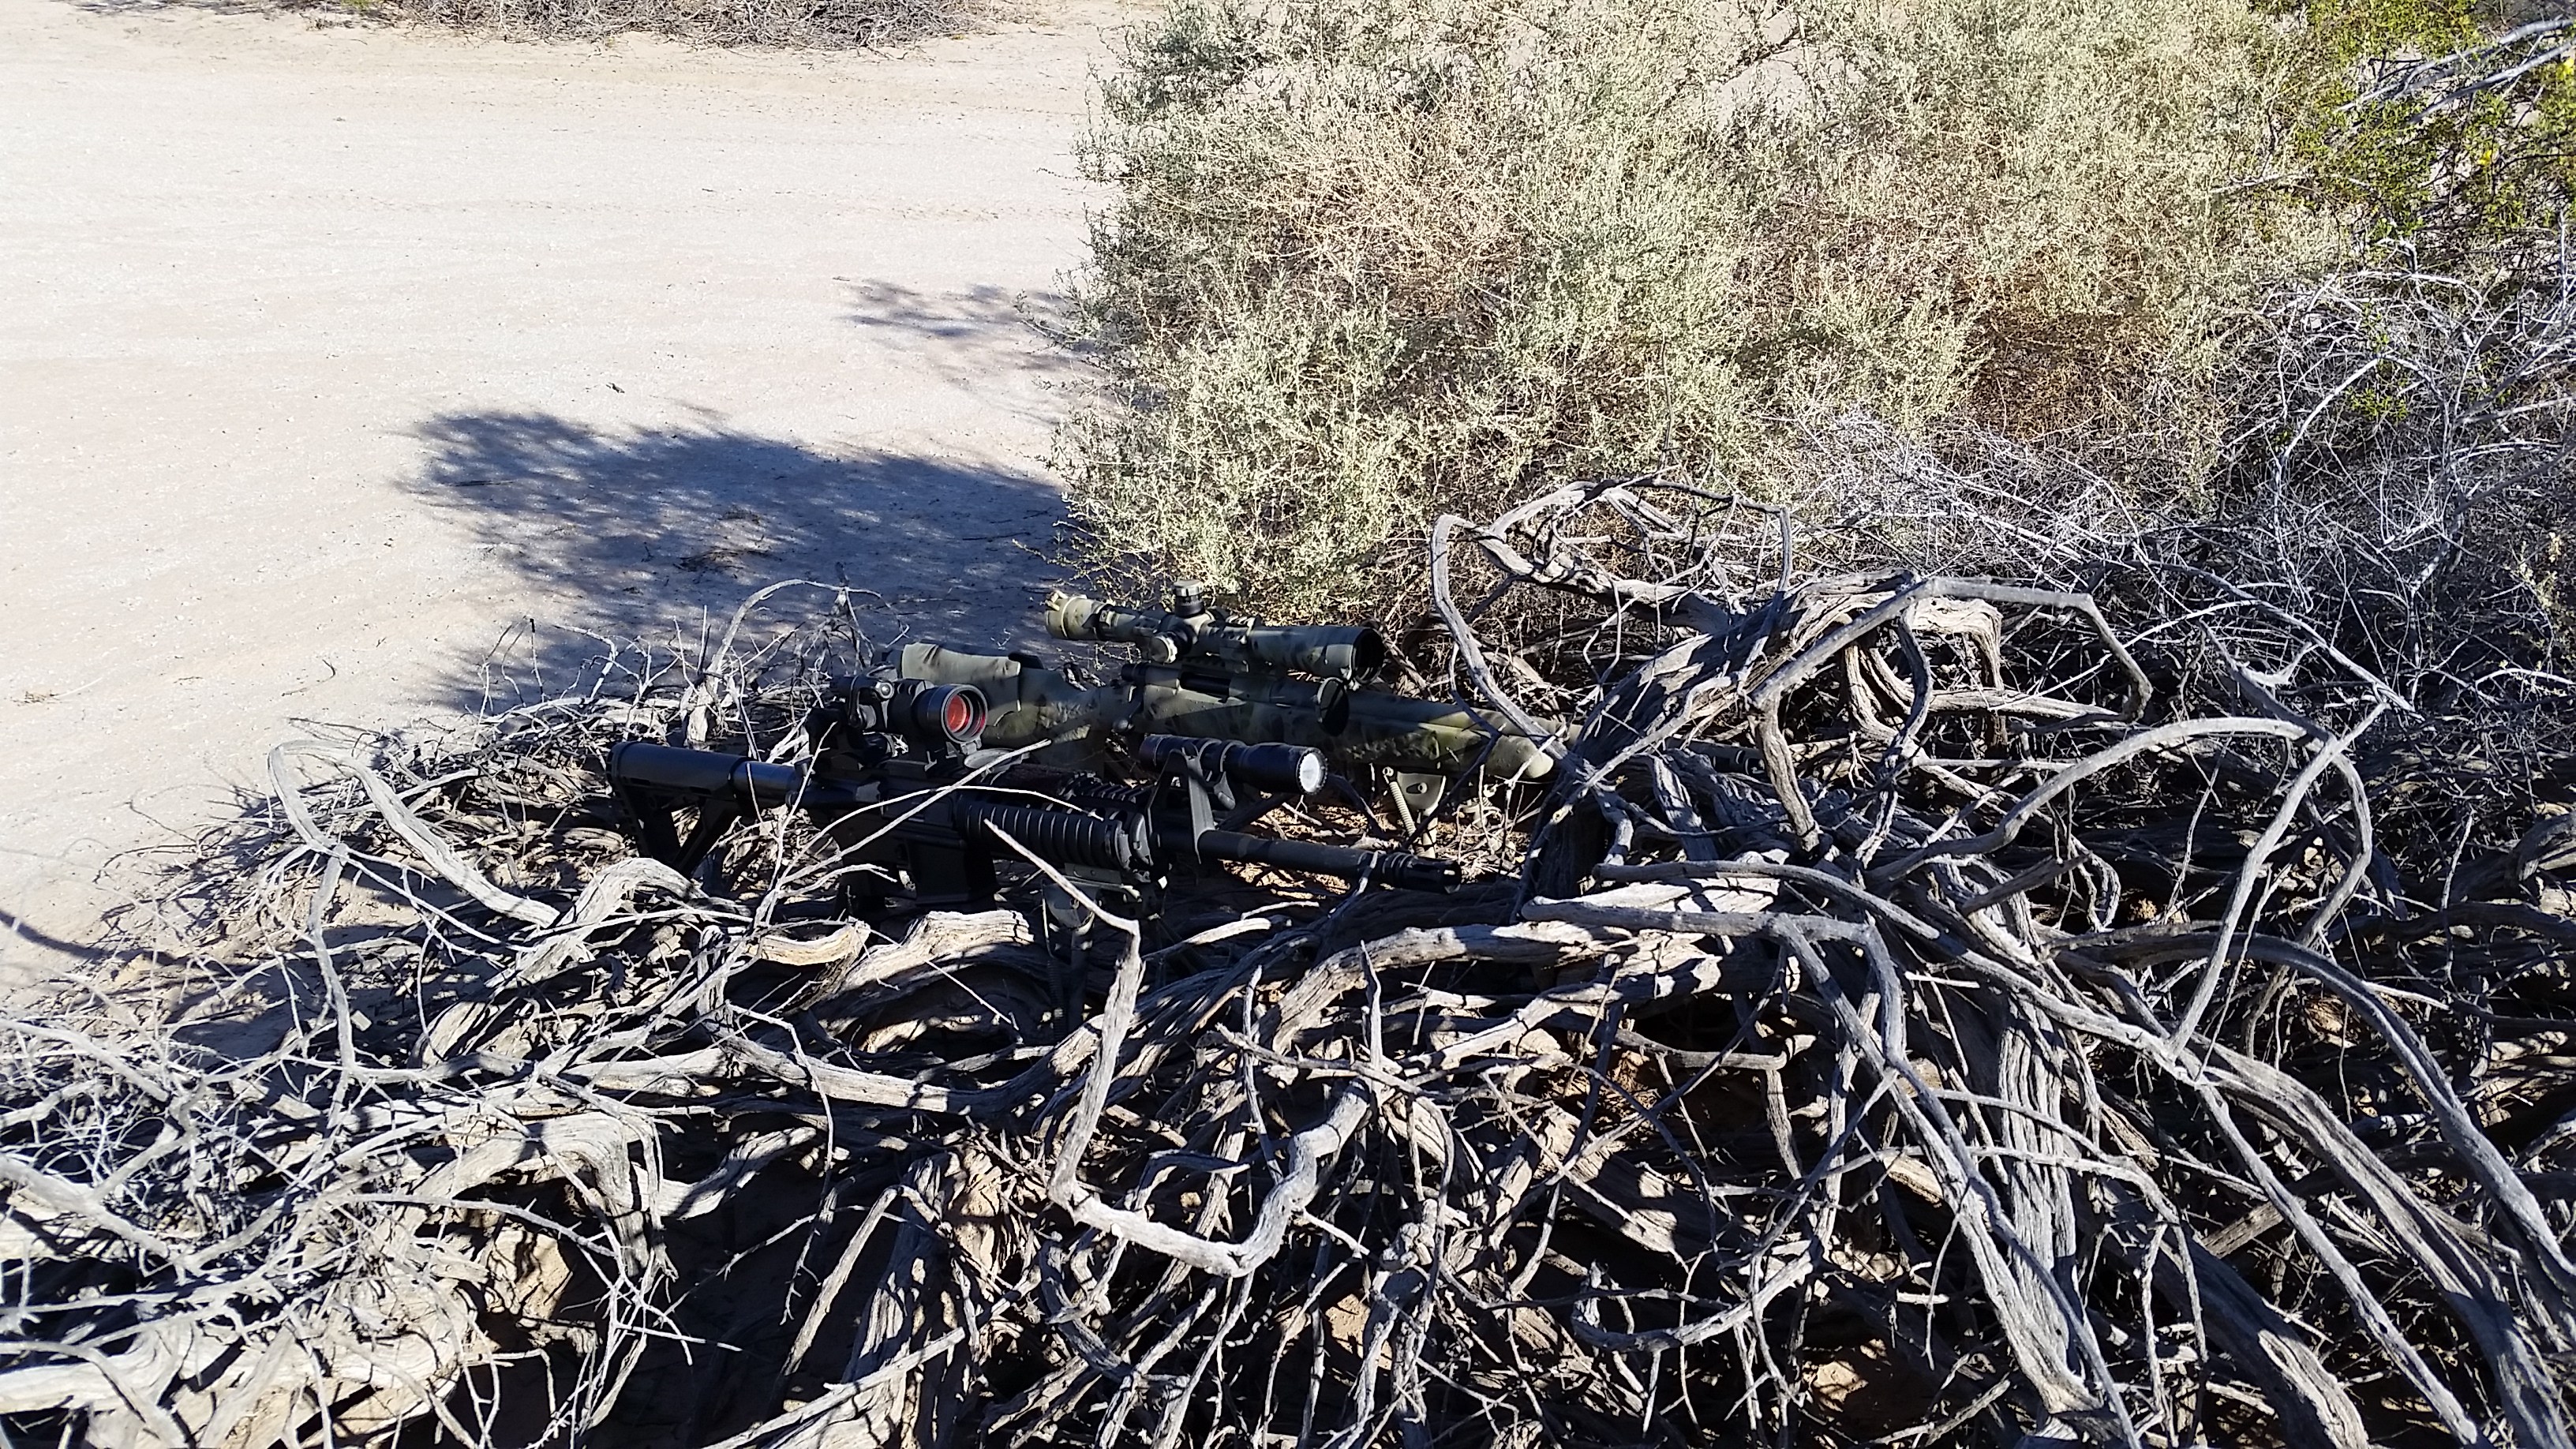
Additional Camouflage Examples
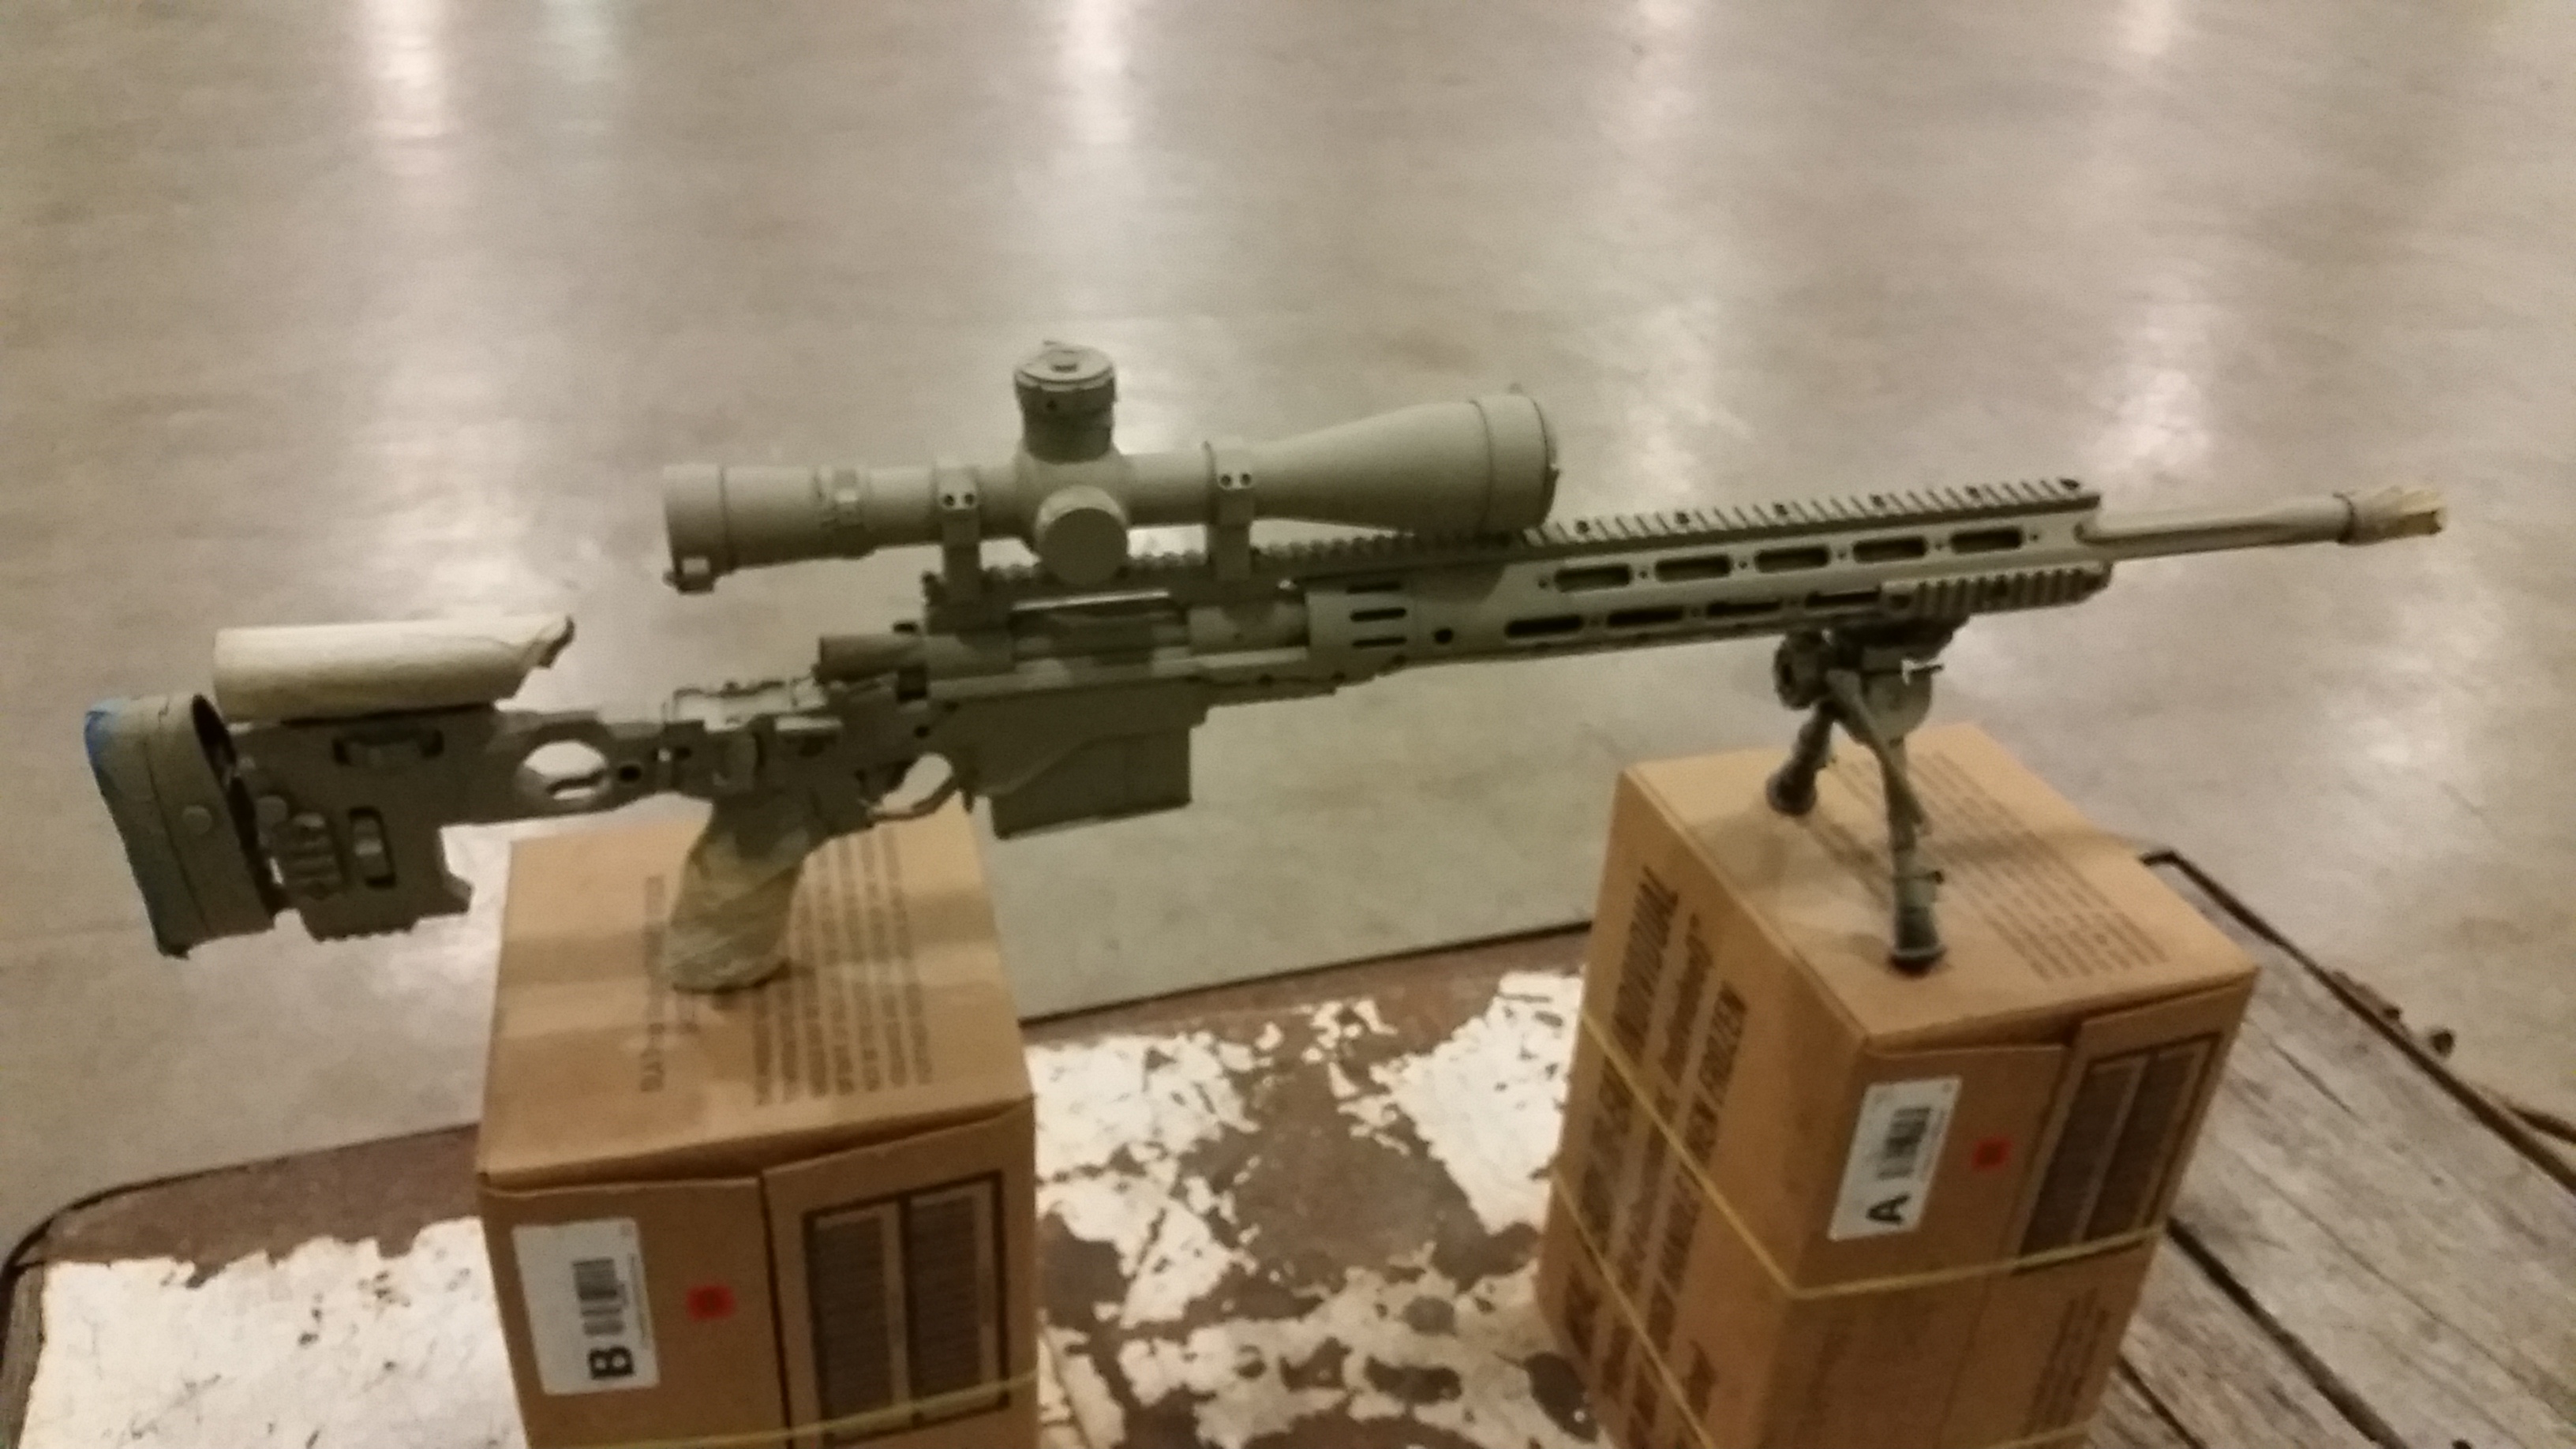
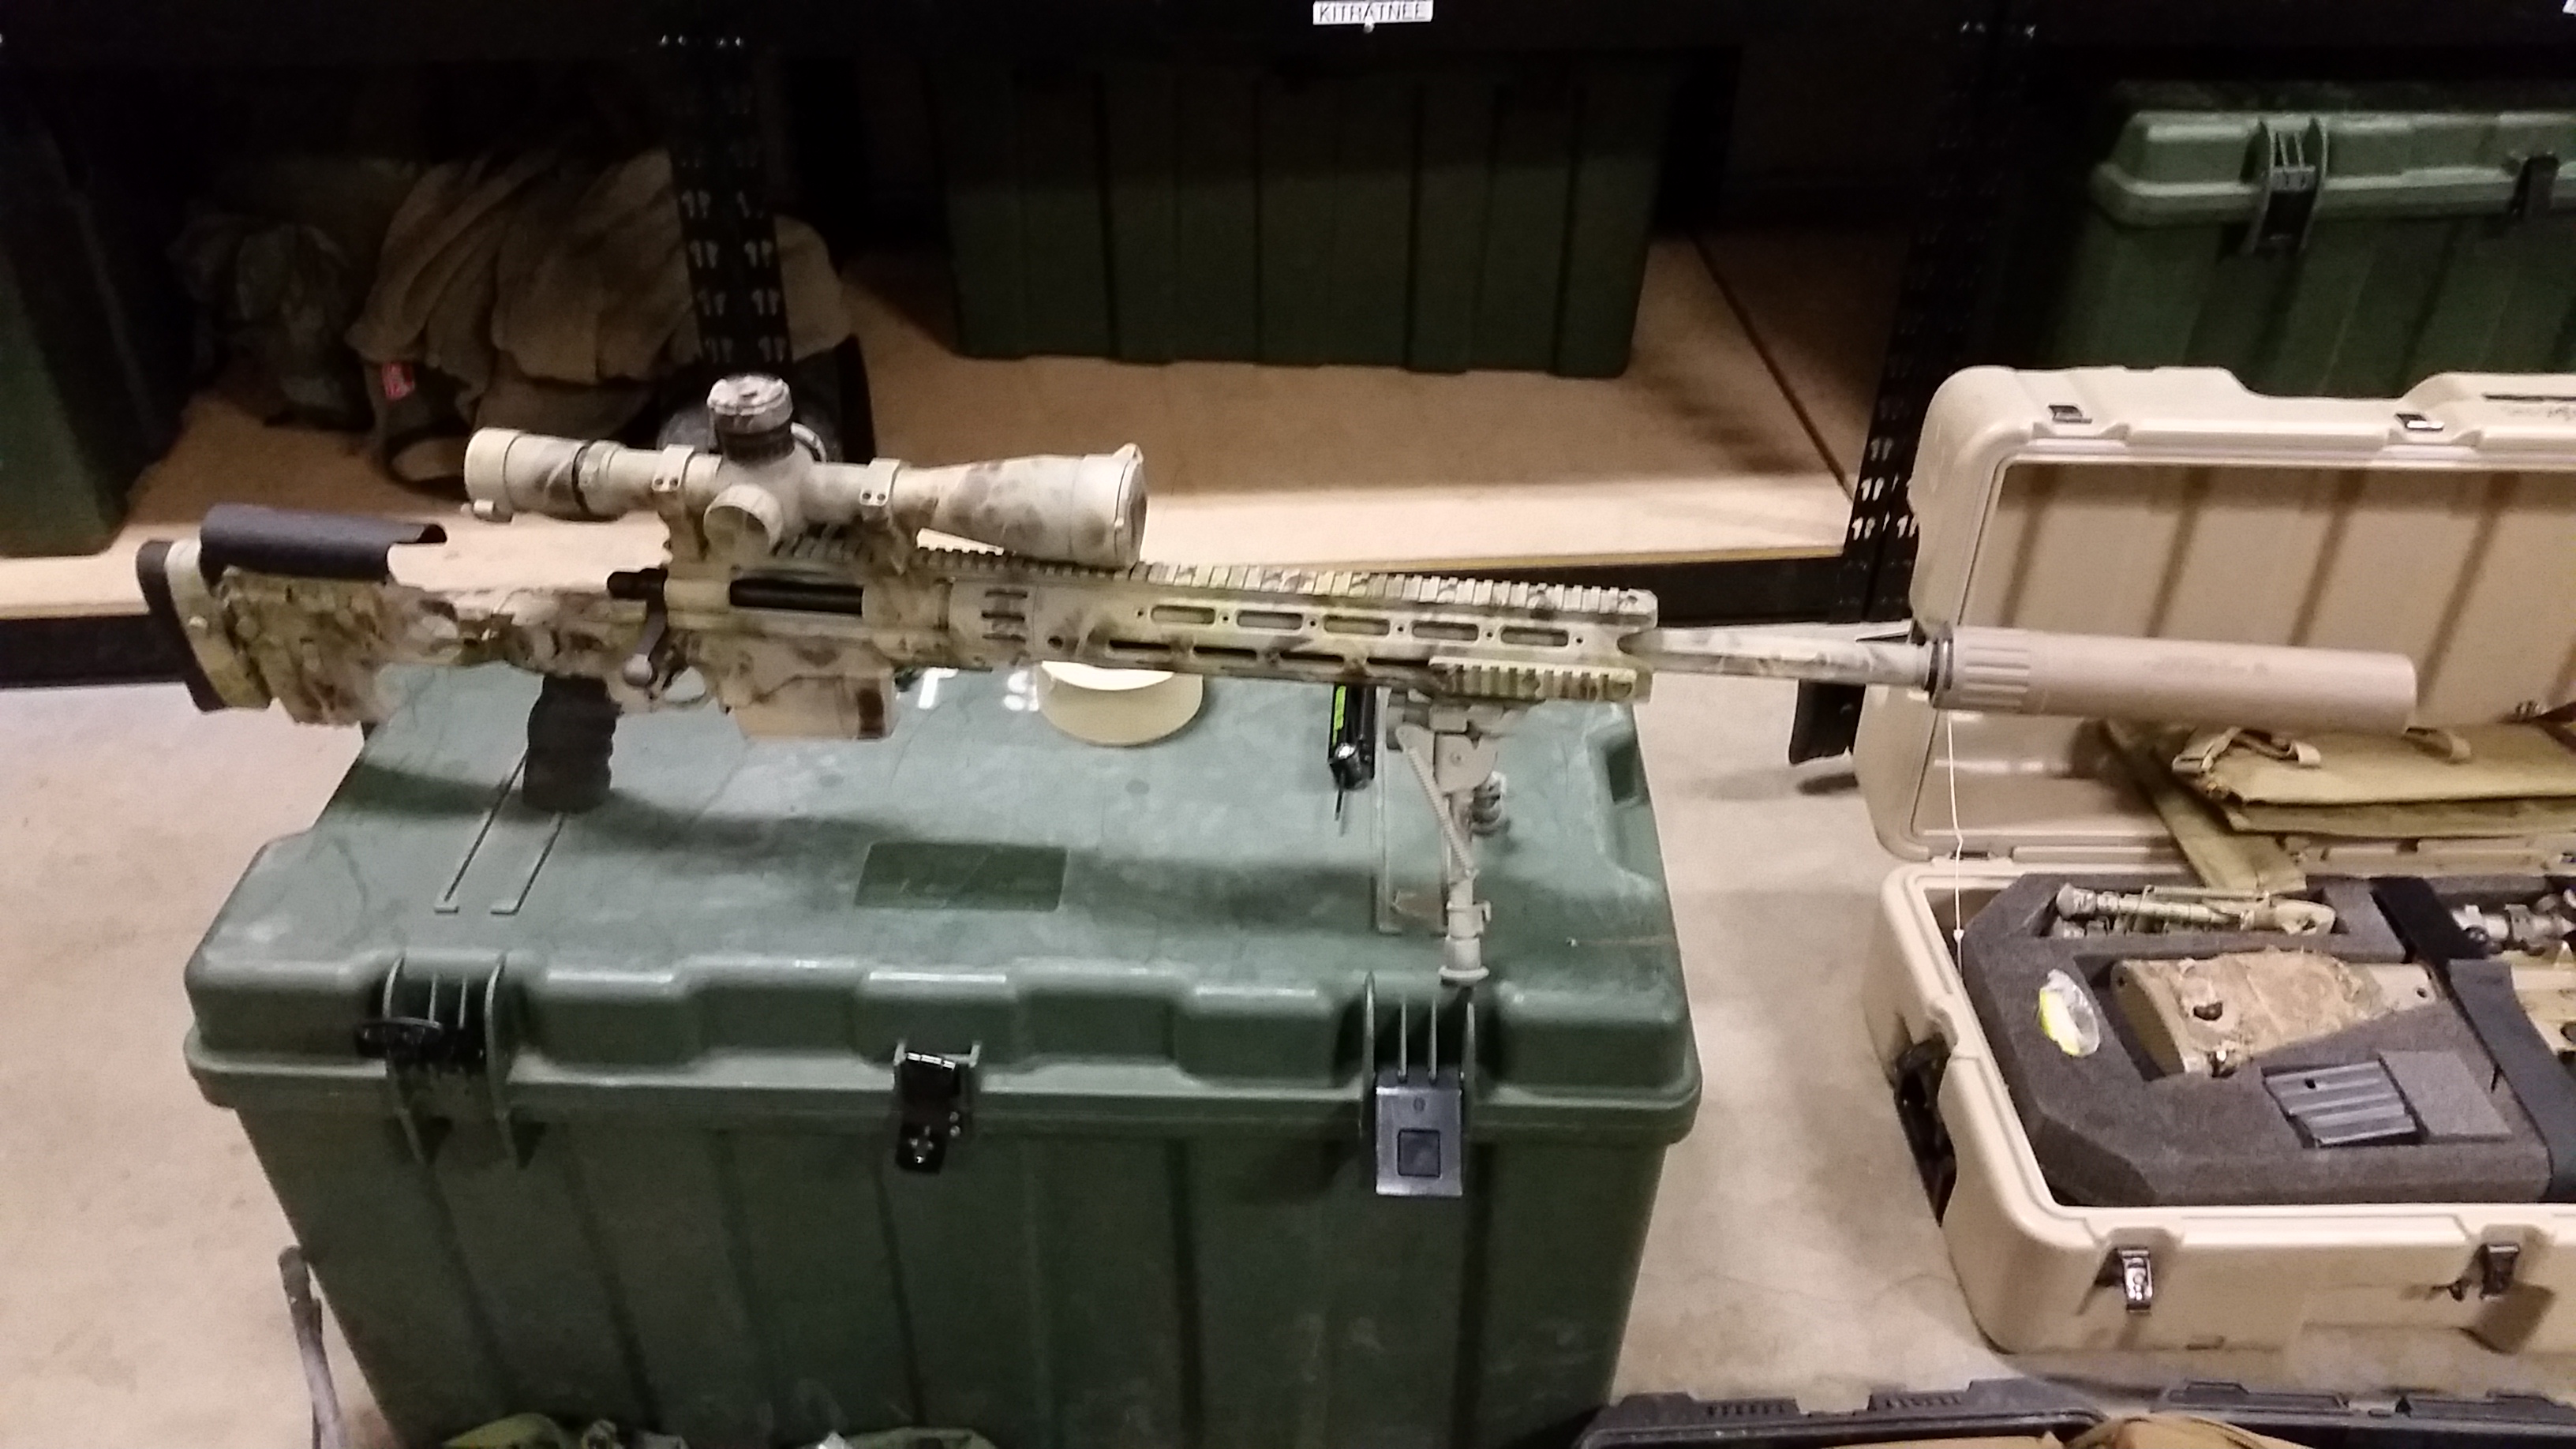
More examples of work
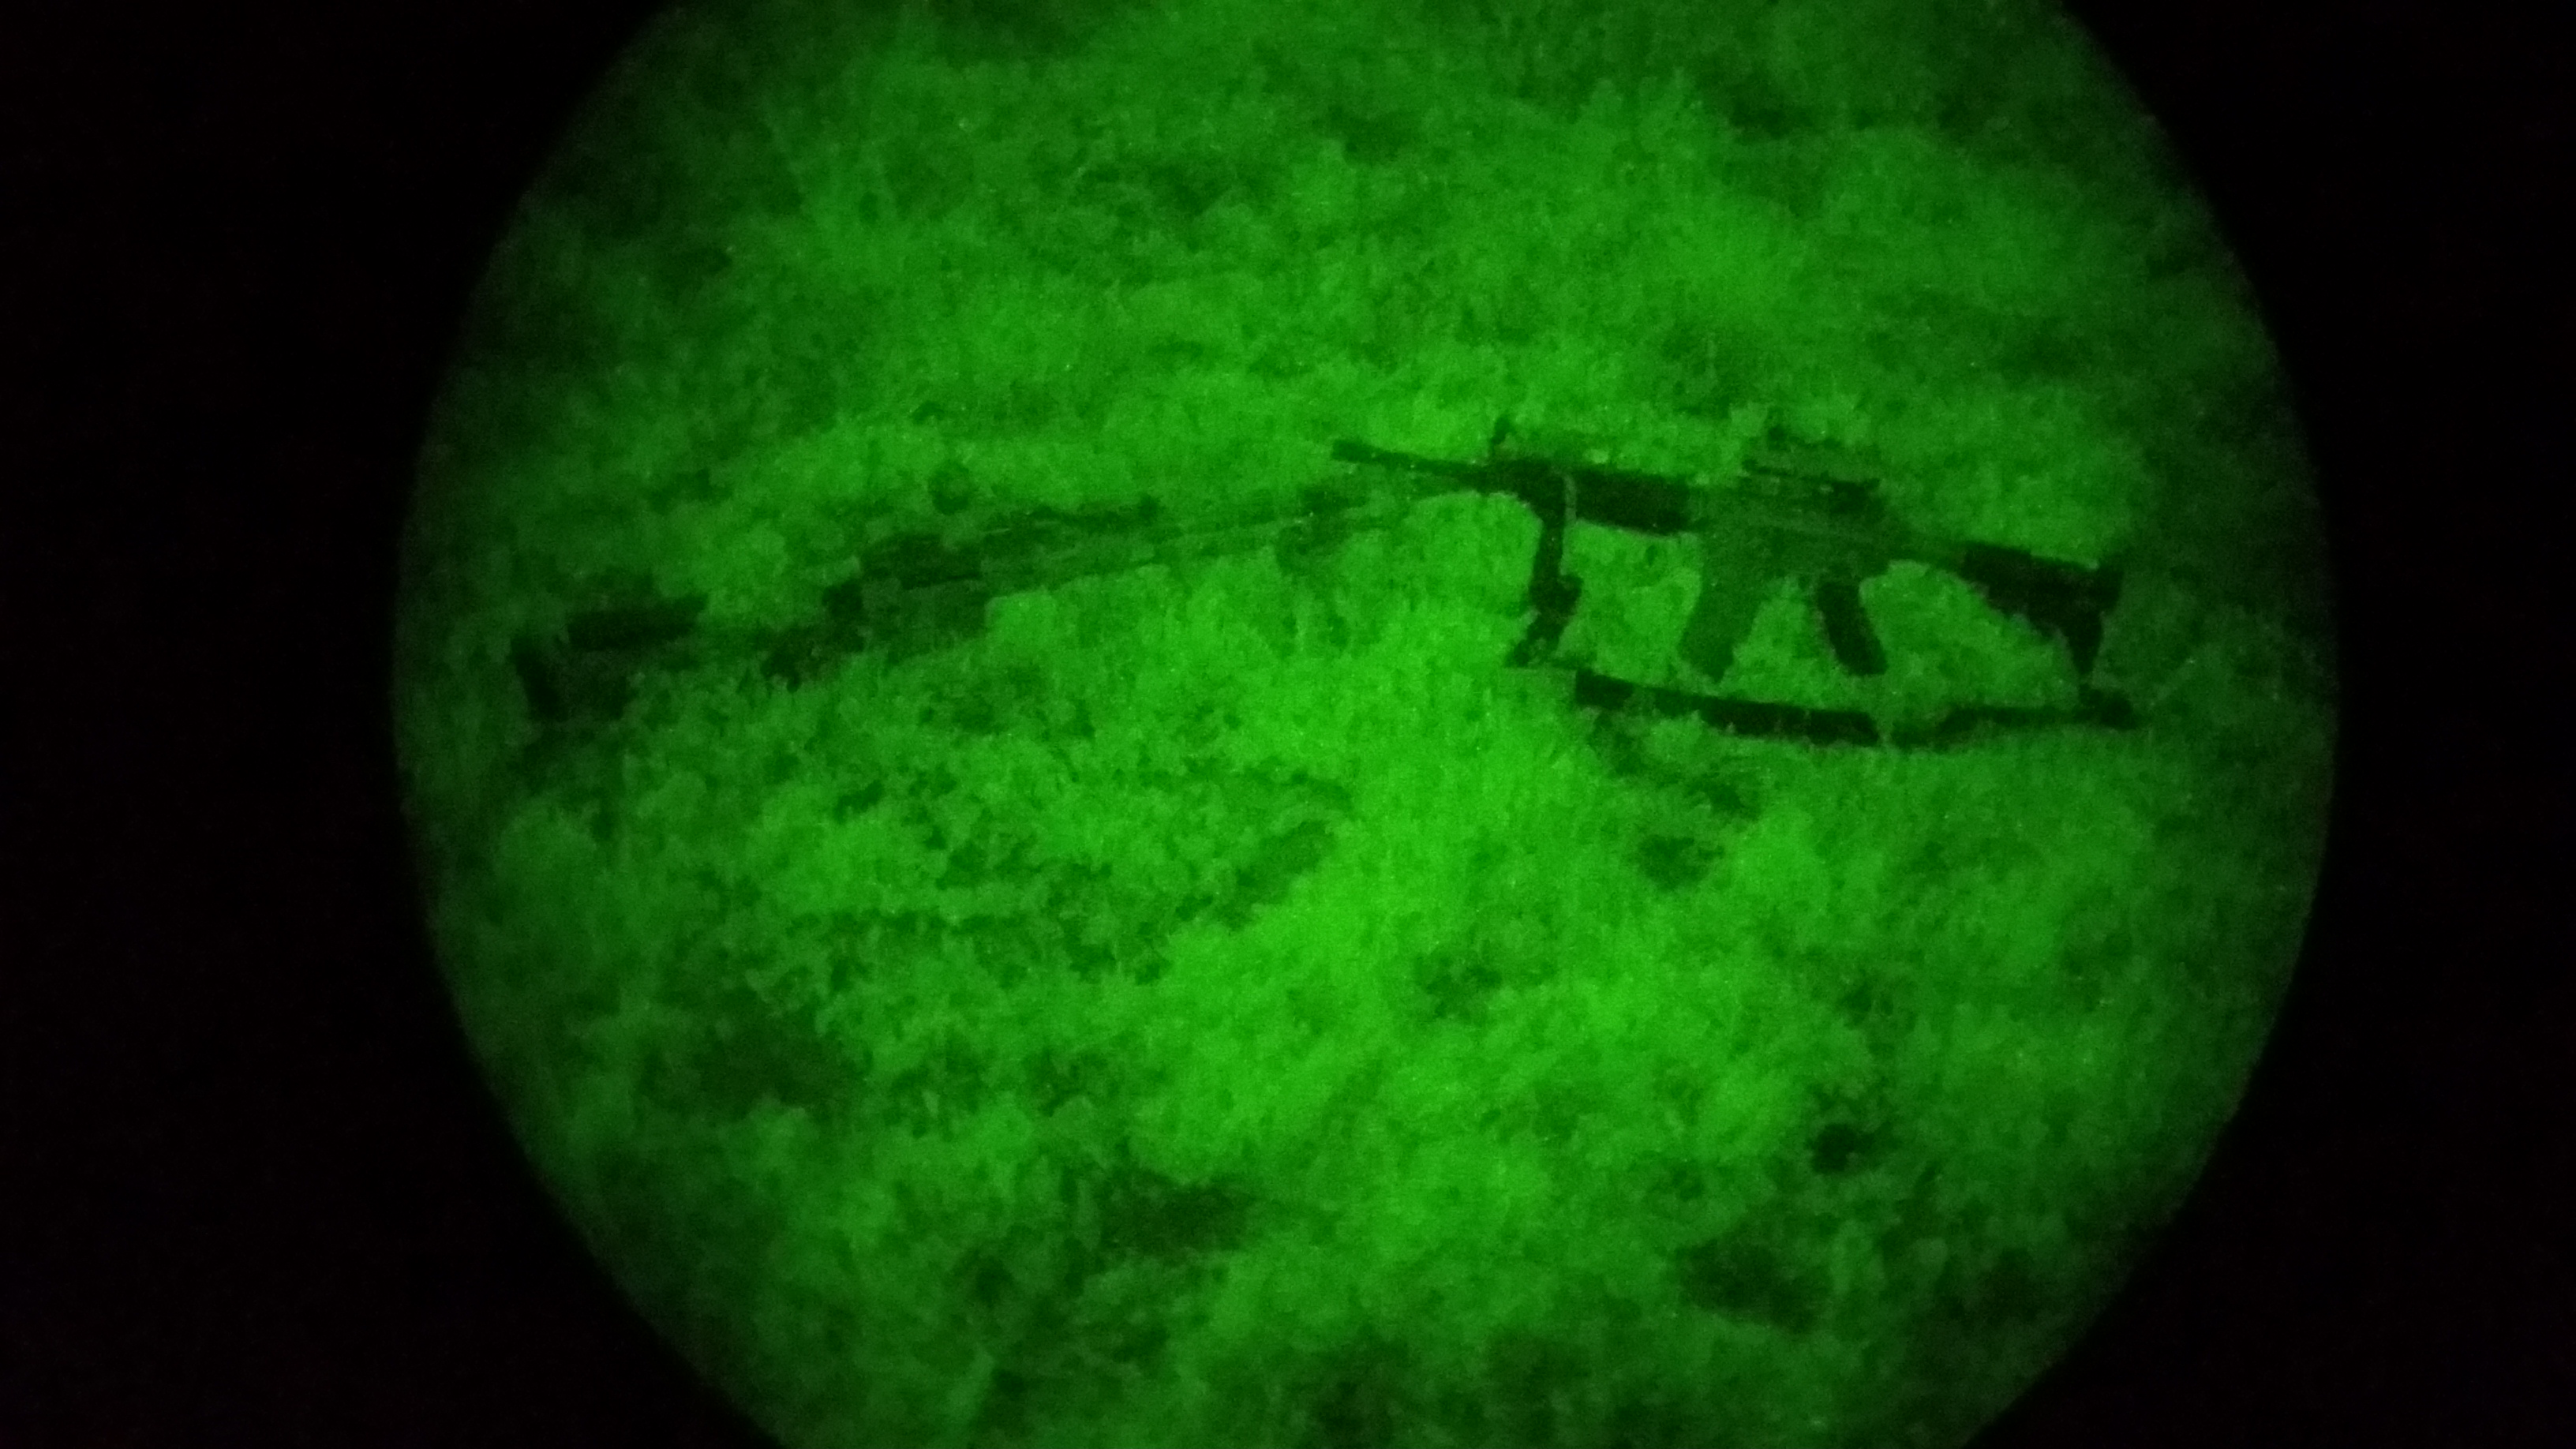
 The picture below is the M2010 above next to an unpainted, standard finish M4 as viewed through an AN/PVS-14 Night Optic Device, with no artificial illumination.