
Sentinel Concepts Practical Urban Carbine 6/11-6/12 Part Four


This is part four and the final installment of my AAR of Steve Fisher’s inaugural course. The rest of the series can be found at https://primaryandsecondary.com/articles/.
Day two of the Sentinel Concepts Practical Urban Carbine course was a much cooler day than the humid 90-degree temperatures of the day before. Zeros were confirmed at 50 and 200. From the 100, Steve spoke of the intricacies, advantages, and disadvantages of the various seated and kneeling positions. Sling work still was key and yet more discussion on ways to develop sling tension were instructed. Steve spoke of marking lines on the sling with a Sharpie to reference what tension needed to be used with what shooting positions.

Use of a pack was discussed further. Steve discussed his personal light bulb moment when hunting and sitting with his back to a tree. He took the backpack he always carried and used it in his lap. It provided support for his elbows and solidified his shooting position comfortably during his hunt, allowing him to remain in position for a much longer length of time.
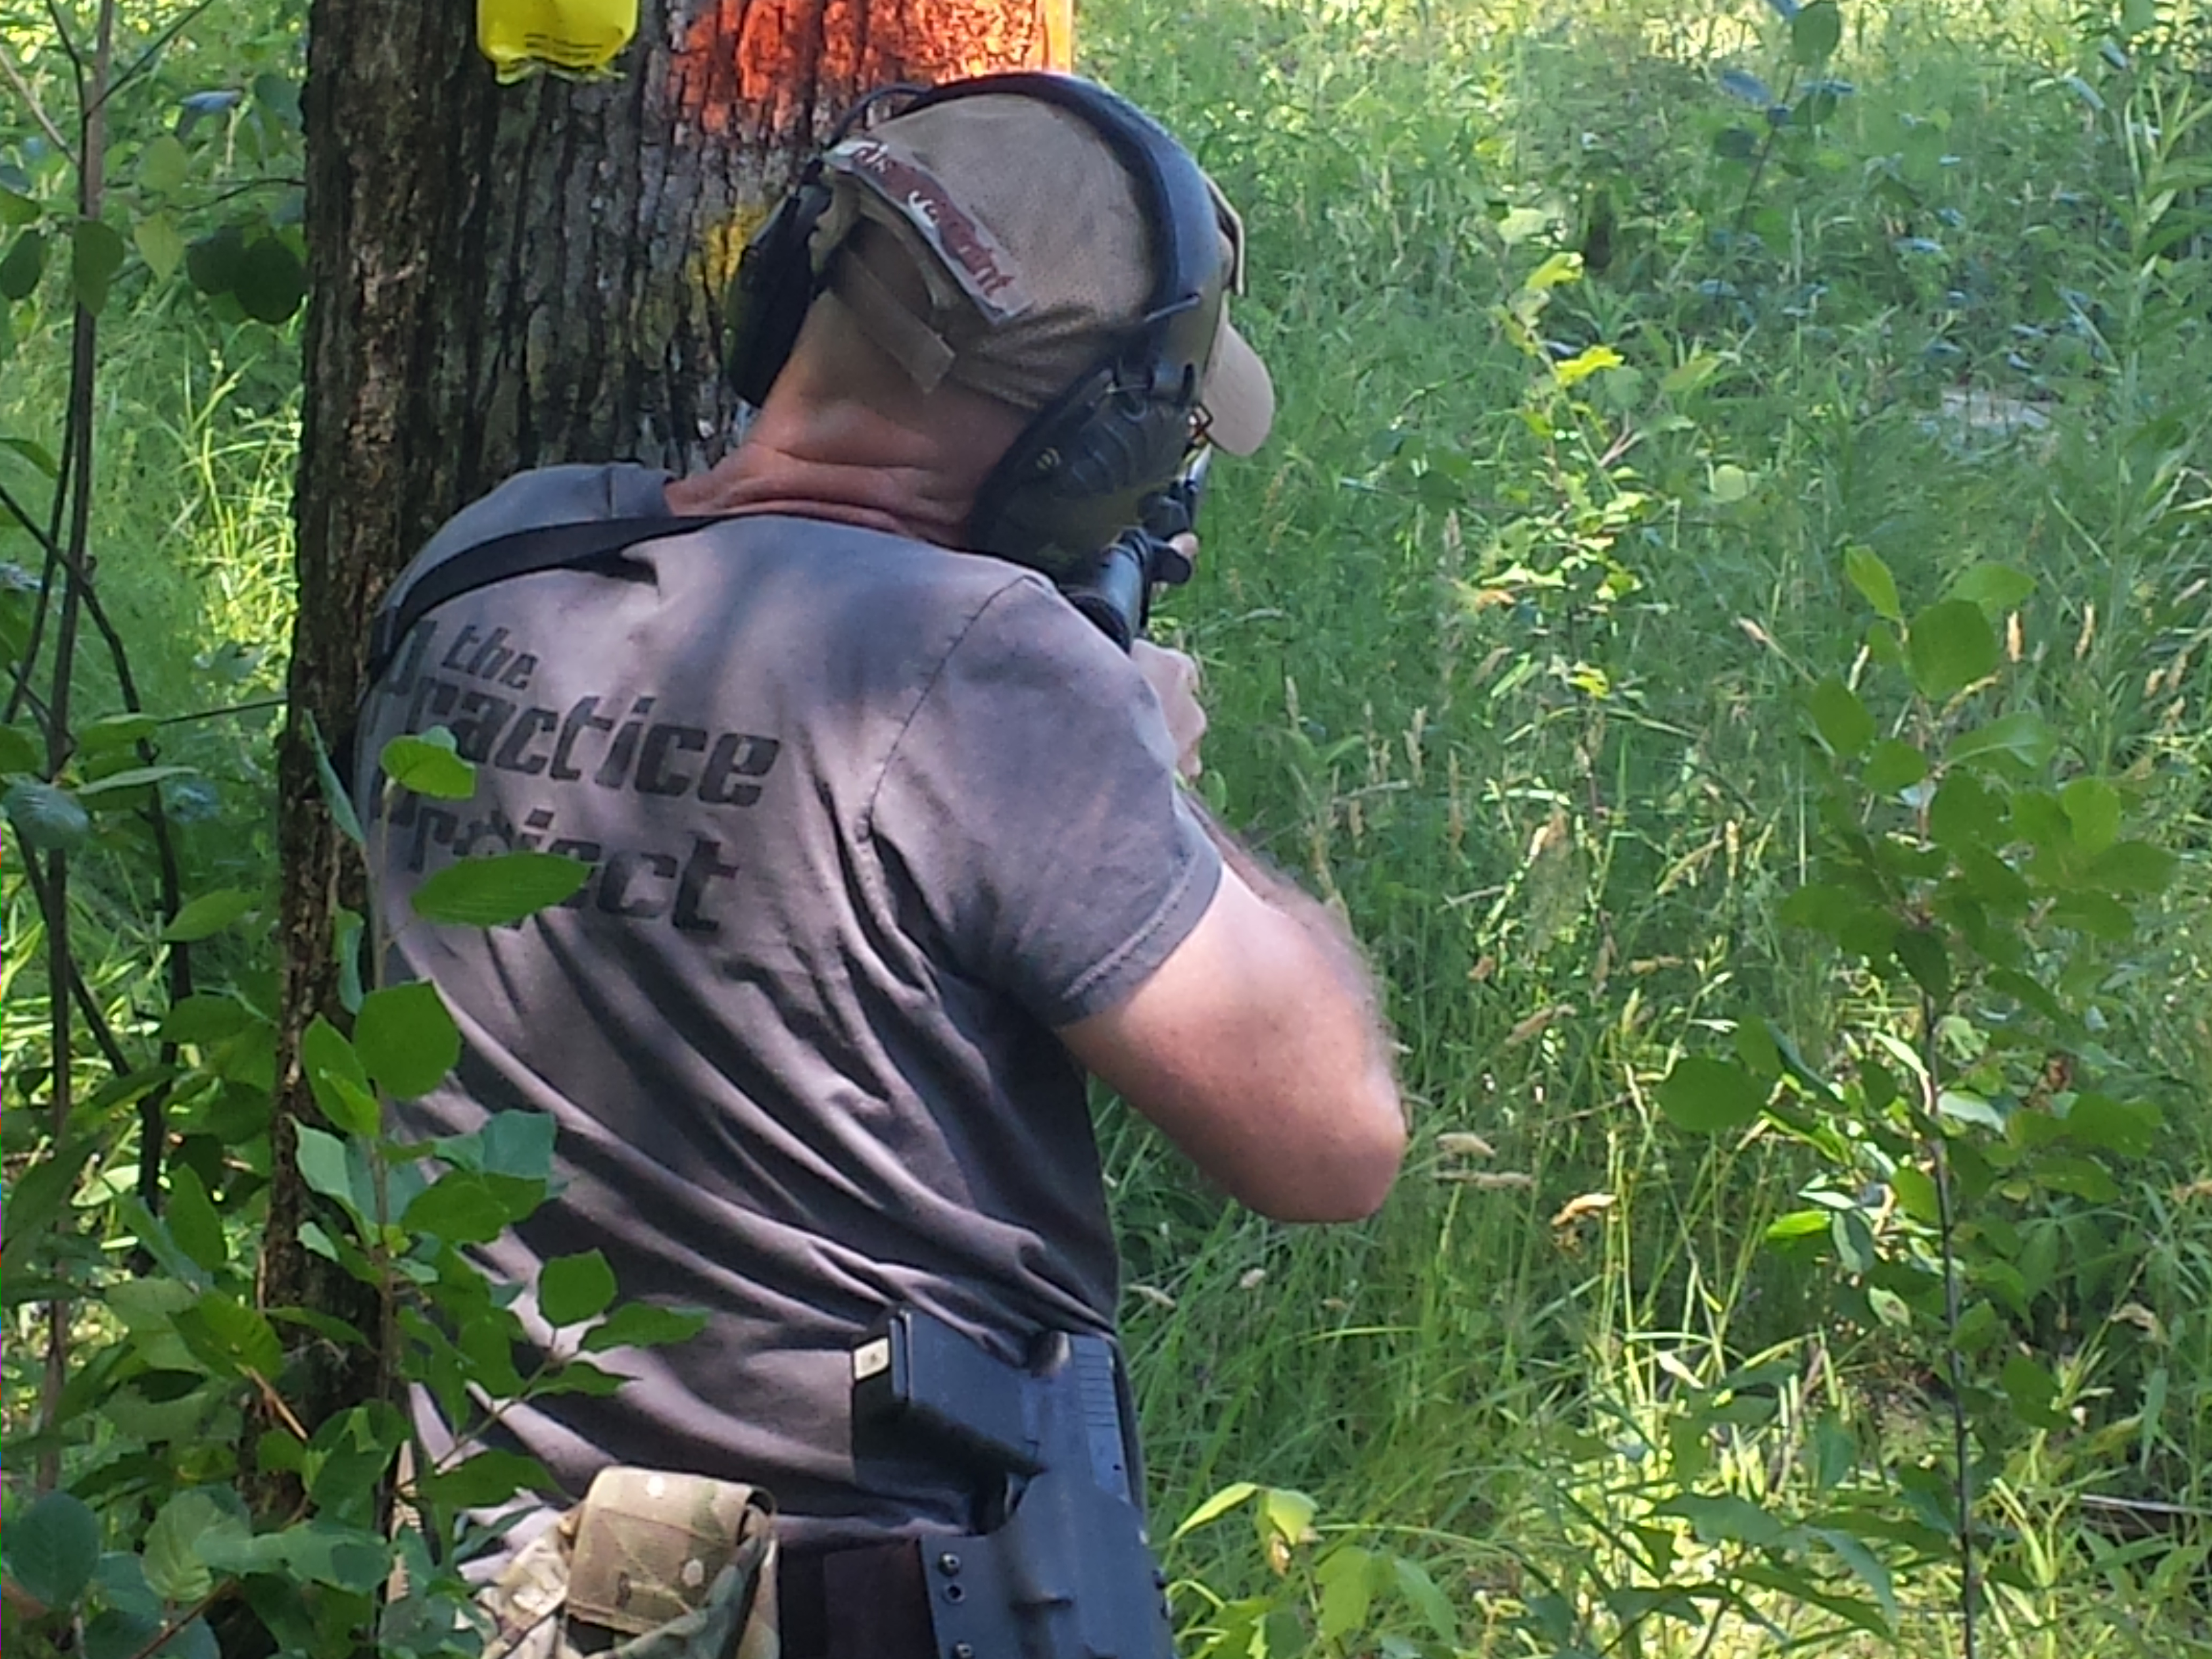
We practiced the shooting positions more and moved back to the 300-yard line to start the practical part of the course. Steve had a number of positions plotted out and marked with various colors of paint. The paint corresponded to what was sprayed on the steel. Steve would tell you how many hits were required, and it was up to you to figure out how to get those hits. Sometimes there was a tree acting as a barricade to get a rest from. Other times the tree was only useable as a backrest. Sometimes the targets were only visible from a standing position, and others were from a narrow window through vegetation while kneeling. One student solved some of these challenges by detaching his sling and wrapping it around the tree and slipping the rifle through it. Others made use of the available packs when appropriate. Once, an old military deuce-and-a-half was the cover to be behind. Distances of all the course positions ranged from that 300-yard one down the embankment in the trees to about 75 yards shooting through brush and vegetation.
Quite a few forgot their 300-yard trajectory and aiming points as they held center of mass of the steel plates. Those that did shot below the target, forgetting that there was about a six inch drop of the bullet at that distance. Mike Martin of AT Armor had a quote as we were watching students that was important enough to me to write down. He said, “Do we solve the problem sooner or faster?” Faster leads to sloppy work. If the position is not working, change to one that does. This was very applicable to the problem solving we needed to do to work our way through the course. All of us had misses that we should not have had. Everyone was challenged, and has room for improvement because of the skills learned in this class.

Emotional control and what it means became prime examples for several students as they were put under pressure to perform.
The final exercise for the day for is Steve’s Wall Drill. There are a number of drills out there with the same title, and they are not to be confused with this one. To put it bluntly, it is a ball buster, especially for the poor guys that win it.
Our drill was set up with the class divided in half and five barricades at 100 yards, and certain steel targets on the firing line spaced five yards apart. A shooter lined up in front of each barricade with excess ones lined up behind the first barricade ready to fall in. On the start command, shooters had to engage their steel and receive a hit confirmation from a spotter stationed behind the shooter on each barricade. Steel had to be hit from a shooting position on the left and right side of the barricade. Once both side hits were met, they ran to the next barricade. If a shooter was still occupying the side of the barricade, they were tagged out and eliminated. Once a shooter achieved hits from the far right side barricade, they needed to move to the far right side. Shooters were quickly eliminated, and those left soon experienced a drill where it alternated back and forth who was chasing and catching up to who, only to have trouble getting hits and soon find oneself now being chased and under threat of getting eliminated. Those who ran out of ammunition were supported with tossed mags from the rear, and the battles went on until someone eventually started lagging in their accuracy and was caught. The winners of the heats then faced each other, and one might not have much time to rest. Steve said the record one of these went on for was about 34 minutes.
The class ended with a final roundtable of lessons learned and takeaways. I came up with additional thoughts to contribute to an AAR once I had time to decompress and sort out what I had learned.
Any quality carbine can be used with great success in this class. Mine is a BCM EAG carbine with a solid Aimpoint M4 red dot optic. I love my patrol rifle, but I recognized some limitations it had with sling work in not having mounting points other than the one near the barrel nut.
Open sights or red dots will still work, but a decent magnified optic is better. Good glass is important. Another student and I sold our Vortex Strike Eagles after this class because they just did not fit with what we felt we needed. They are good for what they are and for some applications, but our eyes just did not like the glass quality. Another student that is a friend and student of mine has been trying to solve his problem of using an optic with astigmatism. He has tried various optics. Some have been budget priced to medium ranged; none were options that completely worked for him. He purchased a Vortex Crossfire 1-4x with a standard duplex reticle and an illuminated dot. It was simple, worked for someone with a budget, and most importantly met not only his astigmatism requirements but met his needs for him to perform well at the class. It is an option to look at for those who do not need BDC’s or range finding reticles.
The original course requirement was a minimum of 1000 rounds of rifle ammunition. The ammunition I ordered for this class some months ago had apparently not been produced yet, and I was cleaning out my mix of M855 training ammunition and older duty soft points. This caused me to have some zero issues as they zeroed different. I could not use M855 on the nice, un-perforated steel that APD had. The final round count was less than 300 rounds for me, and if I had known this would be the case I would have shot ammunition with tighter QC standards I could have worked harder with. We all buy less expensive ammunition for training where large amounts of ammunition are shot at less than 50 yards. One has to in order to afford it. A problem solving class of this nature, one would learn more if they took the larger QC variable from the equation so that any errors were more than likely the fault of the shooter, and they could make corrections to their marksmanship fundamentals accordingly.
I’m a strong believer in the use of some sort of pack for scalability which, in this case, also provides a resource for a shooter. Whatever purpose the student at this course has; whether it be hunting, defense, or law enforcement, a pack is an applicable item to make sure you have. I primarily used two. One is an Eberlestock Gunslinger 2 I have set up for woods work and perimeter situations. I also used a military Camelbak MULE that is my response pack. Two other packs that I saw used at the class that I am very interested in are a Eberlestock X3 Lo-Drag and the Kelty Map3500. Both are in the 1800-2000ci 3-Day size.
To close, the Practical Urban Carbine class is mis-named. It has just as much applicability to a rural patrol officer or citizen as it does to an urban city-dweller. My background is as a police officer who has worked rural areas my entire career, and as a firearms instructor. This subject matter is something that should be taken, studied, and practiced by anyone, be they citizen or LEO, who expects to carry a carbine for any sort of work outside of their home. Someday, the moment will occur when that patrol officer or citizen will need the ability to make these shots on demand to protect life. We don’t know who, and we don’t know when it will happen. I just pray that when it does, the training is there. Yes, statistics show that shootings at these extended ranges are far outside the norm. Most defensive shootings occur at distances that either handguns or rifles can be employed. To paraphrase retired police Lieutenant Chuck Haggard, we shouldn’t train for the most likely, but what is the worst case scenario.
Steve’s matter-a-fact instruction style is one that I’ve liked and respected for a while. He demonstrates a strong work ethic where he is one of the first at the range and the last to leave. His methods are not his way or the highway, but a number of ways, and use what works best for the situation. The learning points he presents are backed up with experience, research, and validation. Most importantly, they are practical and grounded in the realities that many of us face.

I hope the time taken to read this series was worthwhile. My AARs do not follow traditional military format of AARs. Mine tend to be long, descriptive, and more about lessons learned versus problems and corrections. The more that I can give out of what I learned, the more you as the reader have to also take away some of the valuable lessons I experience. Please feel free to contact Matt Landfair or any of the other Mods at primaryandsecondary.com with other topics you wish to see, and join us on the forum and in the groups.
Comments
So empty here ... leave a comment!