
25m M16/M4 Zero Target


This one was primarily written by Mike Lewis who was the 82nd Airborne Small Arms Master Gunner before me. He worked with Ash Hess , John Brady , and Paul Meacham on developing the new zero target that will be discussed today….
Hello, shooters. I’m SFC (Retired) Mike Lewis and previously served in the 82nd Airborne Division SAMG position. Today’s Walkthrough Wednesday is on the new 25m M16/M4 zero target and zeroing. It is quite a bit different from the zero targets you’ve previously seen on Army ranges, for multiple reasons to be discussed below. It’s also a more useful multipurpose target. This is designed for zeroing the M16/M4 series weapon, use as a scoring target for conducting short-range marksmanship (SRM) training, and use as a scoring target for use in pistol training. It was designed in a collaborative effort between myself, SFC Ash Hess at the Maneuver Center of Excellence (MCoE), SFC Paul Meacham at the 101st Airborne Division (AASLT), and SSG John Brady at the 10th Mountain Division (LI).
The first and biggest change is the pattern of the target itself. We did away with the silhouette previously used for decades. The silhouette was inserted years ago as a training tool to overcome the human predisposition against shooting other humans. However, zeroing isn’t training; it’s mechanically aligning the sights with the trajectory of the round at a given point. When zeroing the key is proper marksmanship through use of the Shot Process and Functional Elements, producing tight shot groups. Therefore, we should use the target that gives the best possible way to find the center of visible mass (CoVM) in order to use proper aiming then aligning the point of aim and point of impact. The silhouette doesn’t present that. A bullseye-style target was selected, but a circle is difficult for the human eye to find the exact center of; it is easy to find the center of a diamond, so one was overlaid on the circular bull.
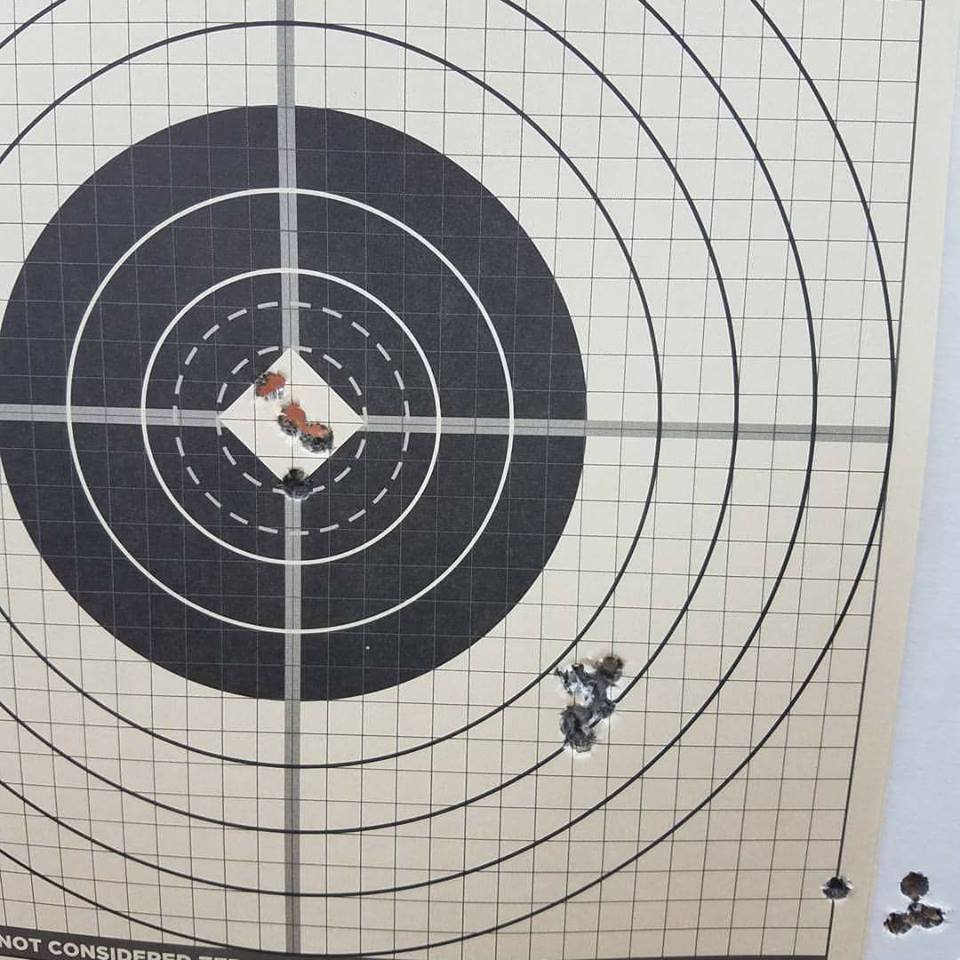
There are two dotted rings on the zero target at CoVM, a 4 MOA circle and the legacy 4 cm circle. Using the 4 cm circle gives one a “minute of man” zero at 300 meters and is less than optimal. Shooters should easily be able to print 4 MOA groups on demand. The goal is zeroing within the 4 MOA circle, the tighter the group, the better for a precise zero.
The grid you’re used to has been changed. It was set up to work with the iron sights, and the grid was harder to use for optics that have a .5 minute of angle (MOA) adjustment (CCO or most RCOs) or a .333 MOA adjustment (some RCOs). The grid is now a 1 MOA grid making it much easier in zeroing the optic that has become the primary sighting systems. The odd adjustments of the irons require more math and understanding of the different sight radius of the M4 and M16.
There is a table at the bottom of the target showing adjustment values for each sighting system. Noticeably missing are the numbers formerly placed on the margins of the adjustment grid. The reason is knowing your equipment. You should know whether you have a .333 or .5 MOA adjustment value (optics) and be able to do the math of counting and multiplying by 2 or 3. It’s simple. You should also know your adjustment on the M4 irons are .75 MOA windage (rear) and approximately 1.75 MOA elevation (front) per click. The old target was made for the least common denominator, not knowledge of the weapon and its use.
Now that we’ve covered the target itself, let’s talk ballistics. A POA/POI zero at 25 meters does not a 300 meter zero make. The trajectory of the round crosses the sight plane at 36 meters as it would at 300. This is the reason the Marine Corps uses 36 in zeroing. The Army uses 25 as we know. To achieve a 300 meter zero at 25 one of two things must happen, either a ballistic offset or a mechanical offset must be used. Some of us remember the carrying handle iron sights being used on the M16 and M4. We remember that zeroing at 25 meters required adjusting the elevation wheel on the rear sight one click and then moving it one click back after zeroing; this is the mechanical offset. That method isn’t available on the backup iron sight or the optics currently in use, necessitating a calibrated ballistic offset. For a 300 meter zero achieved at 25 meters, the offset is .3 inches, or about 1 MOA low. This adjustment must be made for a 300 meter zero obtained on a 25-meter range and should be confirmed and refined at true distance (300 meters).
Any error in using the offset is amplified when using a bullet drop compensator (BDC) as in the reticle pattern of the RCO. Although the manufacturer specified the RCO is designed to be zeroed at 100, the Army’s doctrine states using a 25 meter zero for 300 is the method. Not using the previously described offset makes the entire BDC calibration invalid. My preferred method of zeroing the RCO is placing the tip of the chevron (the 100-meter aiming point) on the point of aim (CoVM) and using a point of impact 1.4 inches (about 5.5 MOA) low for a 100 meter zero. Again, this should be confirmed and refined at true distance (100 meters in this case).
Any aiming or other error in the shot process degrades the ability to achieve a precise zero. This has a detrimental impact on accuracy of your shots and lethality as a Paratrooper. Do some dry fire drills. Get out there and work your zero.
DLA assigned an NSN for this new zeroing target. The NSN is 6920-01-660-0348 and its in FedLog. The targets are printed on all weather Rite in the Rain paper and ready to go.
This means that the target is available for units to purchase and use. Verified this is available in GCCS Army. Range Operations at Fort Bragg has been notified with the recommendation that this be the new target purchased for use on Fort Bragg Ranges.
Comments
So empty here ... leave a comment!