


WayneF
Member
Yavapai Firearms Academy
Tactical Shotgun - Stage II
Instructor: Louis Awerbuck
Location: Alderson, WV
On 30 Aug 2013 to 1 Sep 2013 Louis Awerbuck conducted his Tactical Shotgun Stage II course at Practical Firearms Training in Alderson, WV.
The gauge is the platform that I have trained the least on over the years. I have shot and trained with some great shotgun instructors including Rob Haught, the Magpul Dynamics crew, and Pat Goodale but I have always centered my training around handguns and AR’s.
When this chance to train with Louis came up, I jumped all over it.
My gear for this class was pretty minimal. I used a Mossberg 930 SPX with a Trijicon RMR, Velcro side saddle, shortened stock, single point sling mount, and Magpul sling. My handgun was M&P 9mm/Surefire X300U with time split between a Peters Custom Holsters Spada and a Raven Concealment VG2. I carried a spare magazine in a Comptac holder and had all of it hanging off of an Ares Gear belt. I also brought along a Remington 870 as a backup gun.
Ammo was a combination of various birdshot, Federal Flite Control 00 buck and Federal slugs. I had one failure to fire with a Federal slug. It had a deep hit from the firing pin so I will chalk it up to an ammo failure. It was one of MANY ammo problems experienced throughout the class.
Quality control and issues with all ammunition has been poor lately, shotshells are no different. Issues ranged from inverted primers, deformed hulls, and even some 2 ¾” shells that I found in a sealed box of 3” slugs.
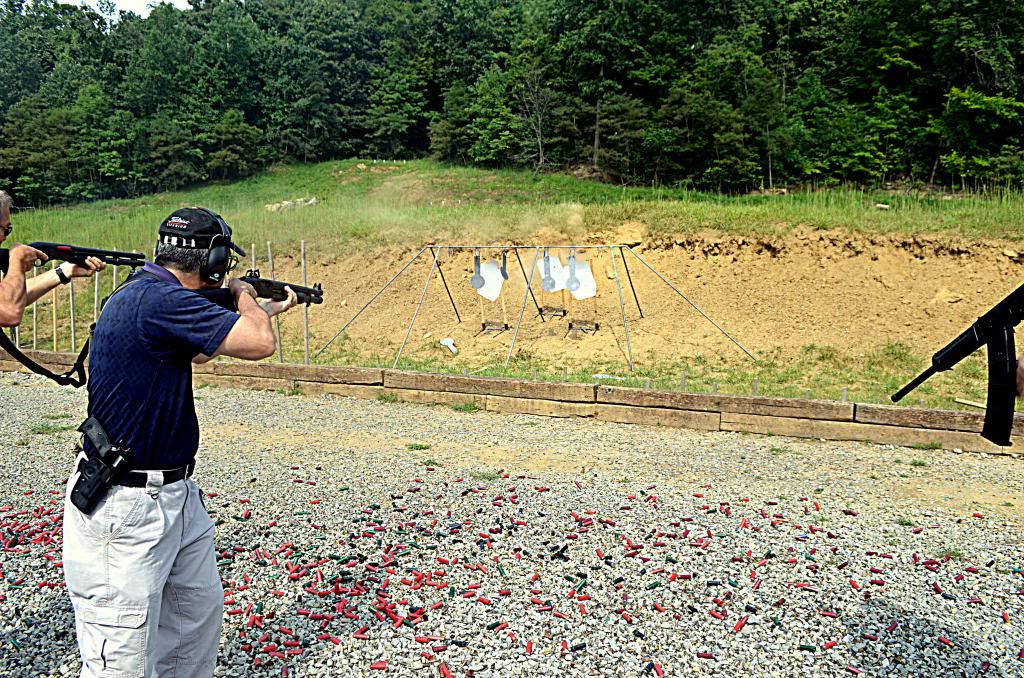
Training day one started out with patterning our buckshot at various distances. Knowing how our specific loads patterned out of our guns would prove to be very important over the next few days.
From there we moved on to multiple drills just to get us warmed up and knock the rust off. These were done on hanging steel plates and at various distances. For those of us with extremely tight patterns we found that inside of 15 yards we were basically firing slugs. That of meant we had to slow down and be more careful with shot placement as compared to the guys with wider patterns.
Things then slowed down a bit and we confirmed zeros with slugs. This was when the first gun related issues started to show up. One student had an aftermarket ghost ring rear sight that did not want to stay in place. Another student with a Saiga had a rear sight that did not want to drift over with a brass punch and gunsmith hammer. A framing hammer was finally able to break it free.
With that out of the way we started a warmup with our handguns in preparation for transition drills. All of the students had previous formal handgun training and there were no real issues to speak of in simply hitting a flat piece of static paper. However, that luxury would soon go away.
We finished off the day with some slug select drills. First up was simply checking that everyone had the manipulations down for their particular weapon type. Most of the class was running a pump gun of one type or another. Two of us were running tube fed semiautos with two other students running Saigas. For the tube fed guns, Louis is a fan of loading the slug through the bottom instead of side loading. He feels that it greatly simplifies things as compared to having two different places to load the gun during different situations. He also covered the multiple ways possible to flub a side load. It all made perfect sense. That wrapped up our first day.
The second day started out with a short warmup to get everybody back into the groove. From there we went back to the hanging steel targets, this time with a slight twist. Louis feels that you need to be able to quickly place an accurate hit on target, that said, unless your threat is standing in front of a ballistic wall we can’t just hose rounds at them without regard for what is going on around it.
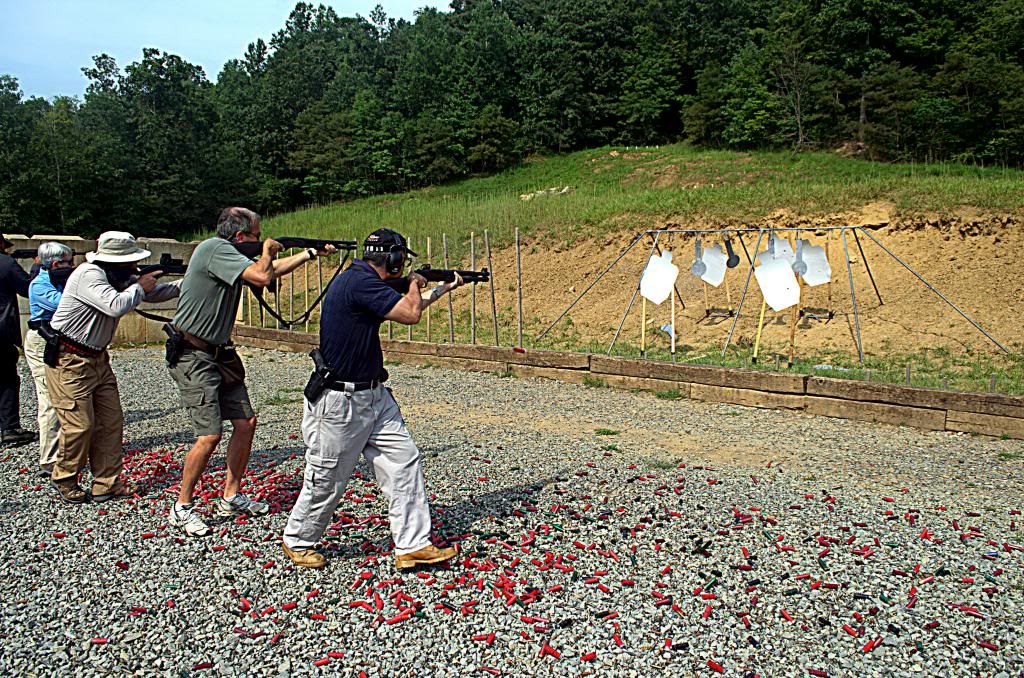
This point was driven home with what would appear to be a simple task… On paper. We were brought up on line in teams of five. Our task was to engage all of the hanging steel plates without placing any pellets on the paper targets placed behind them. That meant using lateral movement to work for the angles that we would need.
Next up we would engage the steel again but this time with “no shoots” placed in front of and behind the targets. As Louis explains, the front targets are an easy read. The targets in the background were the ones that were really at risk.
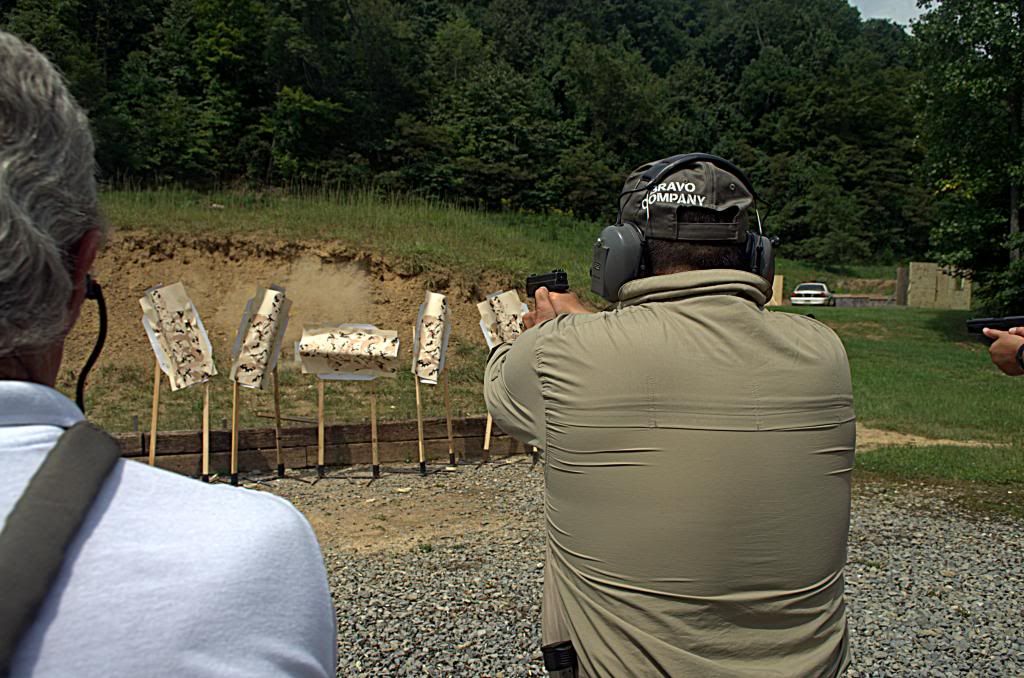
From there we brought out the handguns again. Starting out we simply had to hit all of the paper targets without striking any of the steel. This was complicated by the fact that the targets were placed on a slopped berm. That meant we had to compensate not only for the foreground, background, but also the target stands that were now behind the center of the front targets and the support beams from the steel target platform.
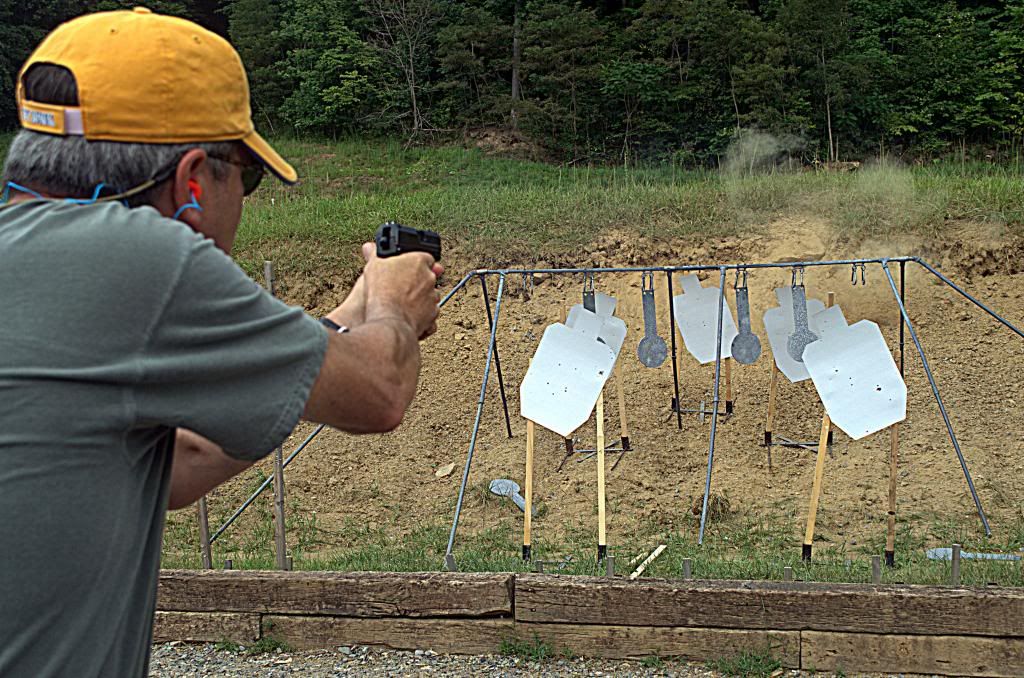
At this point, any rounds in the upper chest or head counted as a suitable hit since we were shooting on flat pieces of paper. That changed with our next drill, we would no longer see a one dimensional piece of paper for the rest of the weekend.
This change started with our handguns. Our task was to engage a three dimensional target in the chest and face. The idea was to stop thinking about punching holes in paper and try to visualize the anatomy of a threat and look for “deep meat”.
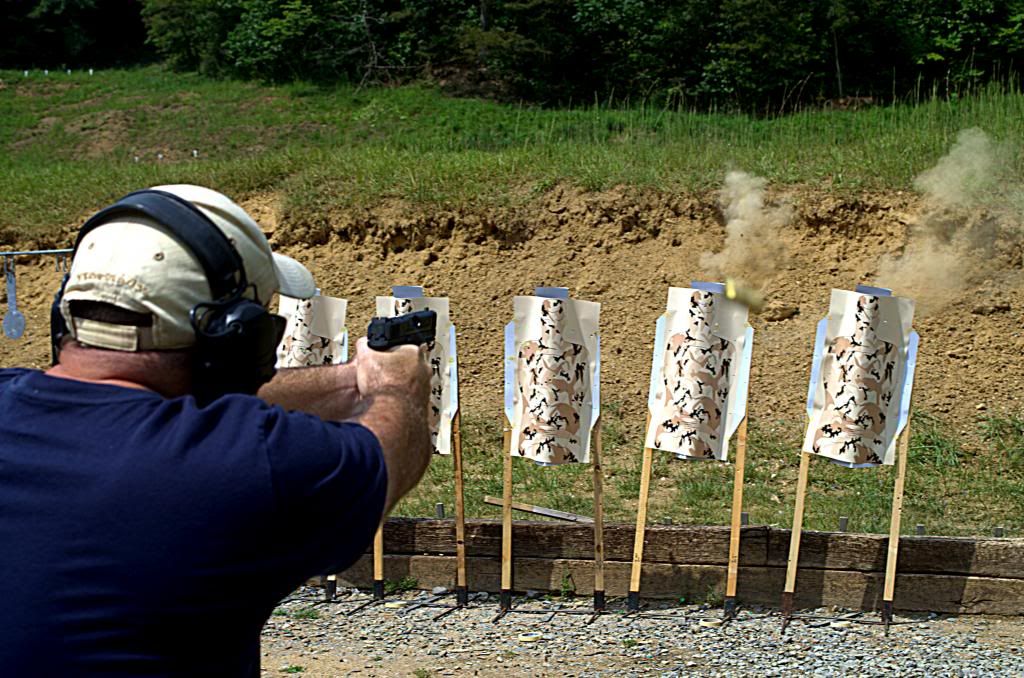
The targets were then placed off angle to us and some were even horizontal. The targets were also moved each repetition to ensure we were not looking straight on at the target. To complicate things further we were told to shoot while moving a few steps in each direction so our desired target area would change as we were moving.
Tactical Shotgun - Stage II
Instructor: Louis Awerbuck
Location: Alderson, WV
On 30 Aug 2013 to 1 Sep 2013 Louis Awerbuck conducted his Tactical Shotgun Stage II course at Practical Firearms Training in Alderson, WV.
The gauge is the platform that I have trained the least on over the years. I have shot and trained with some great shotgun instructors including Rob Haught, the Magpul Dynamics crew, and Pat Goodale but I have always centered my training around handguns and AR’s.
When this chance to train with Louis came up, I jumped all over it.
My gear for this class was pretty minimal. I used a Mossberg 930 SPX with a Trijicon RMR, Velcro side saddle, shortened stock, single point sling mount, and Magpul sling. My handgun was M&P 9mm/Surefire X300U with time split between a Peters Custom Holsters Spada and a Raven Concealment VG2. I carried a spare magazine in a Comptac holder and had all of it hanging off of an Ares Gear belt. I also brought along a Remington 870 as a backup gun.
Ammo was a combination of various birdshot, Federal Flite Control 00 buck and Federal slugs. I had one failure to fire with a Federal slug. It had a deep hit from the firing pin so I will chalk it up to an ammo failure. It was one of MANY ammo problems experienced throughout the class.
Quality control and issues with all ammunition has been poor lately, shotshells are no different. Issues ranged from inverted primers, deformed hulls, and even some 2 ¾” shells that I found in a sealed box of 3” slugs.
Training day one started out with patterning our buckshot at various distances. Knowing how our specific loads patterned out of our guns would prove to be very important over the next few days.
From there we moved on to multiple drills just to get us warmed up and knock the rust off. These were done on hanging steel plates and at various distances. For those of us with extremely tight patterns we found that inside of 15 yards we were basically firing slugs. That of meant we had to slow down and be more careful with shot placement as compared to the guys with wider patterns.
Things then slowed down a bit and we confirmed zeros with slugs. This was when the first gun related issues started to show up. One student had an aftermarket ghost ring rear sight that did not want to stay in place. Another student with a Saiga had a rear sight that did not want to drift over with a brass punch and gunsmith hammer. A framing hammer was finally able to break it free.
With that out of the way we started a warmup with our handguns in preparation for transition drills. All of the students had previous formal handgun training and there were no real issues to speak of in simply hitting a flat piece of static paper. However, that luxury would soon go away.
We finished off the day with some slug select drills. First up was simply checking that everyone had the manipulations down for their particular weapon type. Most of the class was running a pump gun of one type or another. Two of us were running tube fed semiautos with two other students running Saigas. For the tube fed guns, Louis is a fan of loading the slug through the bottom instead of side loading. He feels that it greatly simplifies things as compared to having two different places to load the gun during different situations. He also covered the multiple ways possible to flub a side load. It all made perfect sense. That wrapped up our first day.
The second day started out with a short warmup to get everybody back into the groove. From there we went back to the hanging steel targets, this time with a slight twist. Louis feels that you need to be able to quickly place an accurate hit on target, that said, unless your threat is standing in front of a ballistic wall we can’t just hose rounds at them without regard for what is going on around it.
This point was driven home with what would appear to be a simple task… On paper. We were brought up on line in teams of five. Our task was to engage all of the hanging steel plates without placing any pellets on the paper targets placed behind them. That meant using lateral movement to work for the angles that we would need.

Next up we would engage the steel again but this time with “no shoots” placed in front of and behind the targets. As Louis explains, the front targets are an easy read. The targets in the background were the ones that were really at risk.

From there we brought out the handguns again. Starting out we simply had to hit all of the paper targets without striking any of the steel. This was complicated by the fact that the targets were placed on a slopped berm. That meant we had to compensate not only for the foreground, background, but also the target stands that were now behind the center of the front targets and the support beams from the steel target platform.

At this point, any rounds in the upper chest or head counted as a suitable hit since we were shooting on flat pieces of paper. That changed with our next drill, we would no longer see a one dimensional piece of paper for the rest of the weekend.
This change started with our handguns. Our task was to engage a three dimensional target in the chest and face. The idea was to stop thinking about punching holes in paper and try to visualize the anatomy of a threat and look for “deep meat”.

The targets were then placed off angle to us and some were even horizontal. The targets were also moved each repetition to ensure we were not looking straight on at the target. To complicate things further we were told to shoot while moving a few steps in each direction so our desired target area would change as we were moving.


