AAR: Follow Through Consulting – Scoped Carbine (Part Two: Day One)


Follow Through Consulting
Scoped Carbine Class
Teasdale, UT March 18 – 20, 2016
By: Seth Young

Continued from Part One: Part One.
Training Day 1 – Friday
In the morning we met at the cozy Red River Ranch lodge. After a delicious breakfast we met downstairs in the classroom for initial instruction. Buck gave us a bit on his background and experience as a certified marine MCLMM. He laid out the intent of the class: marksmanship fundamentals (i.e. ‘gunfighting’) in a practical/operational environment. To do that Buck focuses on three areas: Move, Shoot, and Communicate. I would really encourage everyone to take a class from Buck to get the in-depth explanation on those topics. Buck does a great job of conveying through his experience the “what, how, and why” of each of the points listed under the tree topics.
 Move, Shoot, and Communicate
Next we talked about Buck’s preferred way to quickly engage targets outside of CQB (further than 300m): Todd Hodnett’s speed shooting formula. This is a method for quickly measuring a target using the reticle then going directly to a hold-over without calculating distance to target as an intermediate step. The H59, Tremor2, and Tremor3 reticles are set up specifically to aid in doing this. Todd has a blog post explaining the concept and there are instructions in the Tremor2/H59 reticle pdf manuals that go into depth on the drill. Buck also has a couple rifles with Tremor scopes students can use to try the speed formula out.
As a quick overview of the method you start by finding a 12″ sized feature on your target. 12″ is the distance from the top of the head to the clavicle on most humans. By measuring this target size in mils (typically between 1 – .5 mils for targets between 300 – 600 m) you then drop the decimal from your measurement and subtract that from 10 to get the mil line to hold on target for a hit. For example, if you measure a 12″ target at .6 mils, your hold on the target is the 4 mil line in the scope. The formula works out well for 7.62 cartridges, but it can be adjusted for other caliber/cartridge combinations as well. (For example, by adding up to 11 for slower ballistic trajectories or 9 for faster trajectories).
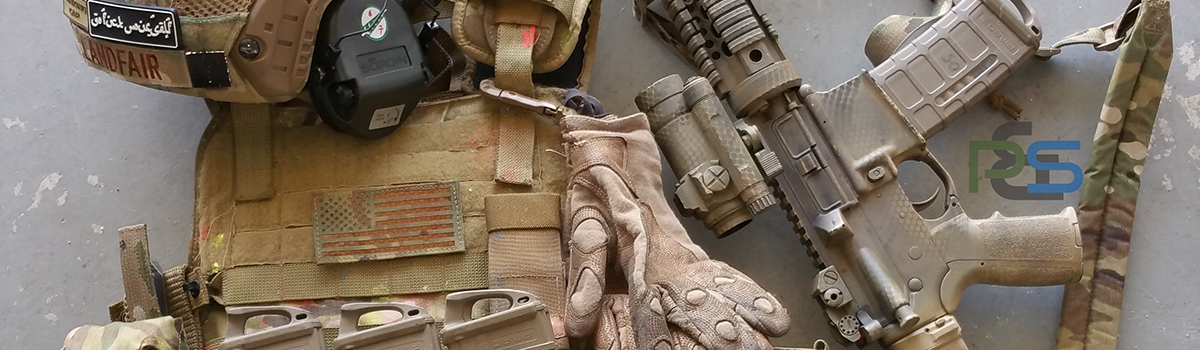
We broke for lunch after the classroom work, then convoyed over to Flat Range #1 to begin. We confirmed zero at 100 meters by shooting at the edges or corners of a steel plate, then confirming it on a small steel popper. I definitely recommend being familiar with your rifle hand have it pre-zeroed before class.
 Students setting up
 View down Flat Range #1. 9 Steel targets spread across the small plateau and cliff face covering 305 m to 610 m. Two more off to the left: a truing target at 760 m and a 1060 m target way out there.
 Approx ranges by reticle measurement and bullet drop.
 Approx ranges by reticle measurement and bullet drop.
 Instruction.
After zero check we began the first run on the 12″ drill. From our location the land dropped away then rose to a series of small plateau and hills before abruptly ending against the sheer face of the red sandstone cliffs about 600 meters out. The wind was blowing left to right along the cliff face at about 15 mph with gusts over 20 mph. We began with each of us milling out the first 12″ steel plate (conveniently placed at 305 meters to measure 1 mil and match our first location for the “add to 10” rule). We cycled through the group with each shooter getting two chances each to hit the plate. The goal was to gather data for where exactly to hold on the plate vs the speed formula mil line and record it. Buck stressed that the ‘Point Of Aim’ line should be held at the top of the plate or the bottom of the plate so there’s a solid reference point to enable repeat shots. Simply holding ‘Center Of Mass’ isn’t exactly repeatable. This way you observe where you hit, then place the reticle back where you aimed and measure the difference, then make the correction.
 12″ drill.
 Direct observation.
 Going over fundamentals.
After we had cycled through the students two times on the first plate, we moved to the second plate. This one was placed at 339 meters to match the .8 mil measurement. Again we cycled through with each shooter getting two shots on target. Since I had an MOA reticle I used it to determine the range, then quickly looked up the correct hold on my ballistic solver app (Shooter). The NP-R2 has fine stadia that help for measuring, but it gets hard to distinguish between sizes of .5 MOA and less for ranging. This first time around I used holds instead of dialing, and wrote down where the bullet landed in relation to the hold. Later I would find it easier to quickly scribble down a drop chart based on the target size in MOA, then dial to the nearest whole MOA number and make notes on whether I should hold top or bottom of the target, and wind values and results.
We were provided cards with a chart to record notes on where to hold for the targets in the speed formula. This information becomes very important as the class progresses to allow us to make hits quickly and effectively on new targets. Since the marker on the range cards wipes off easily it’s important to transfer the information back to a notepad after the string of fire.
 Documenting data.
 Using data.
 Take notes on holds and impacts, and review often to get the most out of class time.
Next we milled the third target at .7 (435 meters), and engaged in the same fashion moving down the line with each student getting two chances to hit steel. Looking back I can see that my follow up shots were guesses instead of deliberately re-doing my previous hold, measuring, adjusting, then firing again. Using a gridded reticle like the Tremor2 or H59 makes it a lot easier.
 Targets at 435 m and 508 m.
By this time the wind was really starting to play a large factor. My holds were well off the steel plate. As we moved from left to right the target range increased and the unique placement among the hills and ravines changed the amount of wind touching the bullet path. Wind holds shifted dramatically. I think this is why practicing observing the hit, measuring the shift, then quickly following up is so important. With large amounts of wind it also shows the advantage of dialing instead of holding if you don’t have a gridded Horus style reticle.


After dinner we met back at the Lodge and caravanned to Scenario Range #1 . This range was closer to the cliff with half a dozen LaRue and Todd targets. With about 45 minutes before sundown Buck talked to us a little about ‘stand to’, or setting up in position and observing before the light goes out. We set up prone on the mats and practiced moving through the targets like we did on the 12″ drill at Range #1. For this run Buck’s instruction was to hold POA at the top of the LaRue since within 340 meters (12″ measured at .9 mil) the drop is 1.9 mils or less, which still puts the POI on the torso of the LaRue target (28″ tall, or 2.1 mils). We took turns moving through the targets like we had done with the 12″ drill, with each student getting two shots to knock down the current target.


At Sunset we had the folks from TNVC go over the rail clip-on NV we would be using for the night portion. They had a big selection of KAC and L-3 units and we each got one to clip onto our rifle. For my rifle I picked one of the small close-range KAC units. It was dark enough by then to start using the NV devices. We began scanning for the targets that we had been shooting at just about 45 minutes before. At this point that we learned our first big lesson in NV: when looking through the tube, things aren’t quite as they appear during the day. For whatever combination of voodoo and moon beams, the steel targets that had stuck out like sore thumbs against the red cliffs during the day had completely disappeared into the background with the NV devices at night. There was not enough contrast to pick them out from the background with the angle and illumination from the moon.
Not to be detoured we relocated several hundred meters East along the cliff face to set up on another set of steel targets. These were between about 320m and 270m (we didn’t know exact ranges at the time), 4 targets in total. Buck took us through a course of fire one by one to engage the four targets. At night everything seemed further away so I wasn’t sure of the hold. I dialed on two MOA for my scope and held on the top of the steel silhouette targets. That was enough, and I got hits as Buck called them out. The small KAC NV device I was using started showing its limits out at the 300m range. I could make out the targets, but the clarity wasn’t that great even with my scope turned down to 6x power. After we all had a chance to engage the targets we were done for the night.
[…] Continued from Part 2: Day One. […]