AAR: FOLLOW THROUGH CONSULTING – SCOPED CARBINE (Part Three: Day Two)


Follow Through Consulting
Scoped Carbine Class
Teasdale, UT March 18 – 20, 2016
By: Seth Young

Continued from Part 2: Day One.
Training Day 2 – Saturday
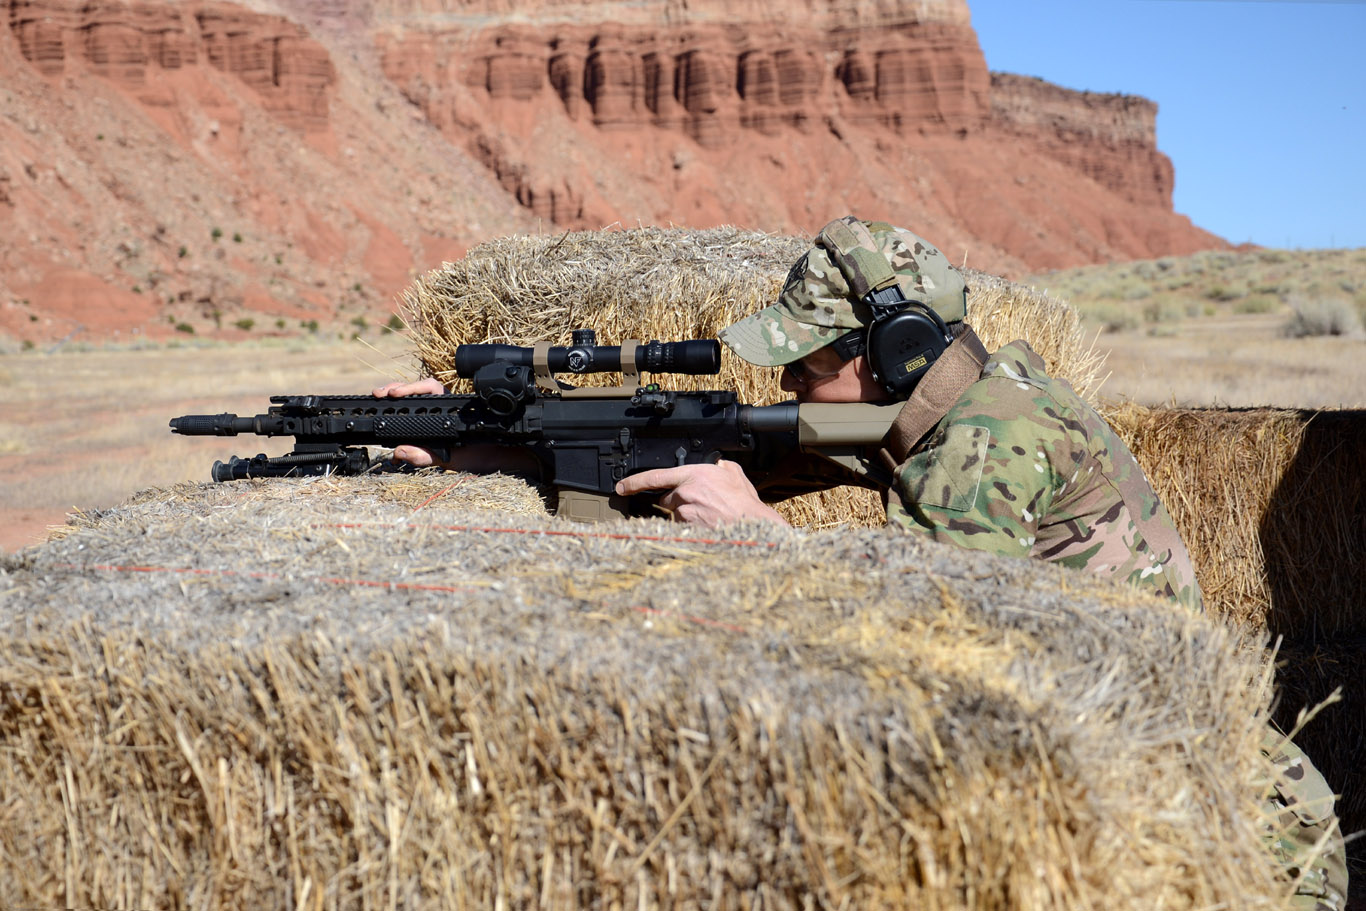
We met back at the lodge at noon and caravanned to Flat Range #1. I really wanted to get some experience with the Tremor2 reticle using it like it was designed to be used. Buck was kind enough to let me borrow his 16″ AXTS carbine with Leupold 3-18×44 Tremor2 scope. Like the previous day we cycled through the 12″ plates doing the milling drill. I noticed that the wind really pushed the 223 bullets around a lot more than the heavy 7.62 bullets I was using the day before. The wind wasn’t as bad as TD1, but it was enough to need the wind dots on the Tremor 2 reticle. Like the previous day, we cycled through as a group with each shooter getting two shots to hit a plate, then moved on to the next plate as a group.
 Buck shows how to use the speed shooting formula on the Tremor2 reticle.
 AXTS carbine with Nightforce 4-16 scope with Tremon3 reticle.
 Magpul D60 drum fed over watch.
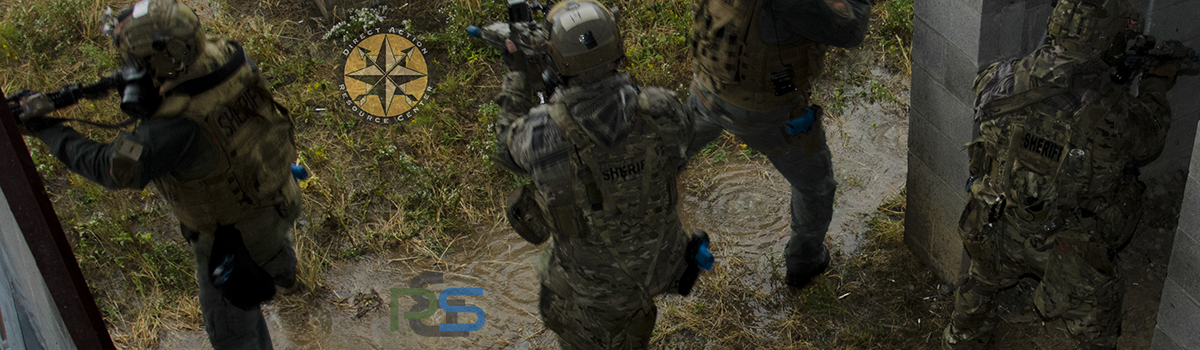
After the 12″ drill we moved back to Scenario Range #1 with the LaRue targets. Buck talked to us about his method for approaching and using barricades for cover, and the reasons behind them (lots of experience). It comes down to being very deliberate in the way you approach the barricade. Behind the cover you stop to check your gear, your clearance, and your placement. He showed us how to stop 10 feet behind the piece of cover to focus on the environment: your team, the target area, and your rifle. You look around, look at the ground in front of barricade, look at the lip of the barricade, look at your rifle muzzle, and then come up with the rifle butt first vertically and then push the rifle forward to rest magwell against the barricade. Body posture is aligned with the hips and shoulders square to the barricade. From there you engage targets, with the safety coming off after the sight picture, and then going back on for transitions until the next sight picture.

 Demonstrating how to place the carbine on the barricade
 Running with a carbine: all four fingers around the grip, reverse hand on the handguard.

Buck took us individually through a drill where we approached a barricade as per his earlier instructions then engaged some targets against the cliff face. We then ran to another barricade to shoot more targets. The run ended with us using our offset sights to shoot some close in targets. During the drill I really came to appreciate why Buck told us to pay close attention to our rifles as part of the situational awareness check after coming back down off the barricade. After the first set of targets I checked my ejection port cover to see my bolt covered in bits of hay which had been blown loose by my muzzle blast. A couple puffs of breath cleared most of it away, but because of the deliberate port check I saw the issue in the first place.
 Barricade instruction.
 Offset sights for close targets.
 There’s a reason we check our gear after coming back down off the barricade.
The distance we ran between barricades wasn’t trivial during the drill. Between the run, the elevation, and the performance anxiety my heart rate was nicely elevated. At this point it became very clear why Buck wanted us to square up on the barricade and press the magwell into the lip of the cover. Even though I was breathing hard and my heart rate was up the position was stable, easy, and fast to get into.
 Two targets at 450 meters at the end of a run.
 Using the offset sight.
After dinner we met back at the LaRue target area then drove a bit further east along the cliff face to the area we had used during the previous night. There was still about an hour before sundown so Buck set us up in four groups to practice the barricade drill. Each of the four barricades was assigned one of four targets down range. We practiced approaching a barricade, setting up, and firing on the target. Each of us repeated that a few times then cycled over to work on the next barricade.

 Placing the rifle on the barricade is a vertical butt-first movement instead of swing the rifle muzzle to the left or right. That prevents you from bumping things or muzzle sweeping your buddy.
 The SR-25 ECC is a great rifle.
 Bad guys.
After the sun went down we learned about night vision again. This time around the TNVC guys talked to us about the difference between green phosphorus NV and white phosphorus NV. Later in the night I was able to look through both green and white helmet type tubes (as opposed to the gun mounted tubes). White is definitely cool, but as they said the green seemed to be more sensitive to the eye in regards to distinguishing different shades.
 Night Vision discussion provided by TNVC.
 Clip on night vision selection.
 L-3 M2124-LR on my SR-25.
We took the uppers off of our rifles and attached the clip on NV so we could observe someone in the bushes with our devices and see the difference between them and a handheld thermal unit. As described, the thermal units were very good at detecting something, but the NV devices were better at identifying what that thing was. In general thermal is better for detection and NV is better for identification.
While we were learning about NV Buck went down by the targets at the cliff base and lit two different camp fires next to some steel targets. When he came back he took us one by one through a training scenario. Following Buck we jogged up to one of the barricades we had used earlier before sunset. Squaring up behind it I observed the area surrounding the camp fire through NV. I knew there were two steel targets immediately behind the campfire, but the smoke was completely obscuring one of them. I engaged the one I could see, and then shifted focus to the other two targets further from the fire (one under a tree on the right side and the one at the base of a gravel pile on the left side). I dialed two MOA onto my scope and held POA on the top of the targets and got hits. We displaced to another barricade and I could see and engage the target that was previously behind the smoke. From there we went on a long run to find a position to set up on the second camp fire. From a barricade I observed the fire area but it was difficult to make out the targets. One was directly in front of the fire and its shape was slightly obscured. The other was to the left of the fire a few meters with only part of the circle head observable in the high contrast of the fire light. I engaged both with a single round each with hits. After that we jogged back to the group and Buck took the next student through the drill.
 One camp fire seen through green vs white phosphorus NV.
 Buck leading a student out on the campfire assault training scenario.

After all the students went through with Buck he had us place our shooting mats in a line and we got into prone position without bipods. Instead we supported our rifles off of the magazine. We went throught the four targets by the first camp fire in the same manner as we did the 12″ drill, with each student getting two chances to hit before moving to the next. I had a quick lesson in keeping my support hand clear of the ejection port (I shoot rifles left handed) when I inadvertently induced a double feed. Next we ran the same targets from the sitting position. Shooting in this manner really brings out the importance of the shooting fundamentals. Target identification in the dark is trickier, but hitting the target still comes down to getting a proper position, sight picture, breathing, trigger control, and follow through. Hammering those points during the day helps at night when everything is more difficult.
 View through my rifle scope on target with the L-3 clip on NV.
[…] Continued from Part 3: Day Two. […]
[…] Continued on Part Three: Day Two. […]